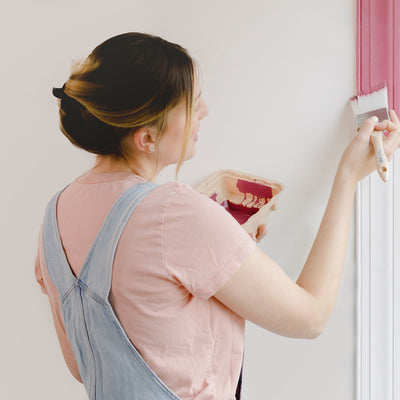
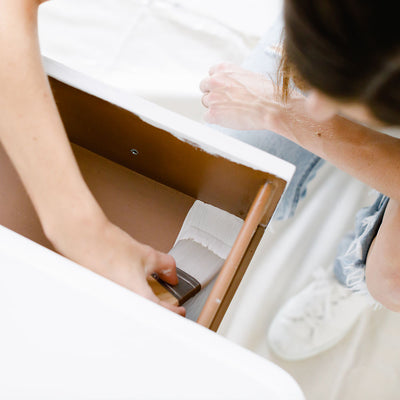
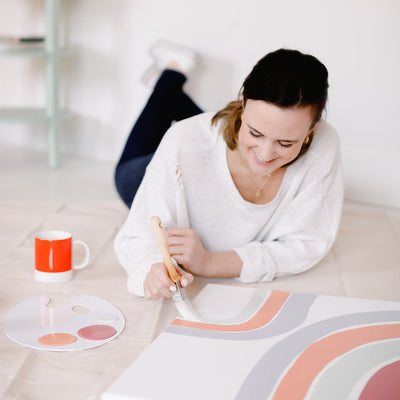
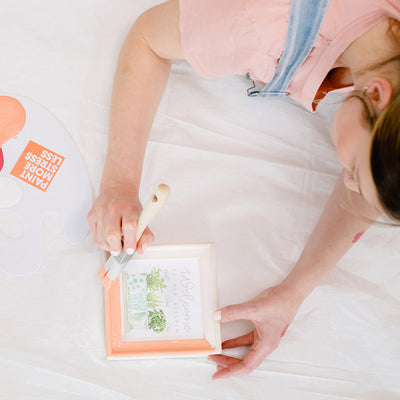
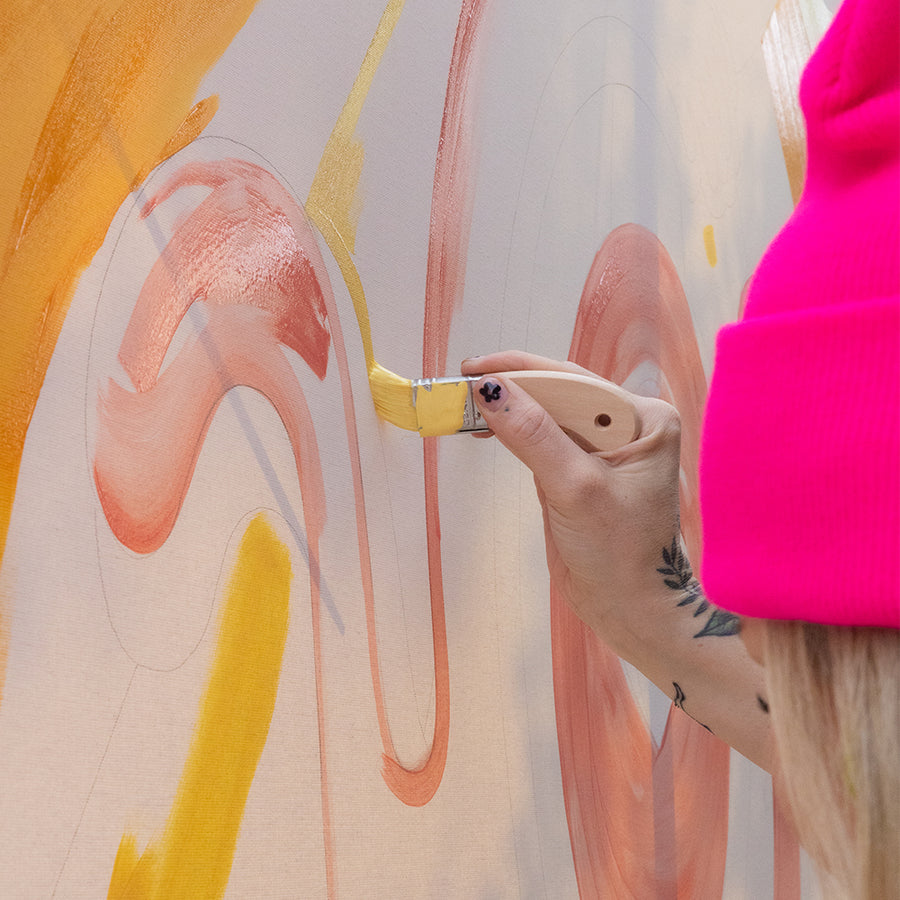
Today, we’ll walk you through the project of painting stair rails, from how to paint stair spindles based on their shape, to the expert tips on how to make the job go smoothly.Rachel from Craving Some Creativity depicts in her staircase DIY project the dramatic difference a fresh coat of paint can make on your stair railings and spindles.

Supplies for Painting Stair Rails & Balusters
- 320-400 grit sanding sponges (get a few!)
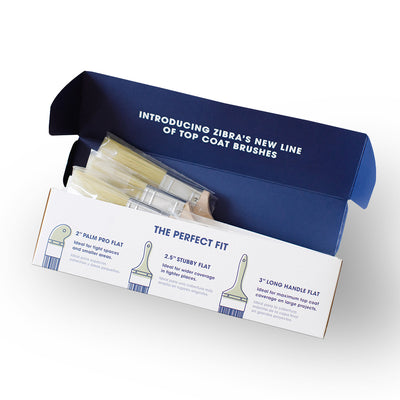
- Large Surface Brush for railings, Detail Brushes for spindles (see “choosing the right brushes”)
- Foam roller (optional, see “choosing the right brushes”)
- Deglosser (If railings or spindles have clear coat/varnish)
- Degreaser (Dawn dish soap will do!)
- Microfiber or tack cloth
- Stainblocking primer (unless using a paint & primer in one)
- Painting Accessories- drop cloths & painting apron
- Painter’s tape (optional)
- Paint (personal preference)
Choosing The Right Brushes
Even if you are painting the railings and spindles the same color, it is best to use the right paintbrushes specific to each application.
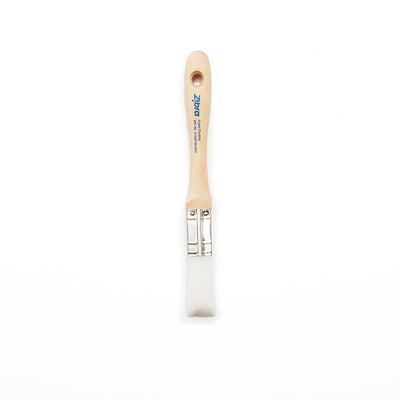
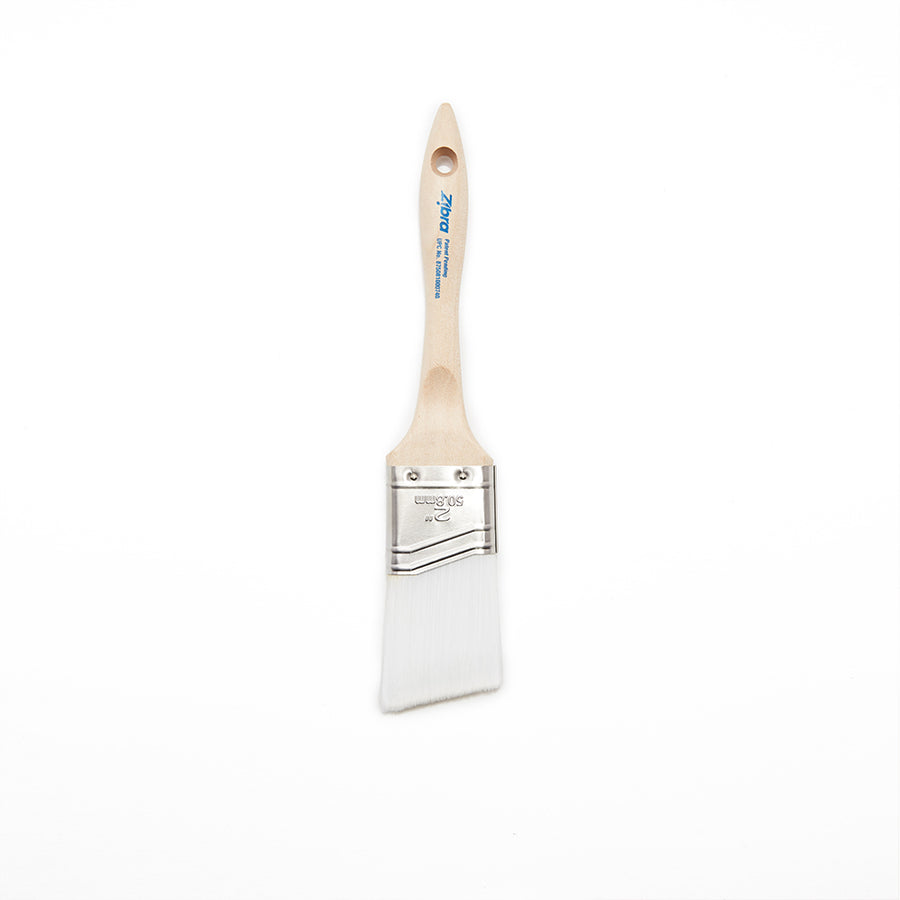
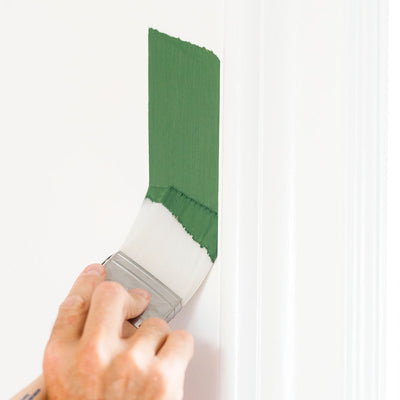
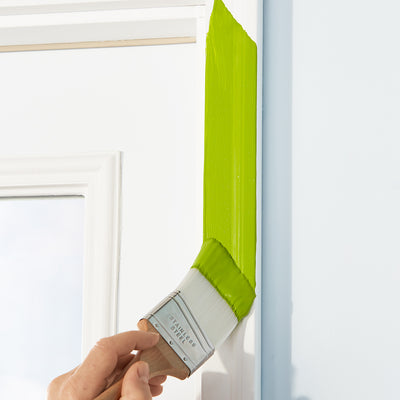
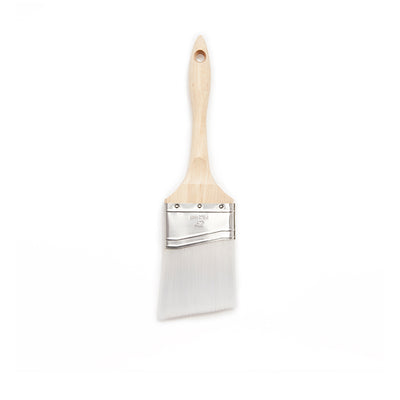
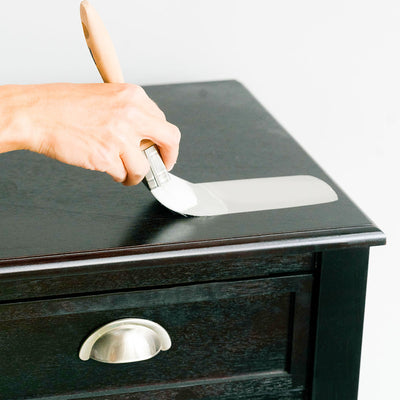
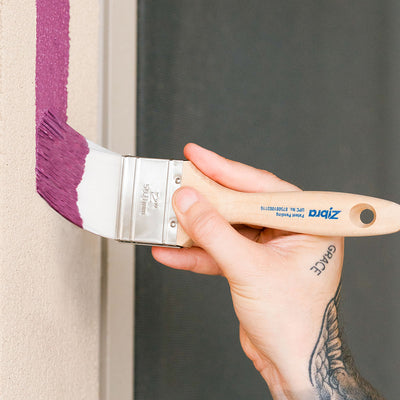
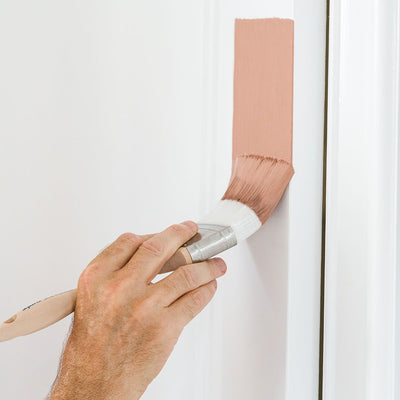
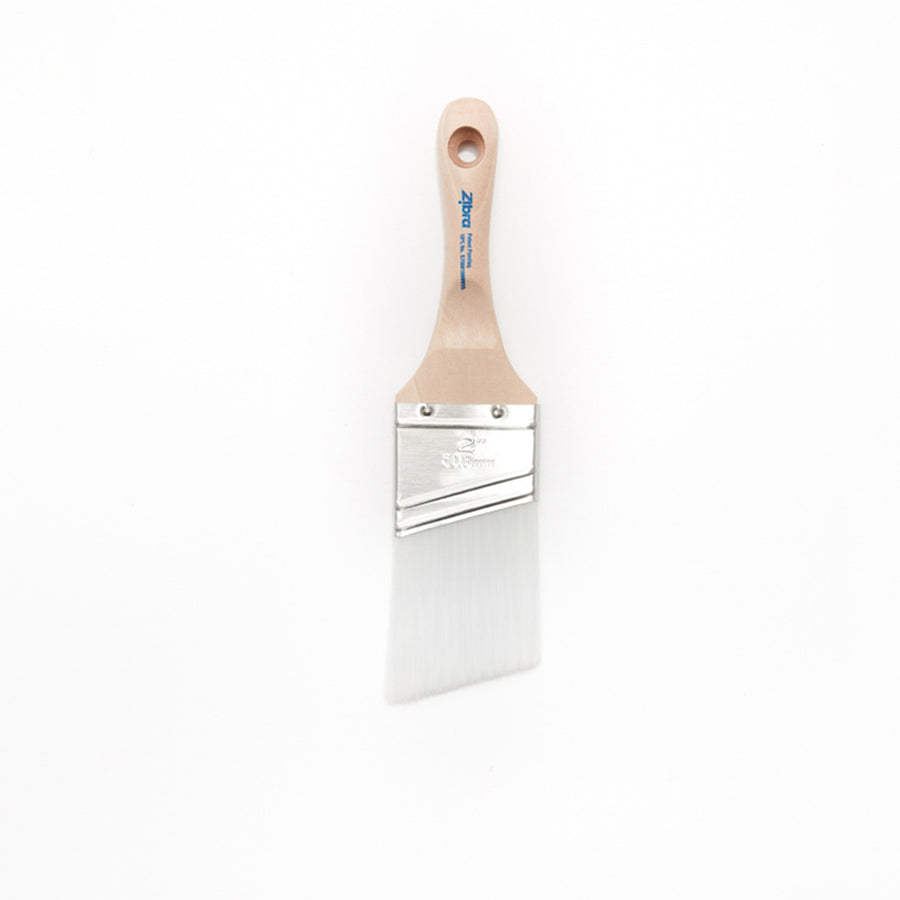
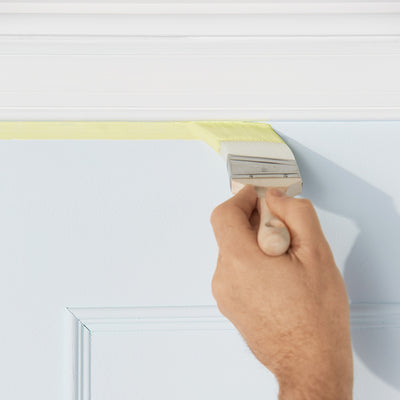
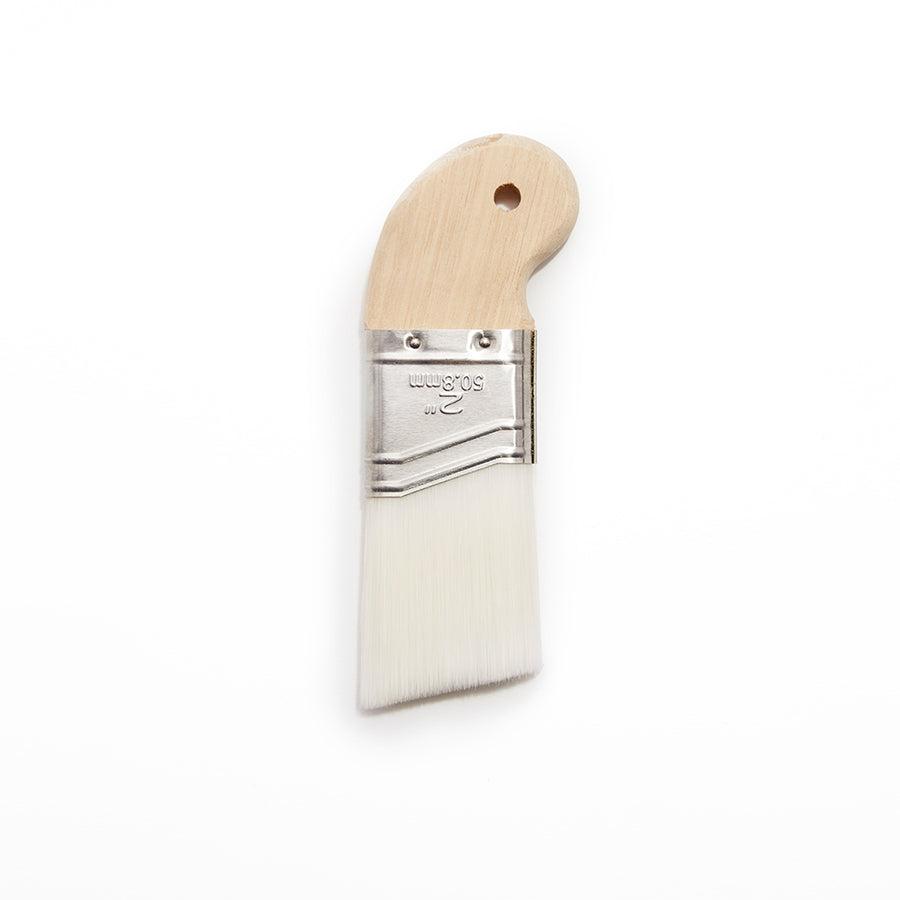
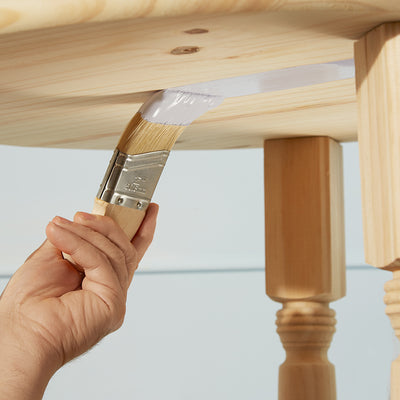
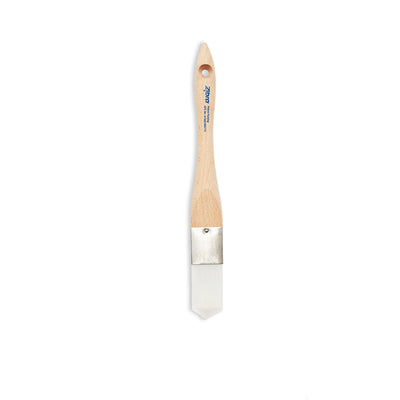
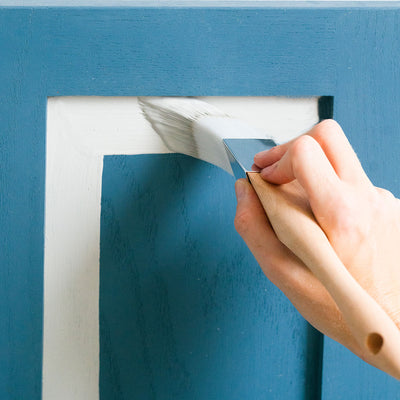
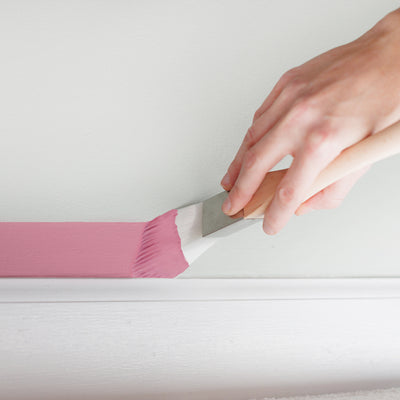
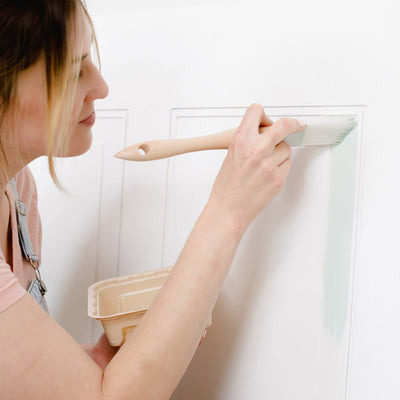
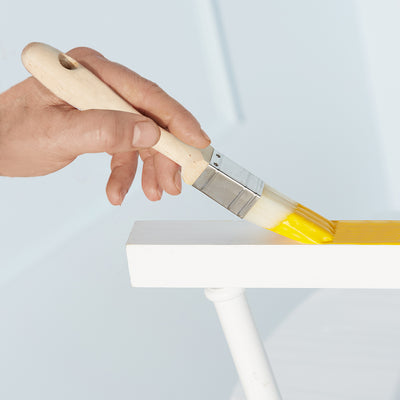
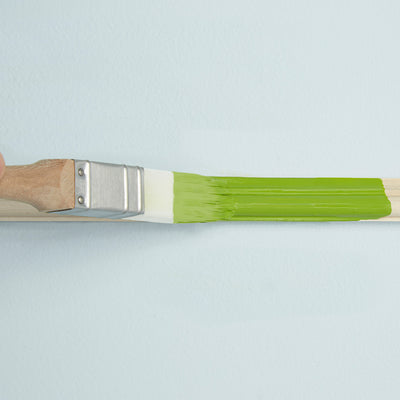
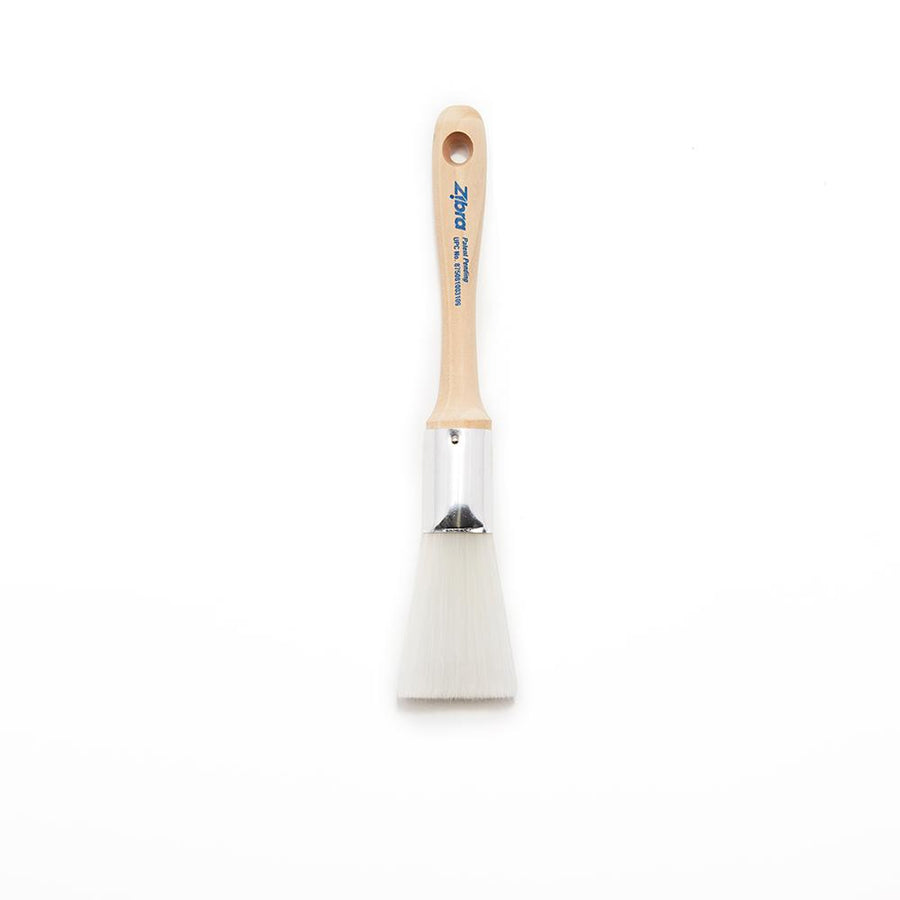
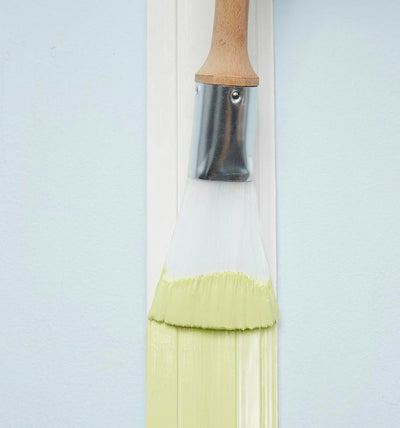
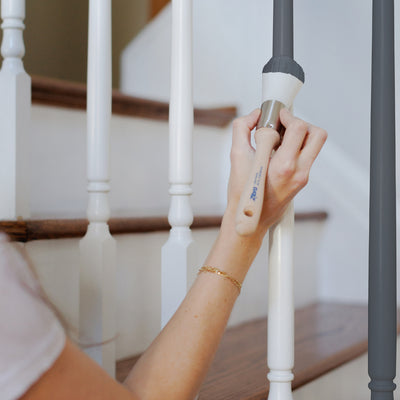
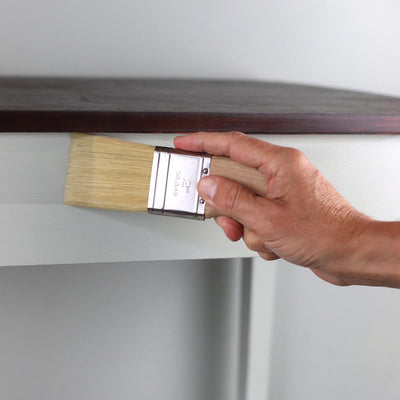
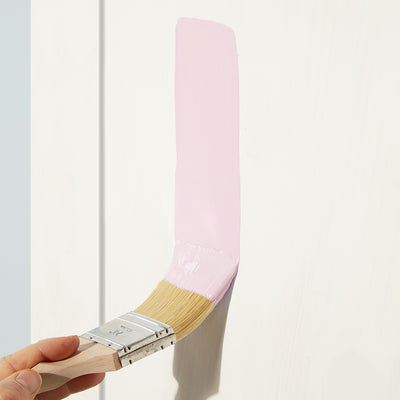
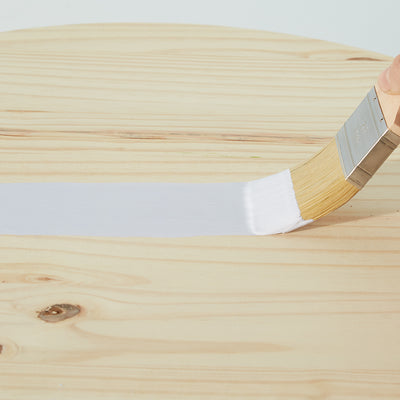
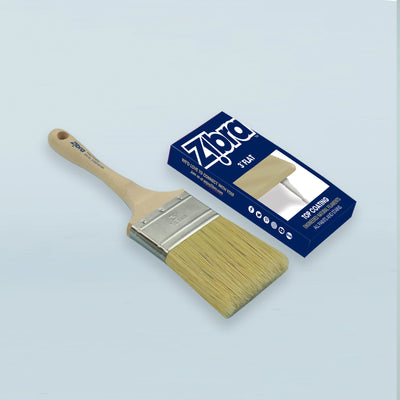
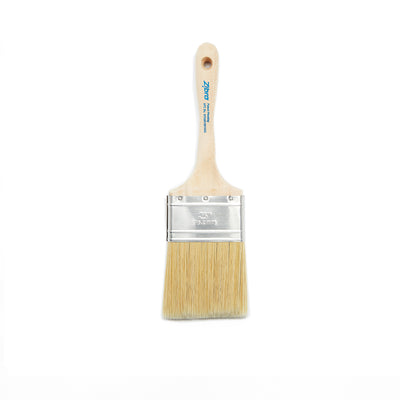
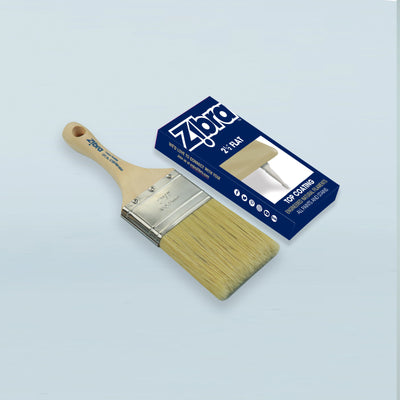
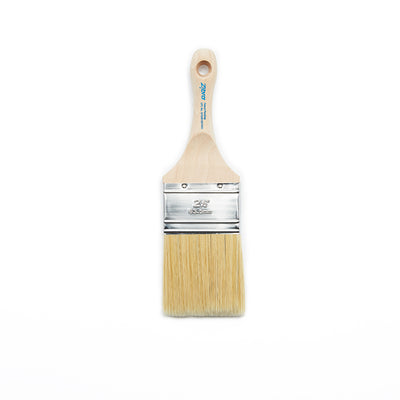
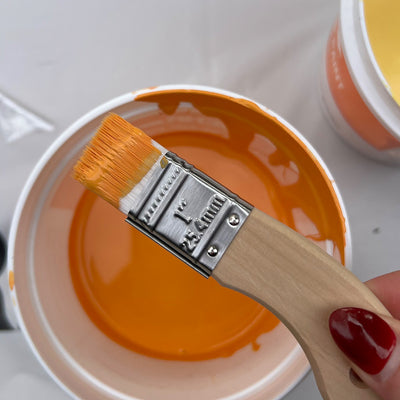
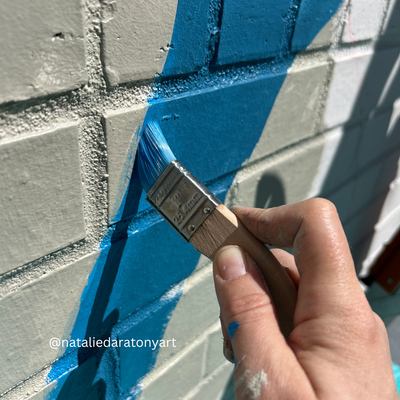
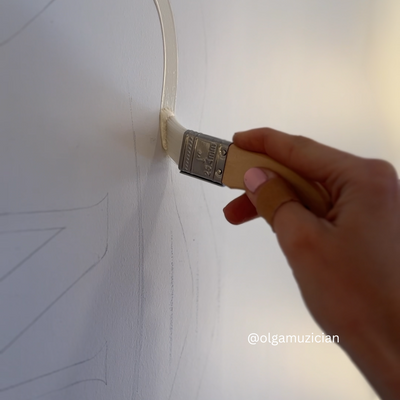
For instance, a Large Surface Paintbrush like the Zibra Trim Paintbrush is an angled paintbrush ideal for painting flat and trim or trim-like surfaces. This brush will cover more evenly than a foam roller, which typically requires you to follow up with an angled brush for touch ups anyway. This isn’t to say you can’t use a foam roller too, but just know you’ll need to touch up any grooves or curved surfaces with an angled brush.

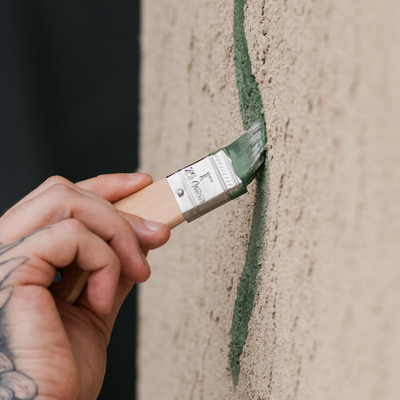
If your stair rails have any sort of detailing to them, the Trim Paintbrush will work much better than a foam roller.
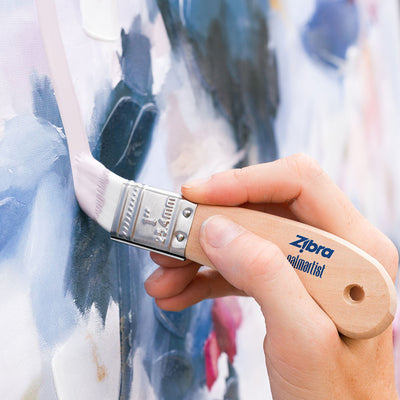
Now, about those balusters and spindles. Learning how to paint stair spindles takes patience and the right brushes, and trust us when we tell you that using a Detail Brush designed for the shape of your balusters will save you a lot of time and heartache!
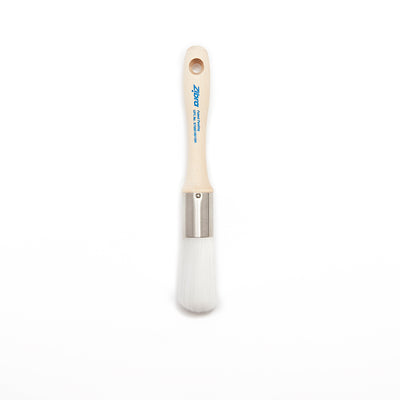
Painting Spindles With Round, Curved, or Ornate Details
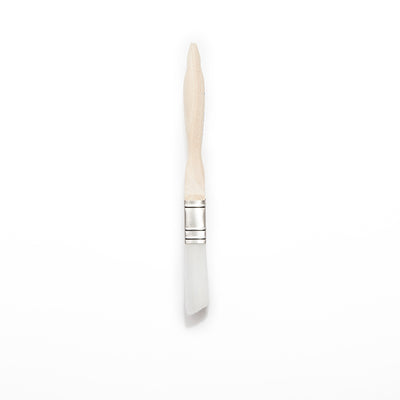
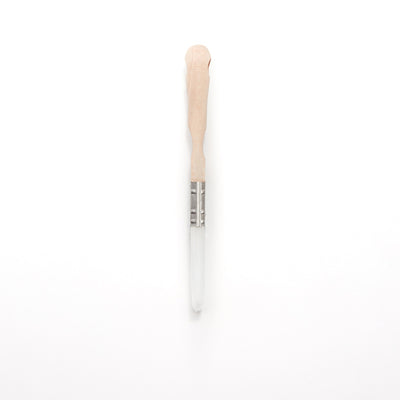
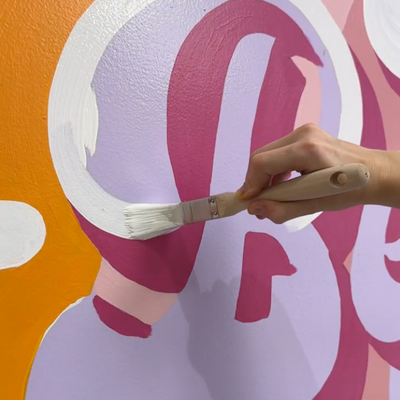
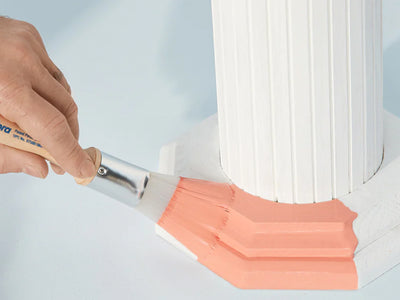
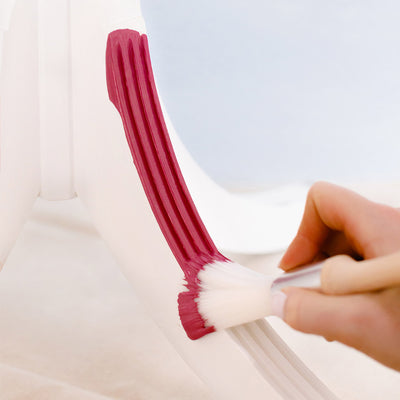
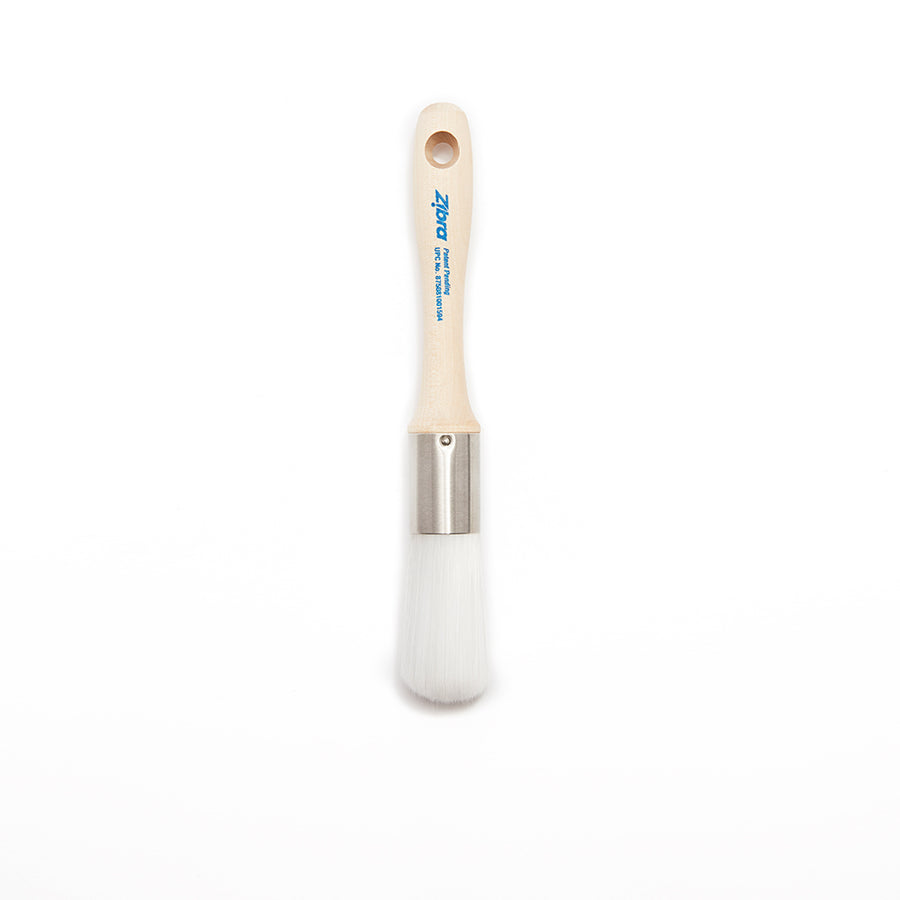
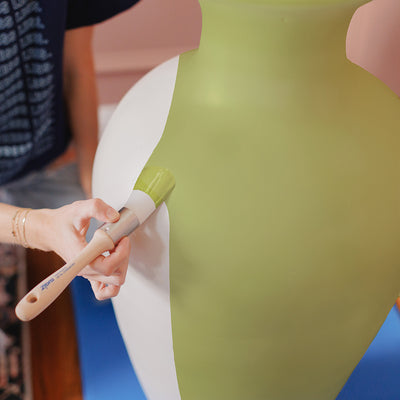
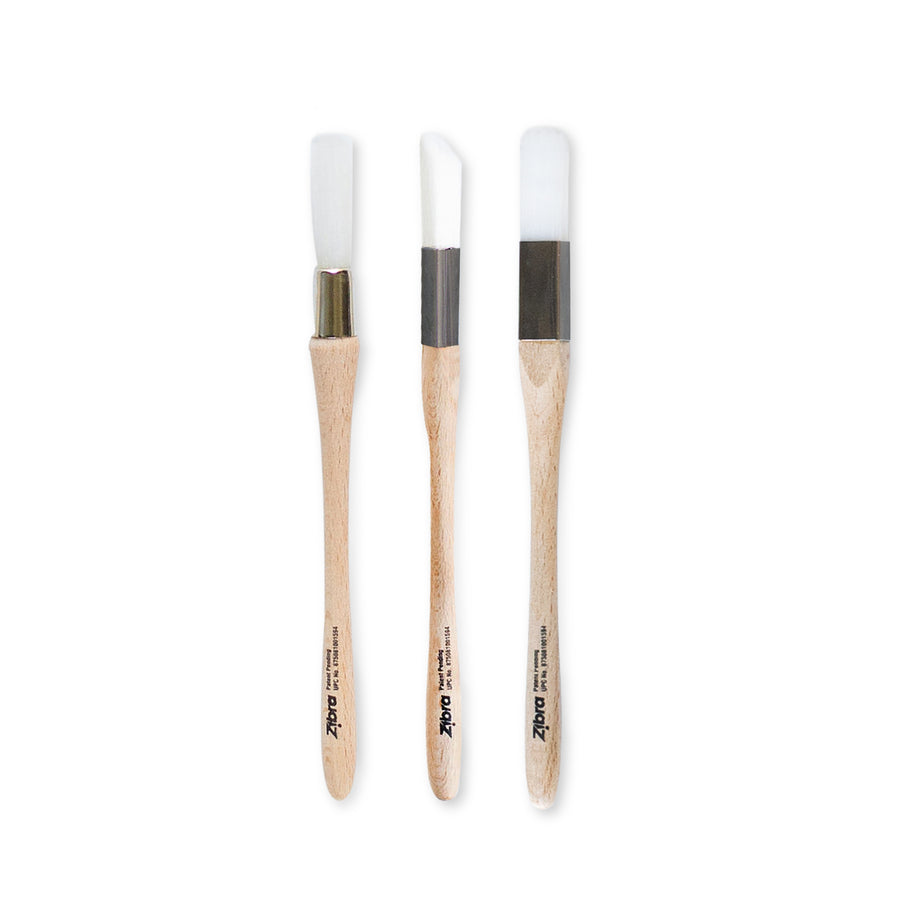
If you’re painting round or curved spindles, or spindles with ornate details, a flat or angled brush just isn’t going to cut it. Our Round Brush, however, was created specifically for applying long, smooth runs of paint on curved surfaces, spindles, and ornate detail work.
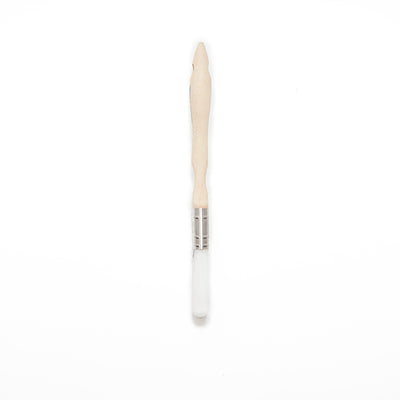
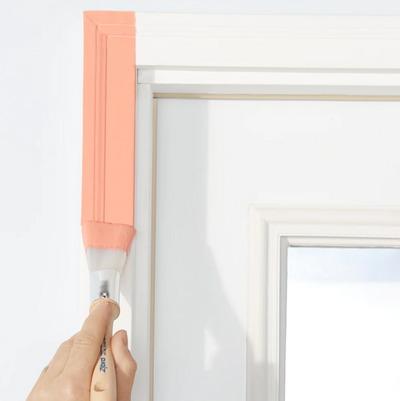
Painting Square Balusters
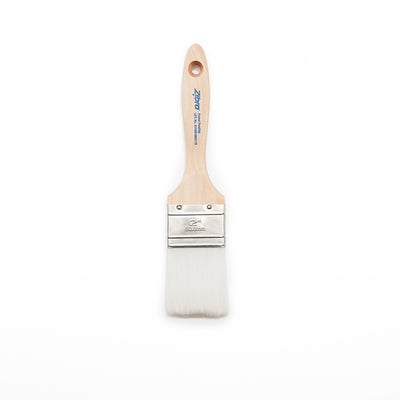
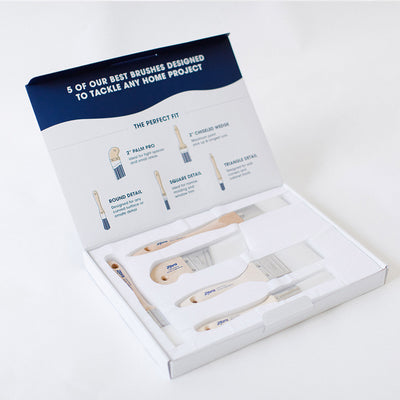
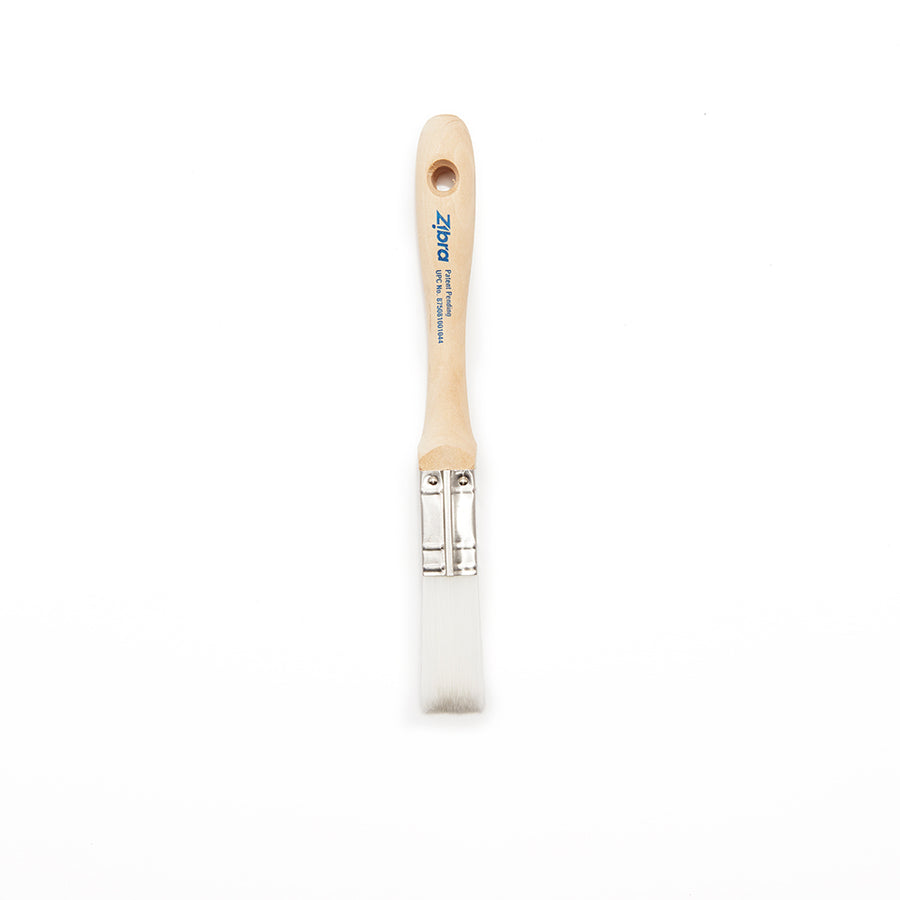
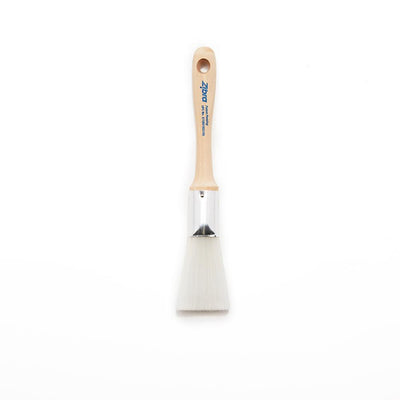
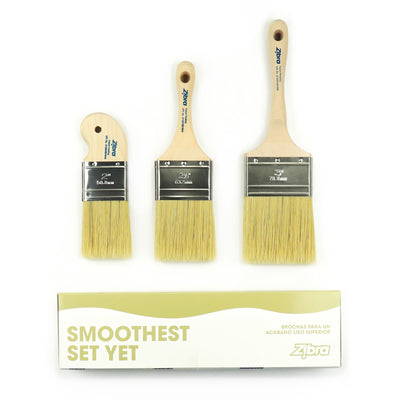
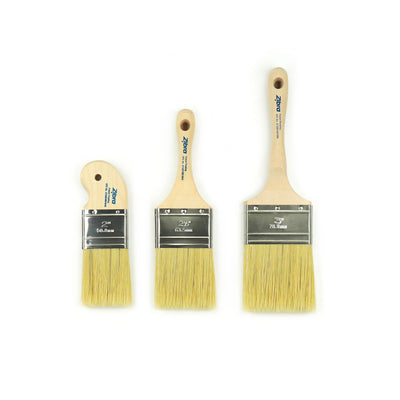
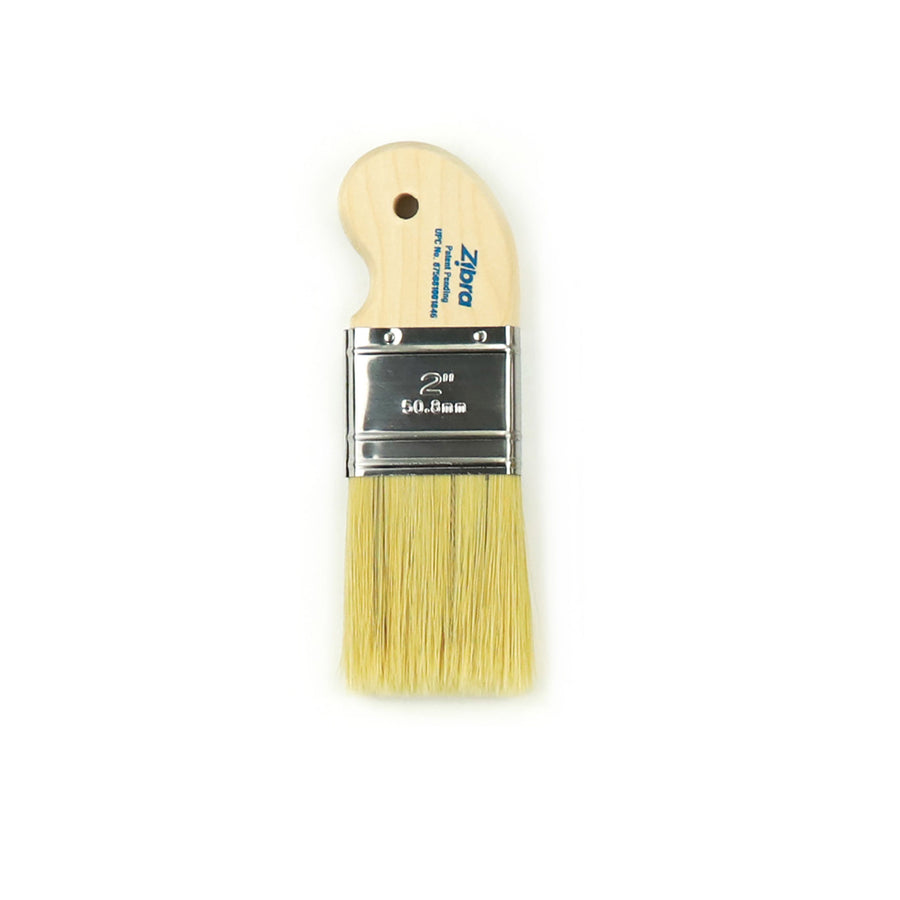
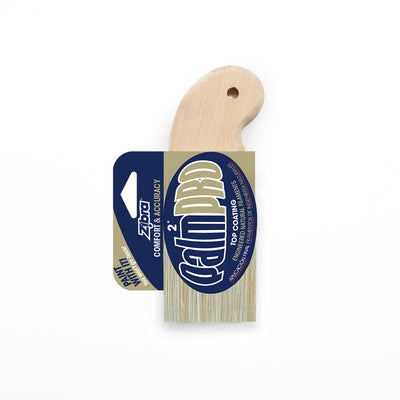
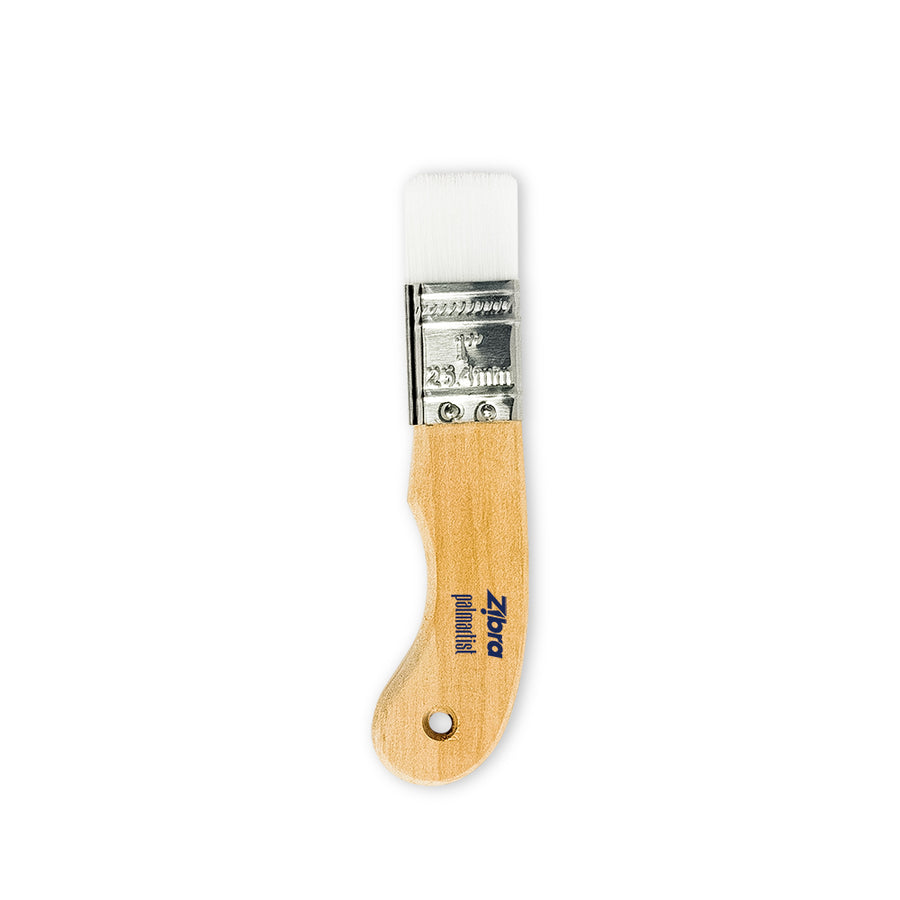
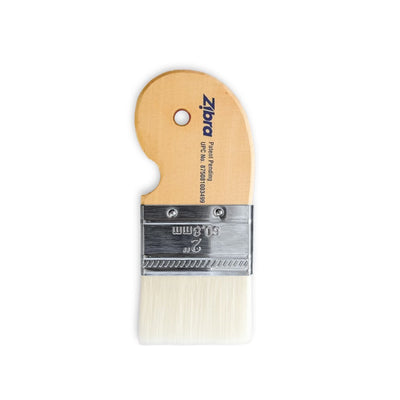
Have square balusters to paint? Our Square Paintbrush will make quick work of this paint job! Designed with a 1” square head, this detail brush was born to paint flat ledges and narrow surfaces. Or, check out our Paintbrush Kits to get your hands on the best brushes for every job in one, like the Best of Zibra Paint Brush Kit!

Need brushes today? Just visit your local Home Depot, Lowes, or search local retailers to find the closest Zibra retailer to you!
Step 1: Clean & Prep
For the smoothest finish possible, clean your railings and balusters with a degreaser and tack cloth or microfiber cloth. Dawn dish soap and warm water works fine, and can also be used to Clean Your Paintbrushes when you’re done painting. Win-win!
Make sure to wipe clean and allow to dry before moving on to step 2.
If your railings or balusters have a sealer or varnish, a liquid deglosser may be a good idea. Otherwise, your paint might not stick as well and be more prone to chipping.
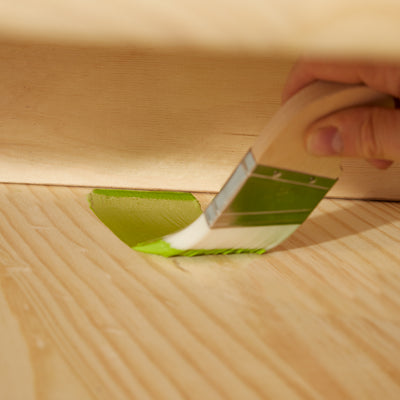
Step 2: Sand
Now that your stair railings and balusters are clean, it’s time to sand. Sanding will help take off existing varnish and create a better bond for your paint. It also ensures you’ve got a clean and smooth surface to work with. A light sand in the direction of the grain will work just fine, there is really no need to tire yourself out sanding down to the original wood, just enough to create a bit of a rough surface for your paint to stick.
Be sure to wipe down any railings or balusters that you sanded with a wet cloth and allow to dry before painting.
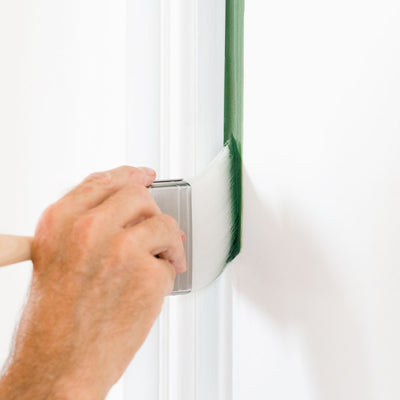
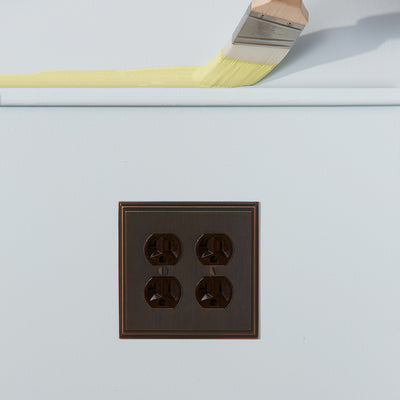
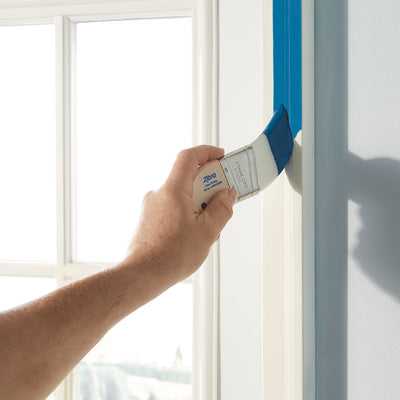
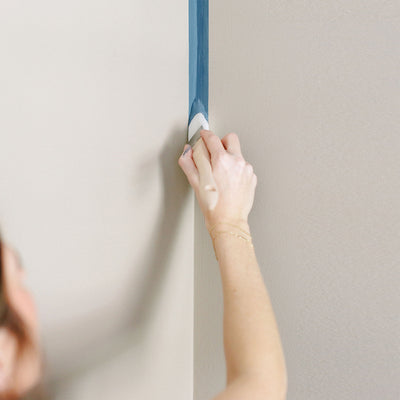
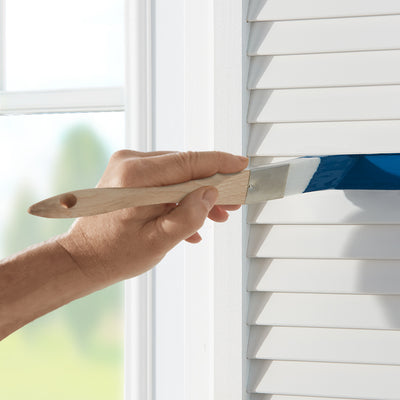
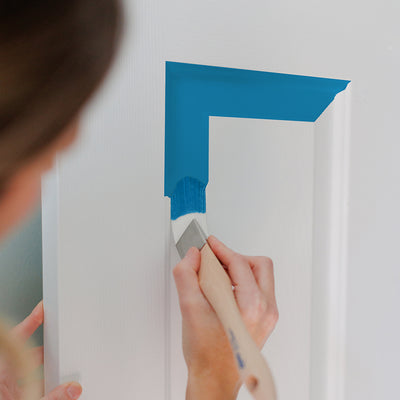
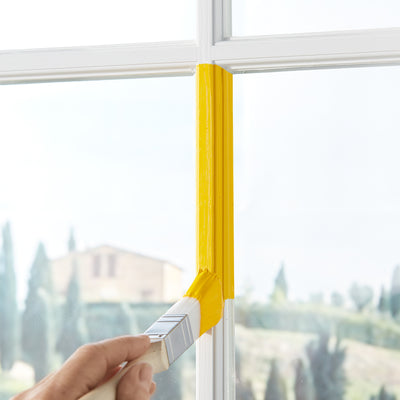
Step 3: Tape off Walls, Spindles, etc.
The easiest way to paint stair rails and balusters is to start with the railings. Taping them off is optional, but if you are painting your railings and balusters two different colors, it definitely doesn’t hurt to protect the spindles from the darker paint! Plus, if you’re painting other parts of the stair railings that meet walls or stairs, you’ll save yourself a lot of trouble by not having to scrape or touch up paint where it doesn’t belong.
Step 4: Prime & Paint
Unless you’re using a two-in-one paint and primer, one coat of primer should do the trick. If you are going from a dark banister to a lighter one, you may need 2 coats of primer. Once your primer is dry, lightly go over it with your sanding sponge. This will help the paint stick for a better finish. Wipe off any sanded spots with a cloth and start painting, remembering to work from the bottom up. Once you’re happy with your painted railing, allow the paint to dry completely before adding a second coat or removing the tape.
Follow the same steps for the balusters and railings until you achieve your desired results, making sure you allow all paint to dry before moving onto a second coat or removing any taped off areas.
Pro Painting Tips for Best Results
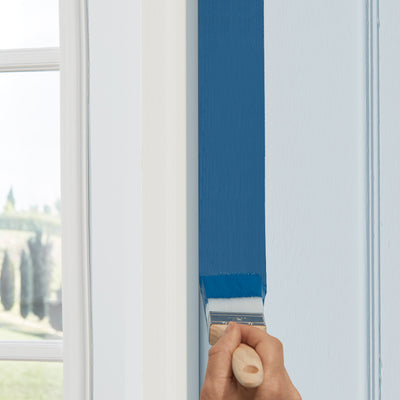
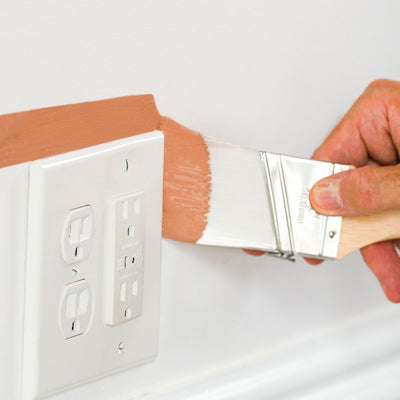
- When painting railings, work from the bottom up of the staircase up. This way your paint doesn't run down the railing and leave drips.
- Work quickly in small sections, covering one section completely, then be sure to even it all out. Follow up by laying out paint with even brush strokes. This will help the paint gel out into a nice, even coat.
- Handrails are one of the most frequently used surfaces in the home. To make sure your paint job is durable enough for all of the use they get, sand them in the direction of the grain and firm enough to create a “rough” surface the paint and primer can stick to. You’ll thank us later!