Painting your kitchen cabinets is one of the most affordable ways to change the look of the whole room. Unfortunately, it is also one of the easiest projects to get wrong. Most disappointing cabinet jobs come down to two things: rushed prep and the wrong brush. We’re here to walk you through it the way a professional would do it, from removing the doors to the final coat.
The short answer on how to paint kitchen cabinets
To paint kitchen cabinets, remove the doors and hardware, degrease and lightly sand every surface, apply a bonding primer, then brush on two thin coats of a durable cabinet-grade paint with a quality angled or flat brush, sanding lightly between coats. Allow the paint to dry fully and give it time to cure before heavy use. Plan for several days, mostly because of drying time.
And in case you’re wondering: yes, you can paint cabinets with a brush! A good brush, thin coats and patience will give you a smooth finish without a sprayer.
What you need
Tools
Materials
- A degreasing cleaner suited to kitchen grease
- Wood filler, if you need to repair dings or holes
- A bonding primer made for glossy or previously finished surfaces
- A durable cabinet or enamel paint
For the paint itself, check the label. Most cabinet-grade paints specify the primer to use, the recoat time and the full cure time.
Step 1: Remove doors, drawers and hardware
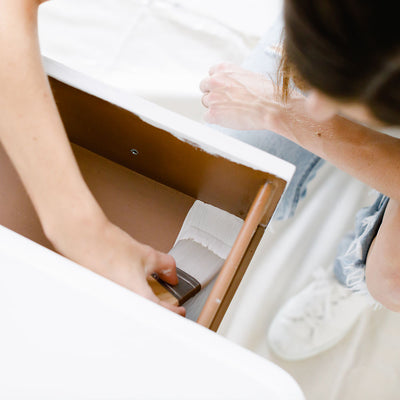
Take the doors off their hinges and pull out the drawer fronts. Remove the hinges and pulls too. Label each door and its matching spot on the cabinet frame with painter's tape and a number so everything goes back where it came from. Painting doors flat on a work surface also helps you avoid drips.
Step 2: Clean and degrease
Kitchen cabinets collect cooking grease, even when they look clean. Paint will not stick well to a greasy surface, so wash every door, drawer front and frame with a degreasing cleaner, then wipe with clean water and let everything dry. Pay extra attention to the areas around the stove and the handles.
Step 3: Repair and sand
Fill any dings or holes with wood filler and let it dry. Then lightly sand all surfaces to dull the existing finish. The goal is to scuff the surface so the primer can grip, not to strip it back to bare wood. Wipe away the dust with a damp cloth.
If you are unsure how much sanding your cabinets need, check out our post on How to Prep Walls for Painting for the same principles of surface prep.
Step 4: Prime
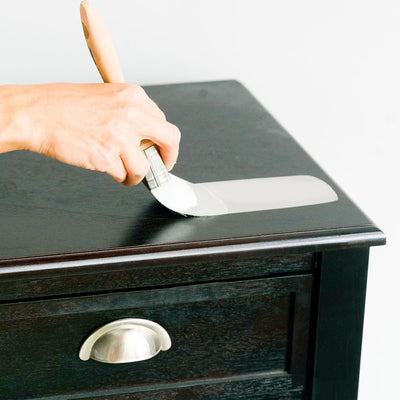
Apply a bonding primer in a thin, even coat. Primer matters most on glossy, laminate or previously painted cabinets, and on bare wood that can bleed tannins through the paint. Let it dry as directed on the can, then lightly sand any rough spots and wipe off the dust again.
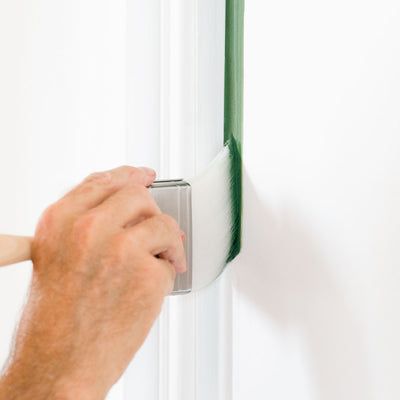
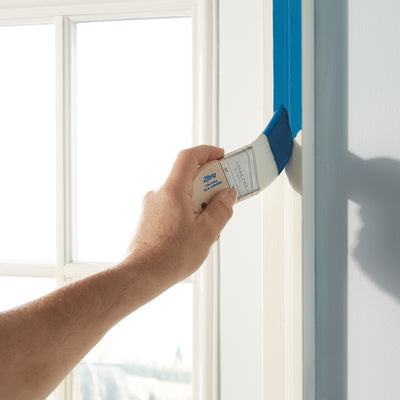
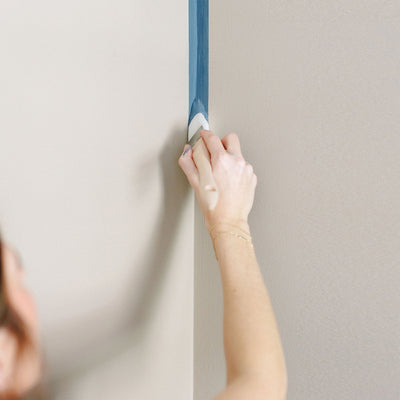
Before priming, tape off the walls, countertops and the inside edges of the cabinet boxes if you are not painting them.
Step 5: Paint the first coat
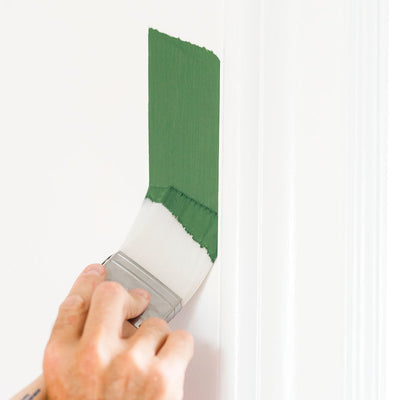
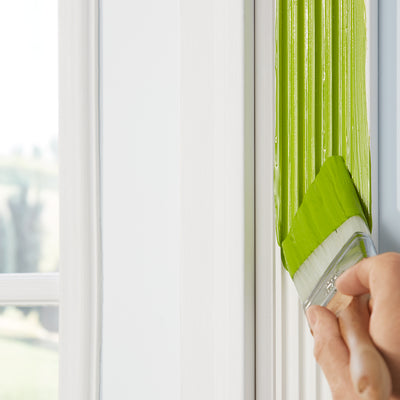
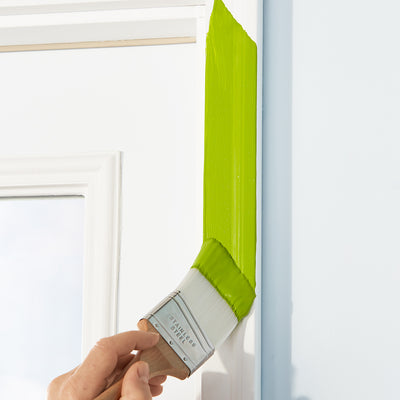
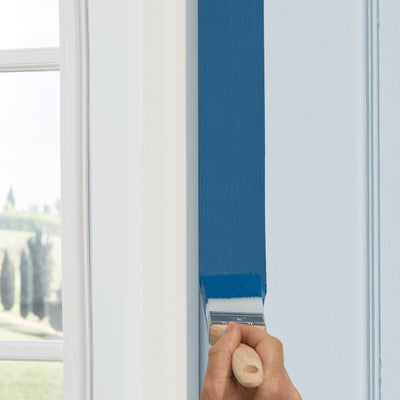
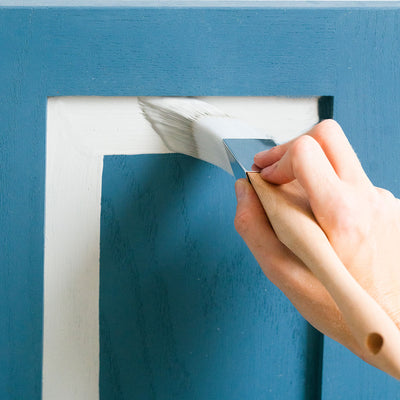
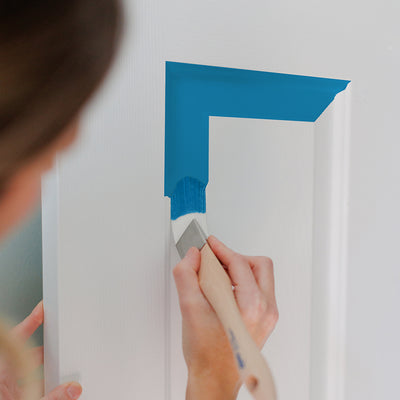
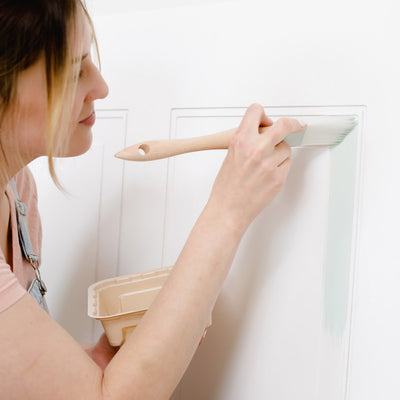
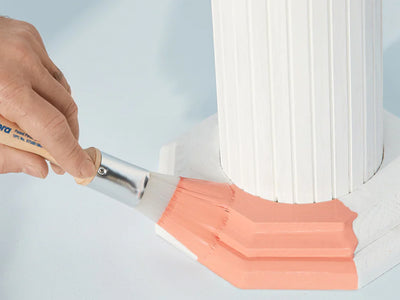
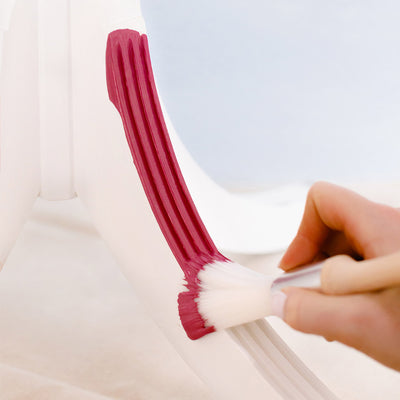
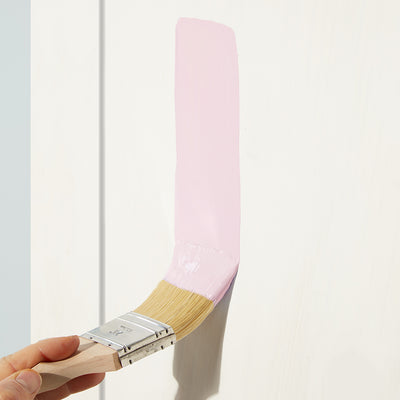
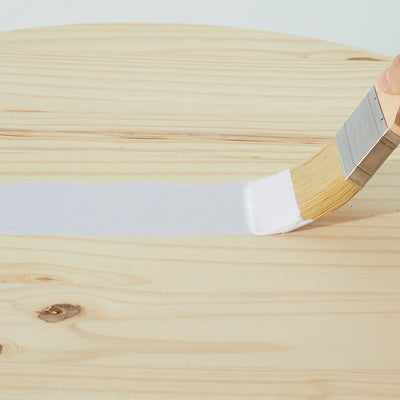
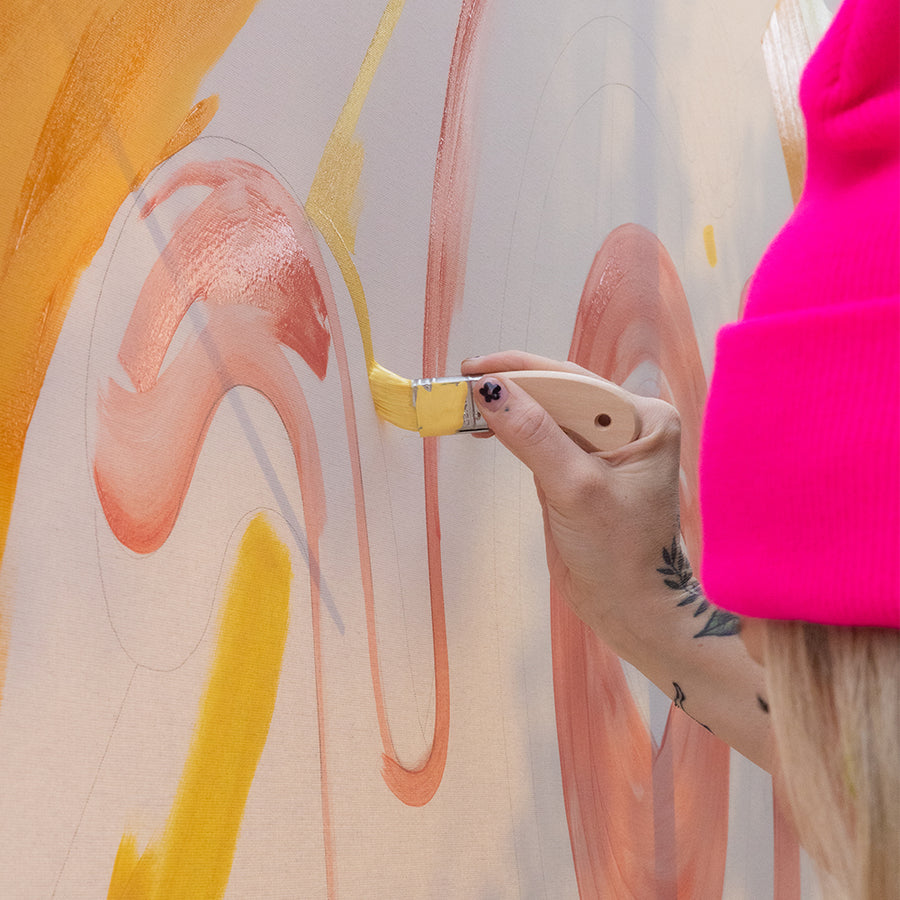
Work in a logical order so you never touch wet paint. On a door with raised panels, paint the recessed panel and its inner edges first, then the horizontal rails, then the vertical stiles last. On a flat door, paint the edges first, then the face. Always finish with long strokes in the direction of the grain.
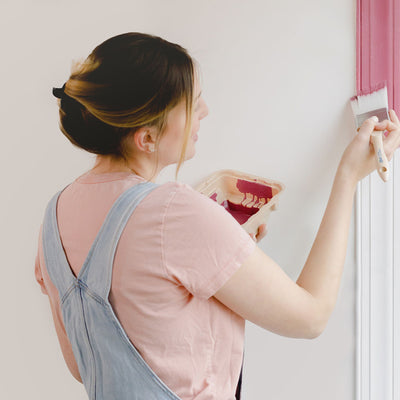
How you load and handle the brush matters as much as the paint:
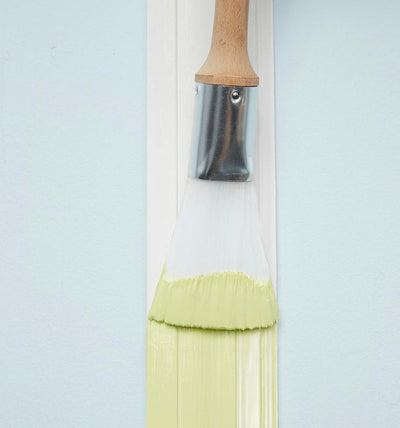
- Dip only the first third of the bristles and tap, don't wipe, off the excess.
- Use thin coats. Two thin coats look better and cure harder than one thick one.
- Keep a wet edge. Overlap each stroke into the last while the paint is still workable.
- Don't overwork it. Lay the paint on, level it with one light pass, and leave it alone.
- Check for drips in corners and along panel edges a few minutes after painting.
Which brush is best for painting cabinets?
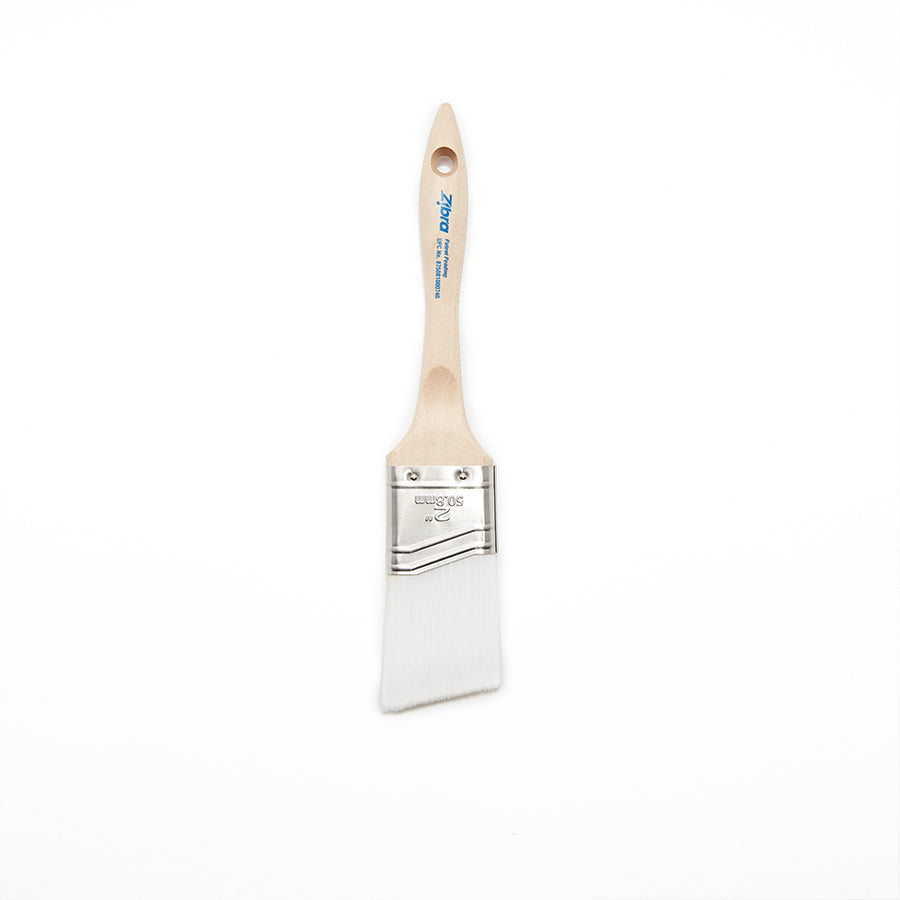
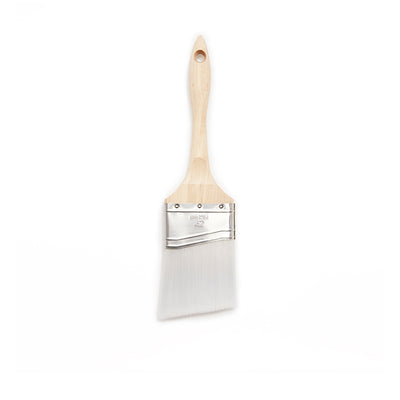
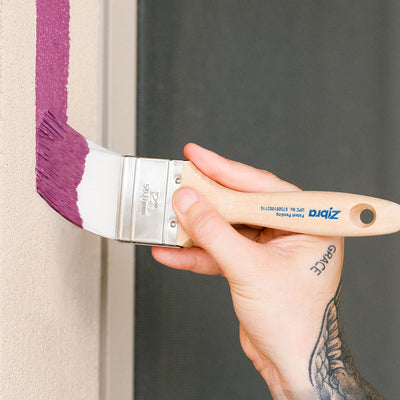
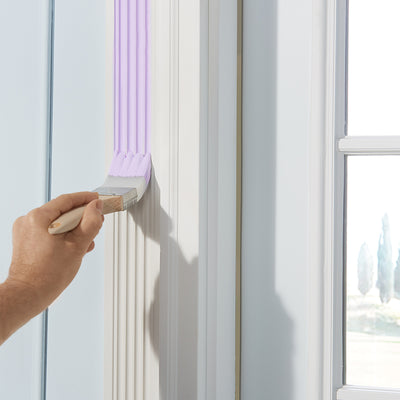
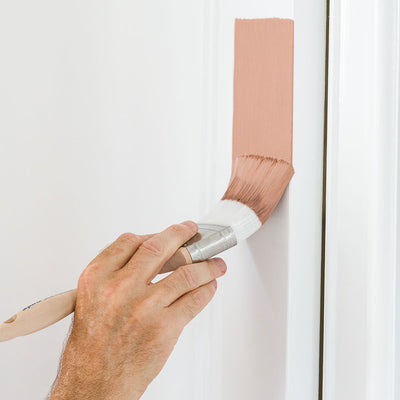
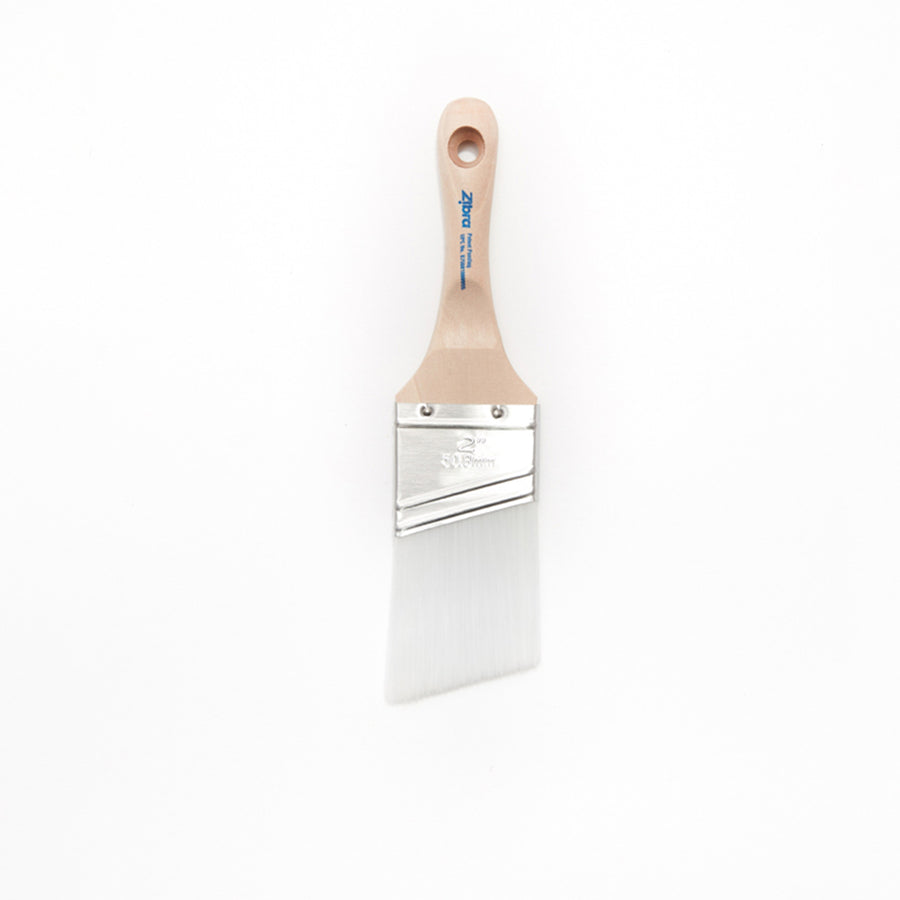
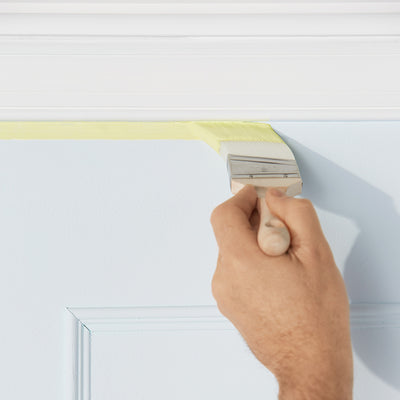
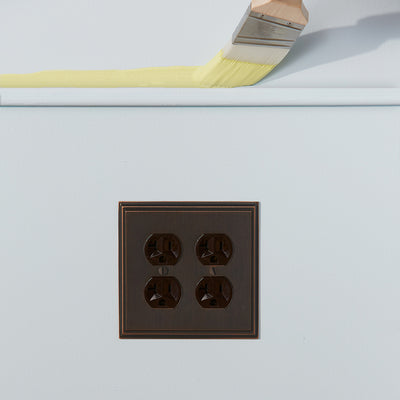
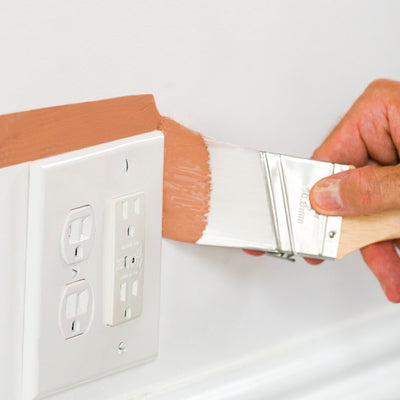
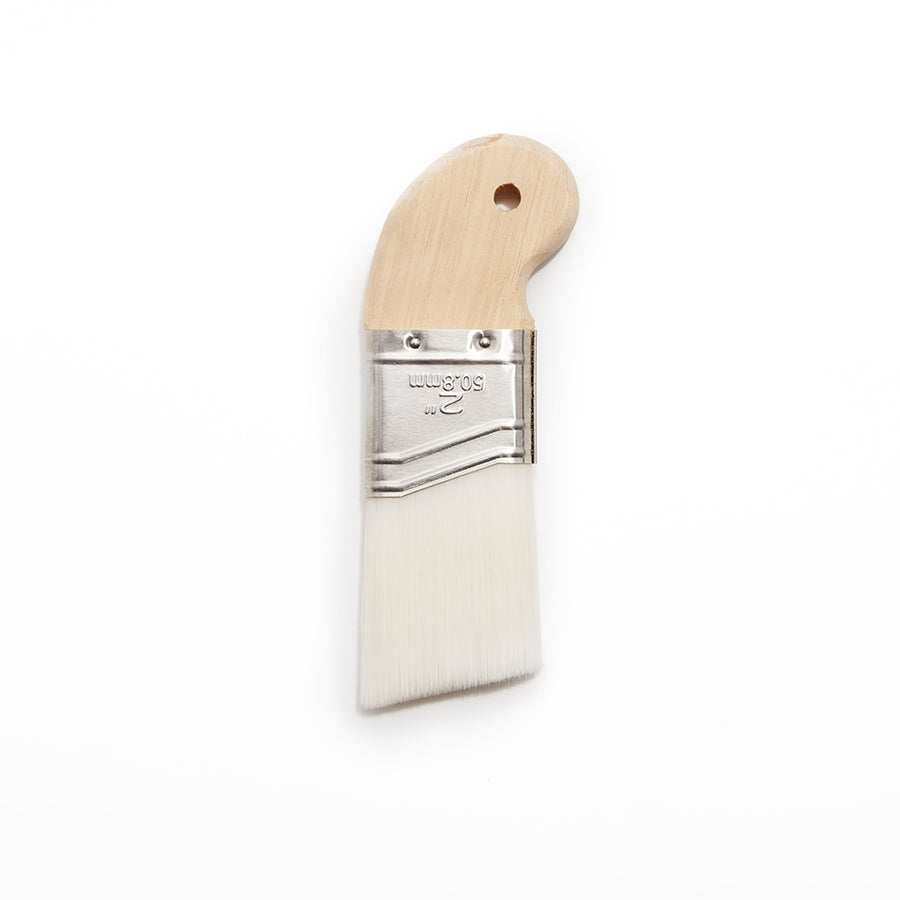
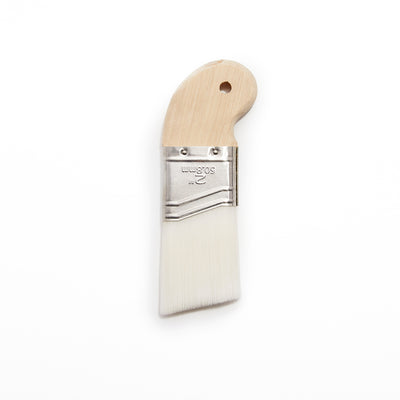
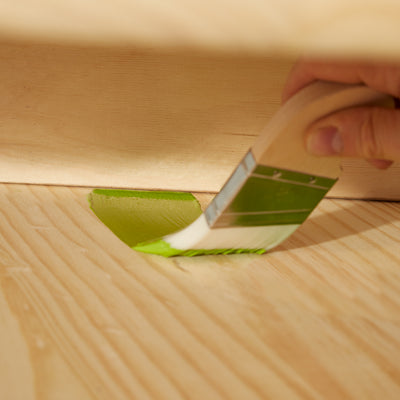
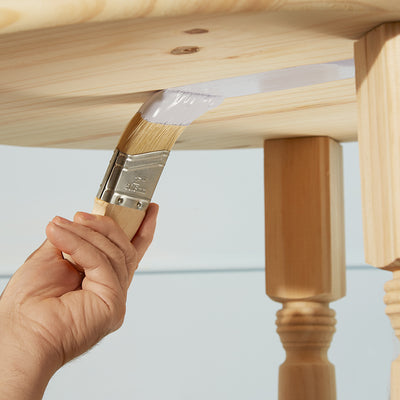
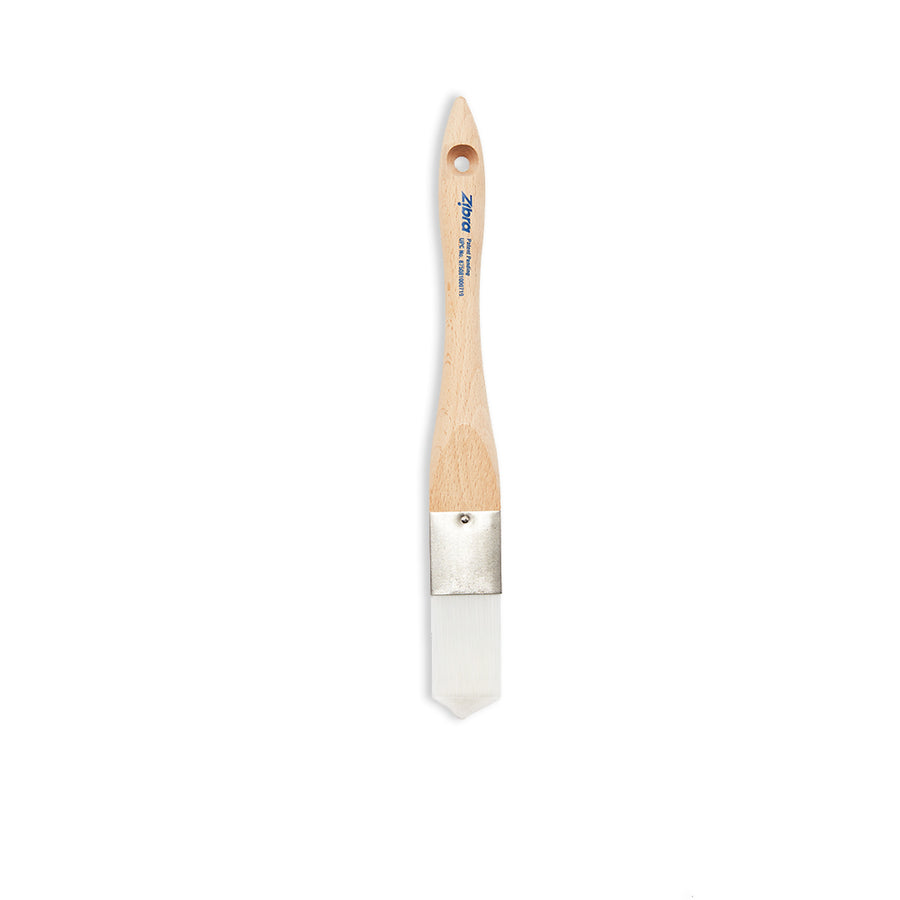
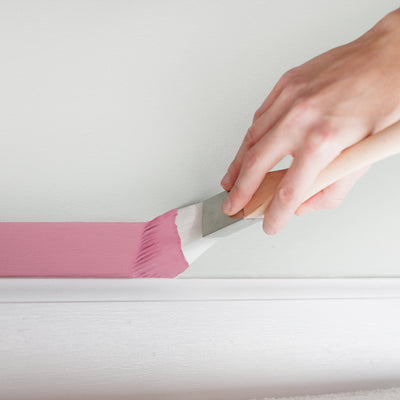
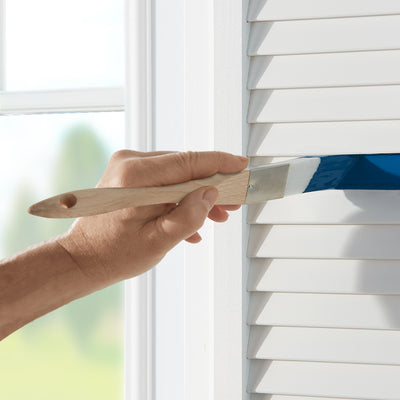
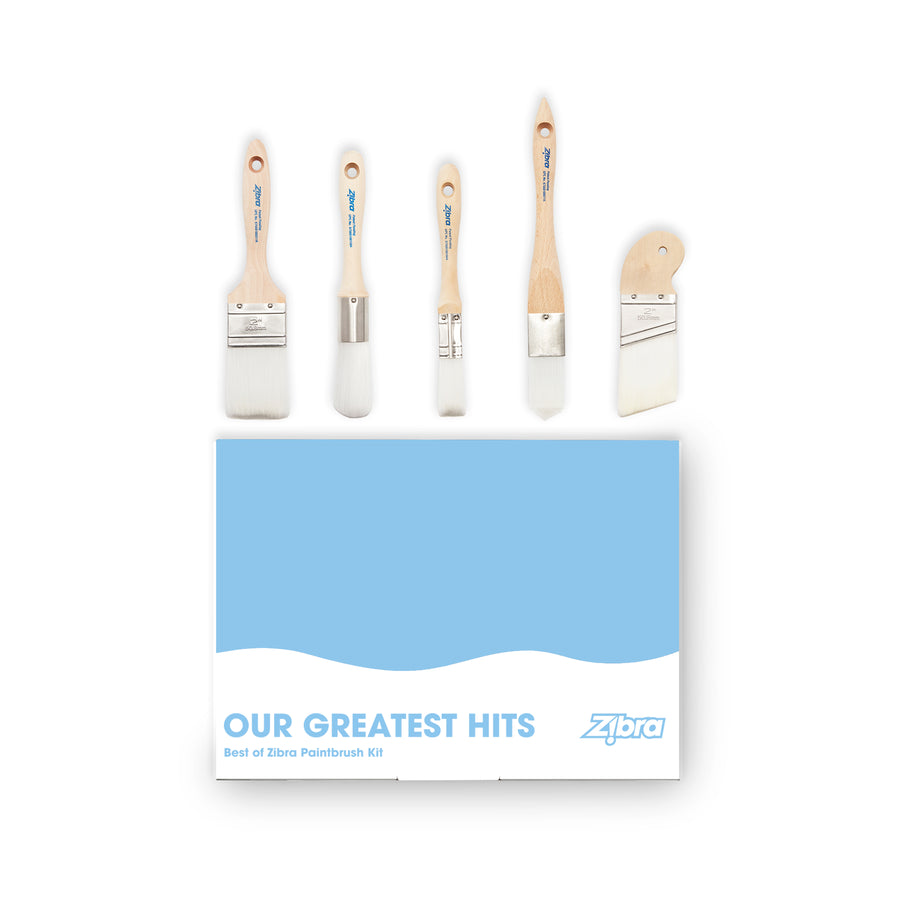
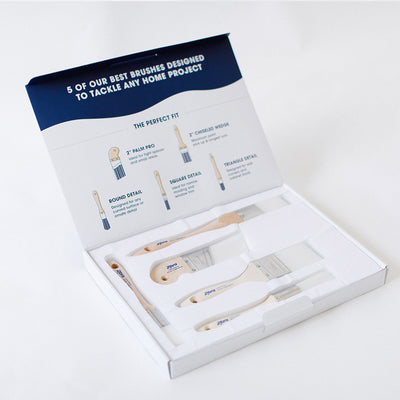
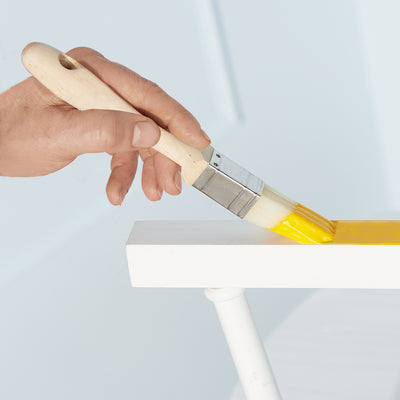
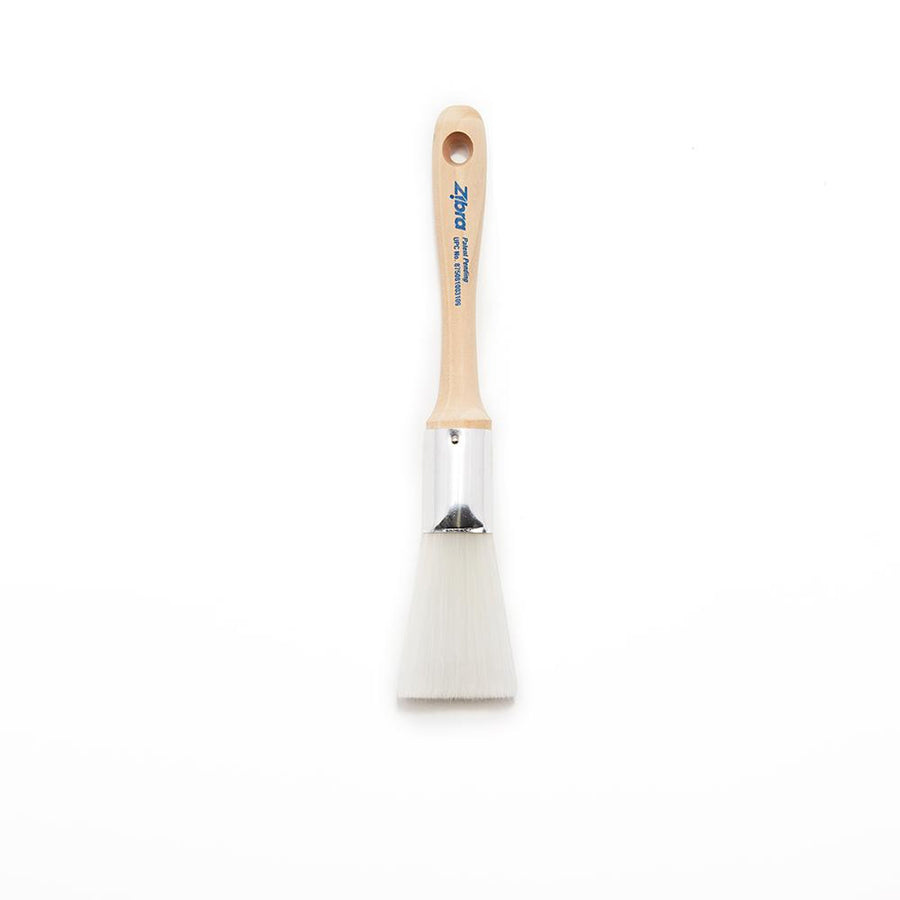
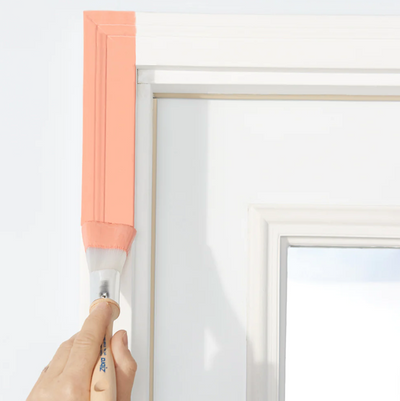
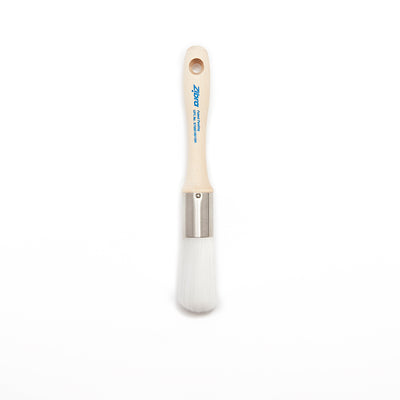
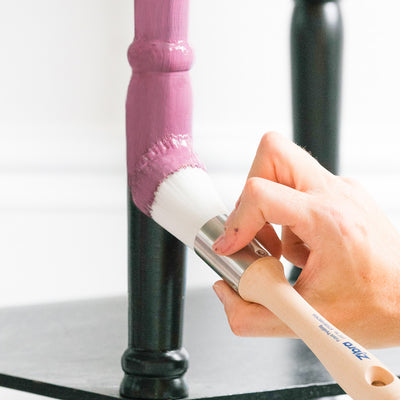
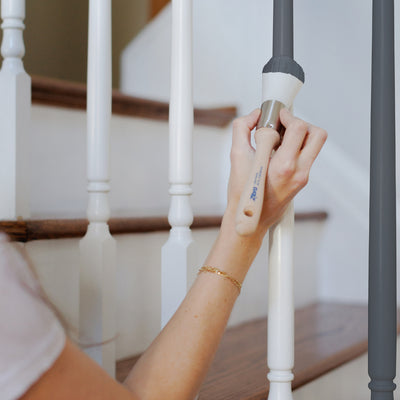
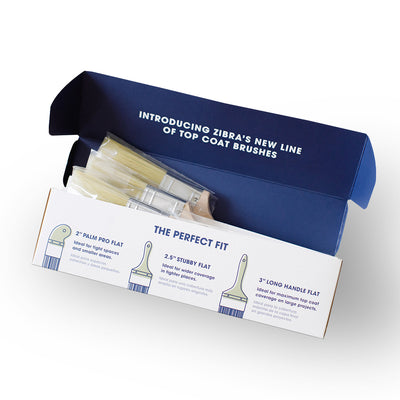
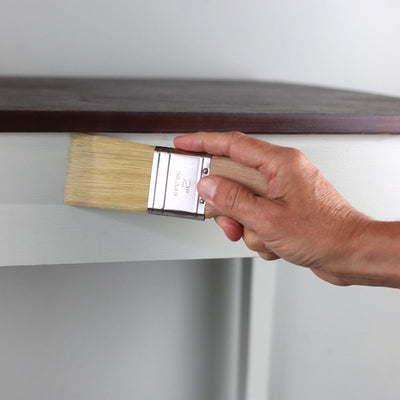
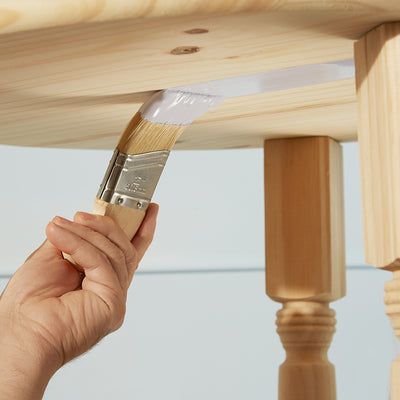
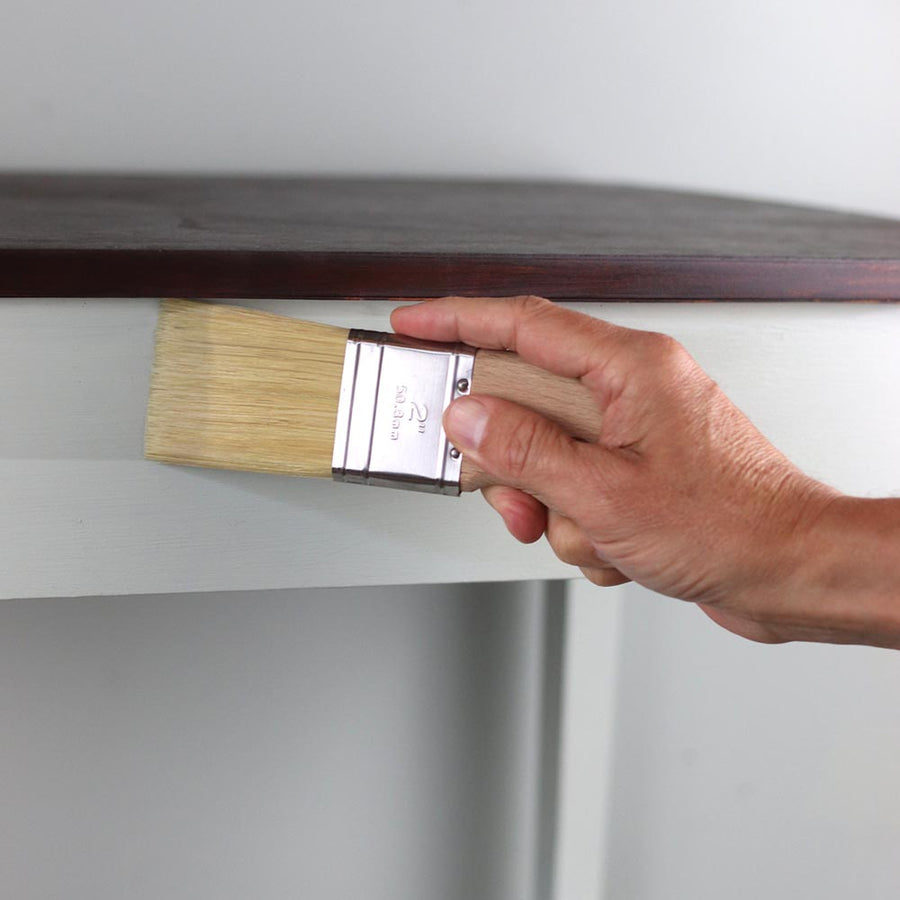
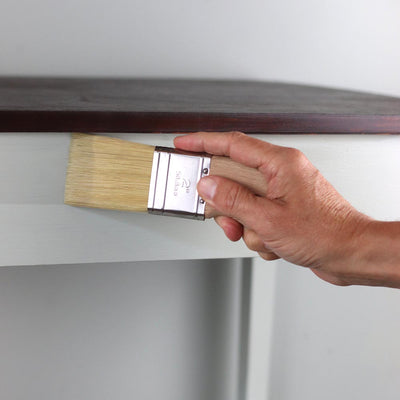
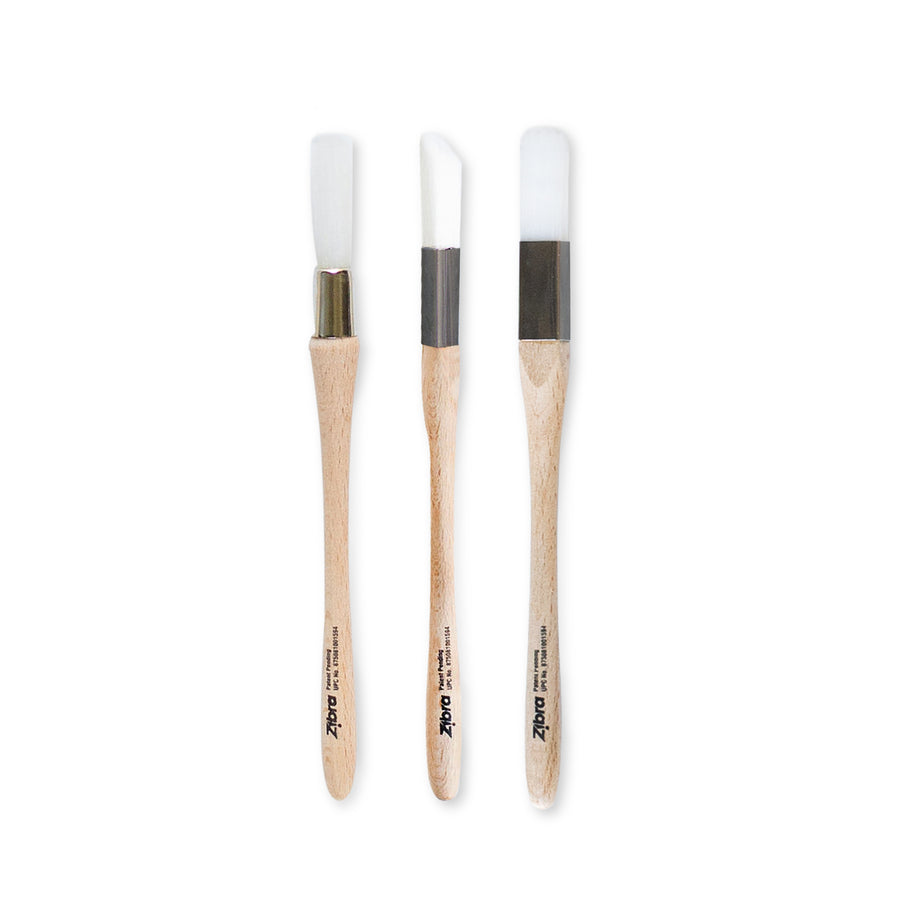
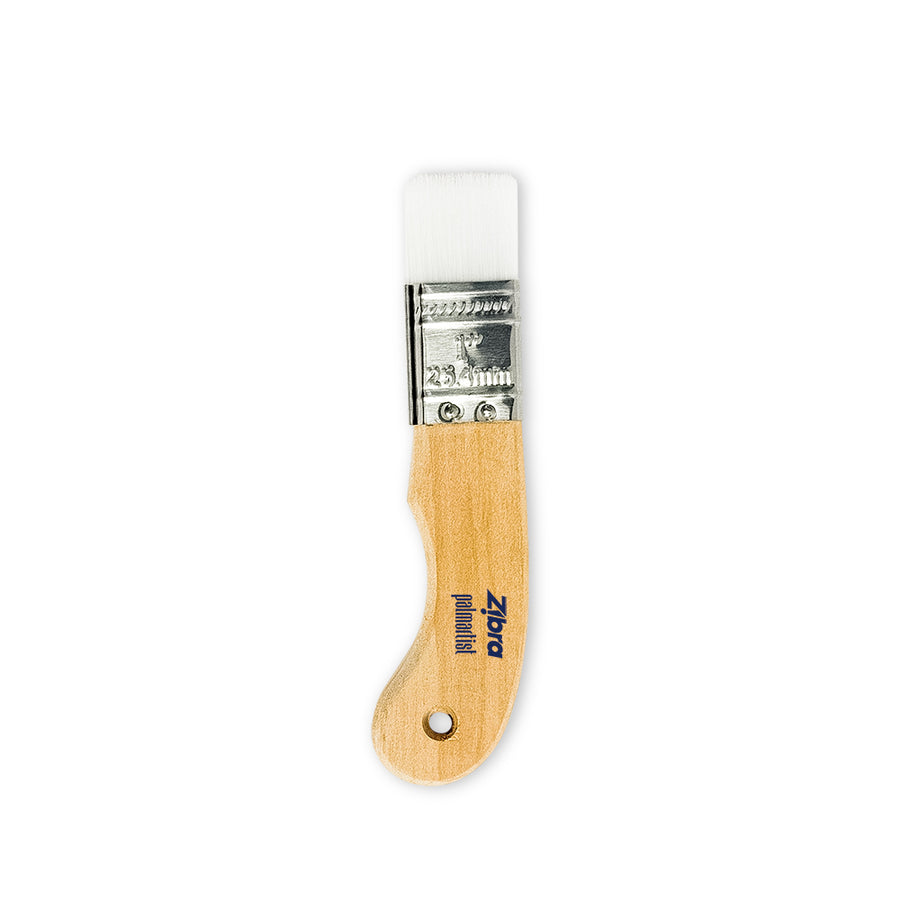
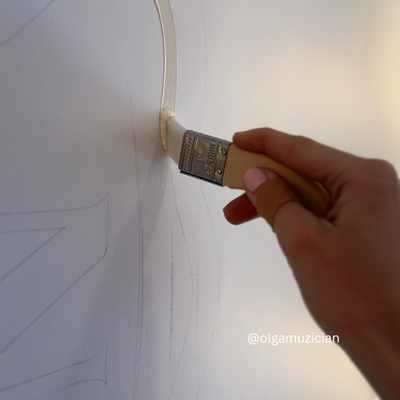
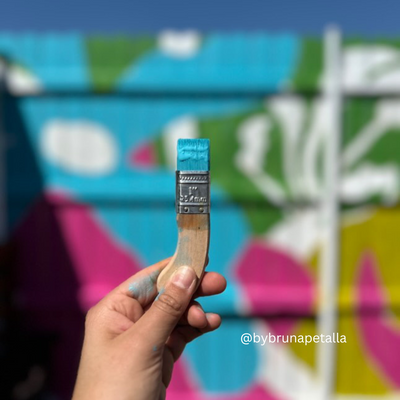
For most cabinets, an angled brush or Triangle Brush gives you the control to cut clean lines around panel edges and into corners, while a flat brush covers wider rails and stiles.
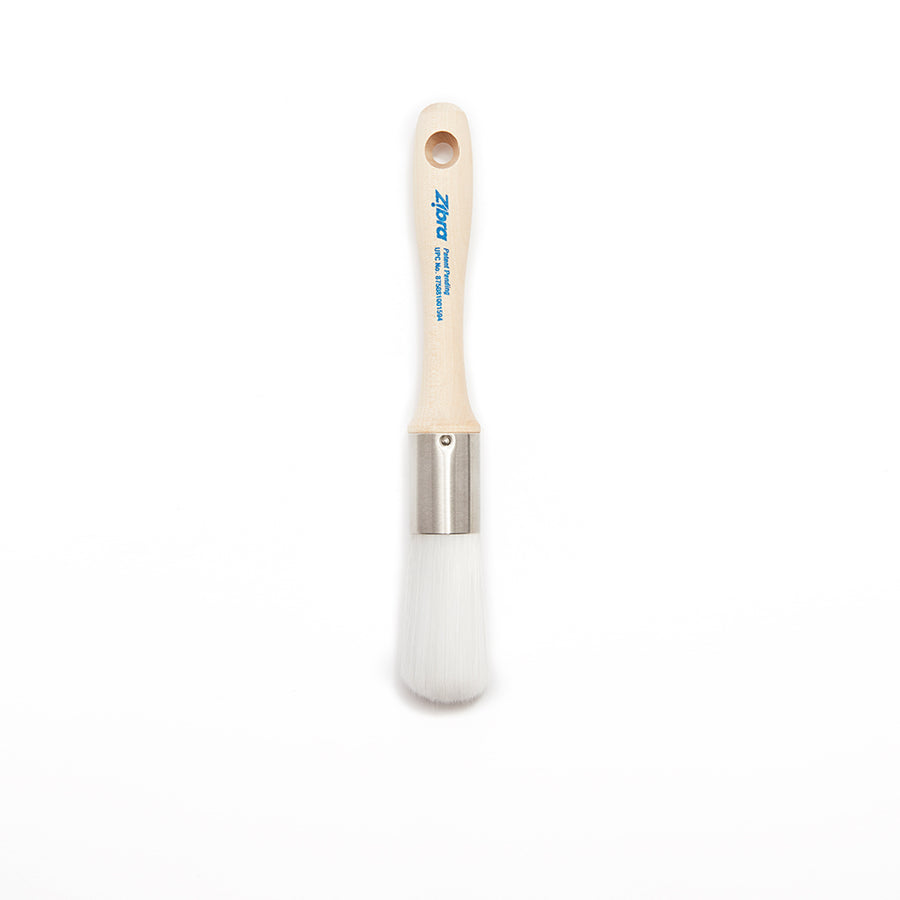
What to look for in a cabinet brush:
- A clean, angled cut for edges and profiles
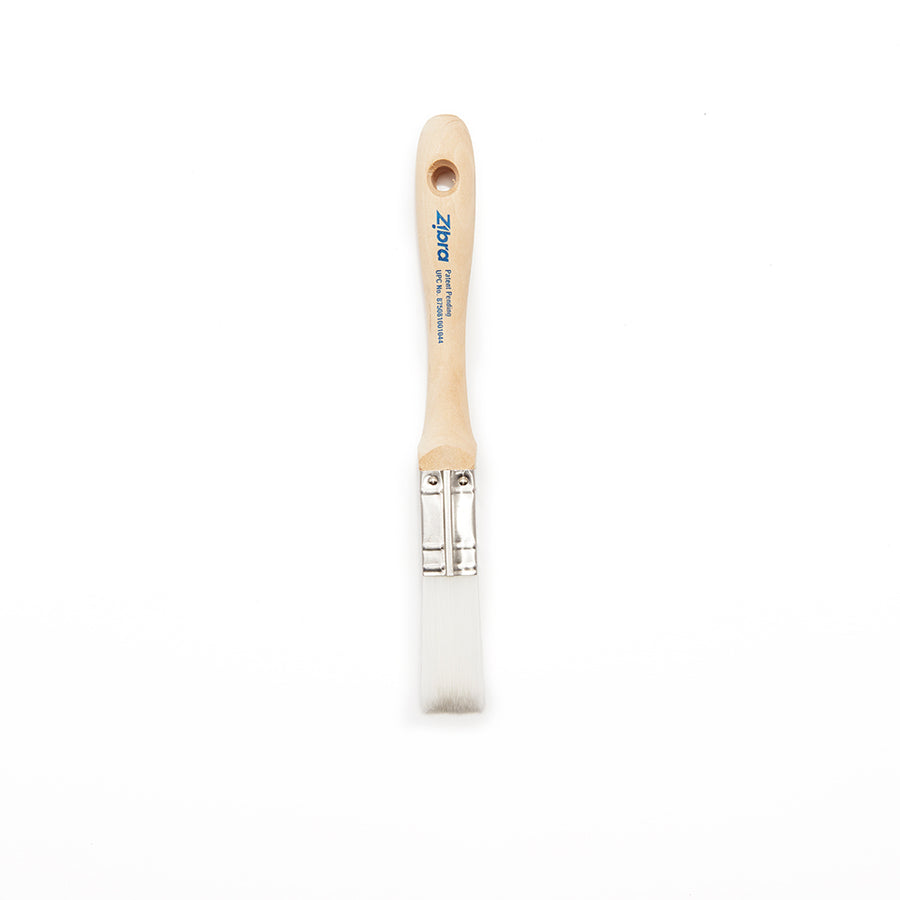
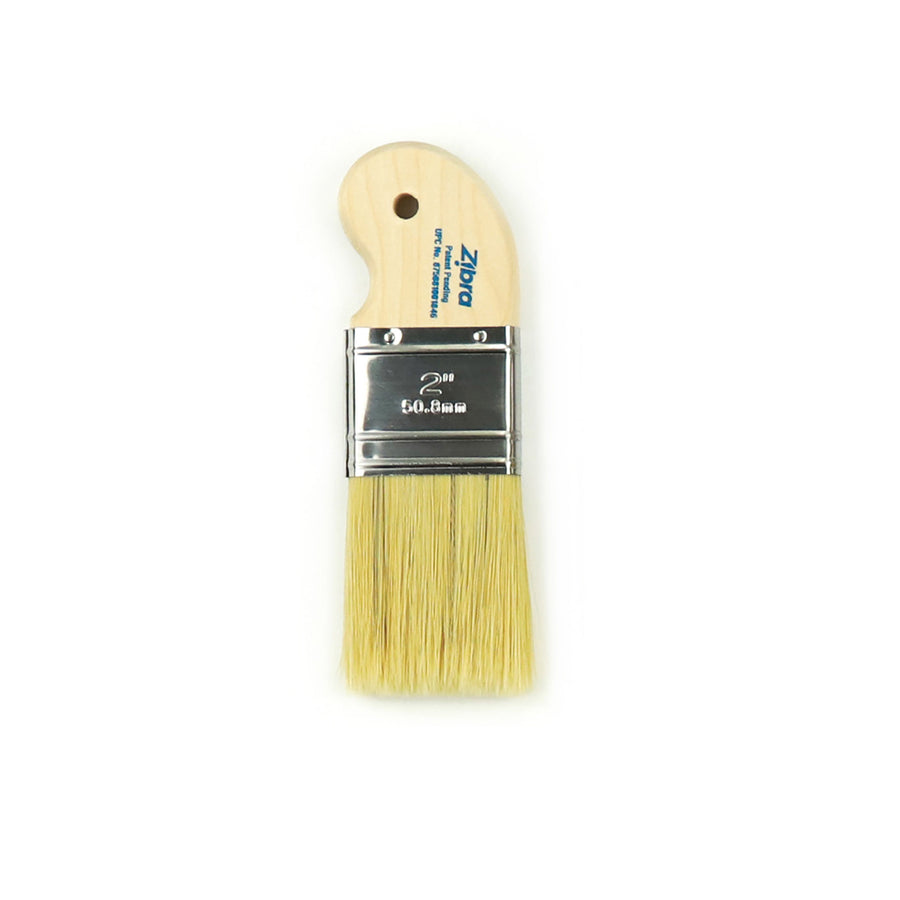
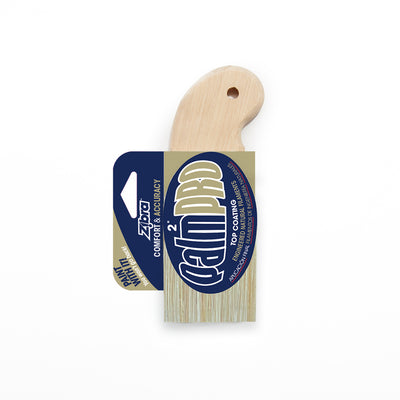
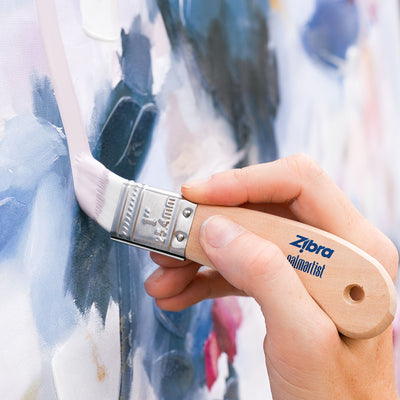
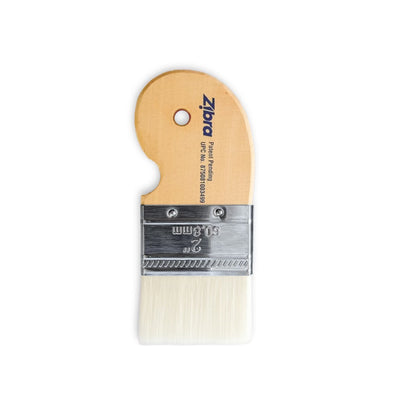
- A comfortable handle, like the ergonomic handle on the Zibra Palm Pro brush, that you can control for detail work
- Bristles that don't shed into your finish
Step 6: Sand lightly and apply the second coat
Once the first coat has dried for the time on the can, lightly sand with a fine-grit sandpaper just to knock down any dust nibs or raised grain. Wipe clean, then apply the second coat the same way. Some dark colors or big color changes may need a third coat.
How to avoid brush marks on cabinets
Brush marks come from the same few causes, and most are easy to fix:
- Thick paint or too much paint on the brush. Use thin coats.
- Overworking the paint as it dries. Make your final pass light and then stop.
- A cheap or worn brush. Quality bristles lay paint down more evenly.
- Poor flow. Some paint makers sell a conditioner or additive that helps water-based paint level. Check that it is compatible with your paint first.
- Painting in hot, dry or breezy conditions, which makes paint dry before it levels.
For more on this, check out our post to How to Paint Without Brushstrokes.
Drying and curing time
Paint that feels dry to the touch is not fully cured. Most cabinet paints are dry enough to recoat in a matter of hours, but they can take days or even weeks to reach full hardness, depending on the product, temperature and humidity. Handle the doors gently, wait before reinstalling them if the label recommends it, and avoid heavy scrubbing at first. Always follow the directions on your specific paint.
When the doors are ready, reattach the hinges and hardware, hang the doors, and adjust them so they sit even.
Clean your brushes right away
Water-based cabinet paints clean up quickly, but only if you do it before the paint dries. Rinse and wash your brushes with the Zibra Cleaning Comb right after the final coat to ensure your brushes will last longer. Check out our post on How to Clean and Care for Brushes for step-by-step instructions.
Frequently asked questions
Can you paint kitchen cabinets with a brush? Yes. A quality brush, thin coats and theright prep give a smooth, durable finish without a sprayer.
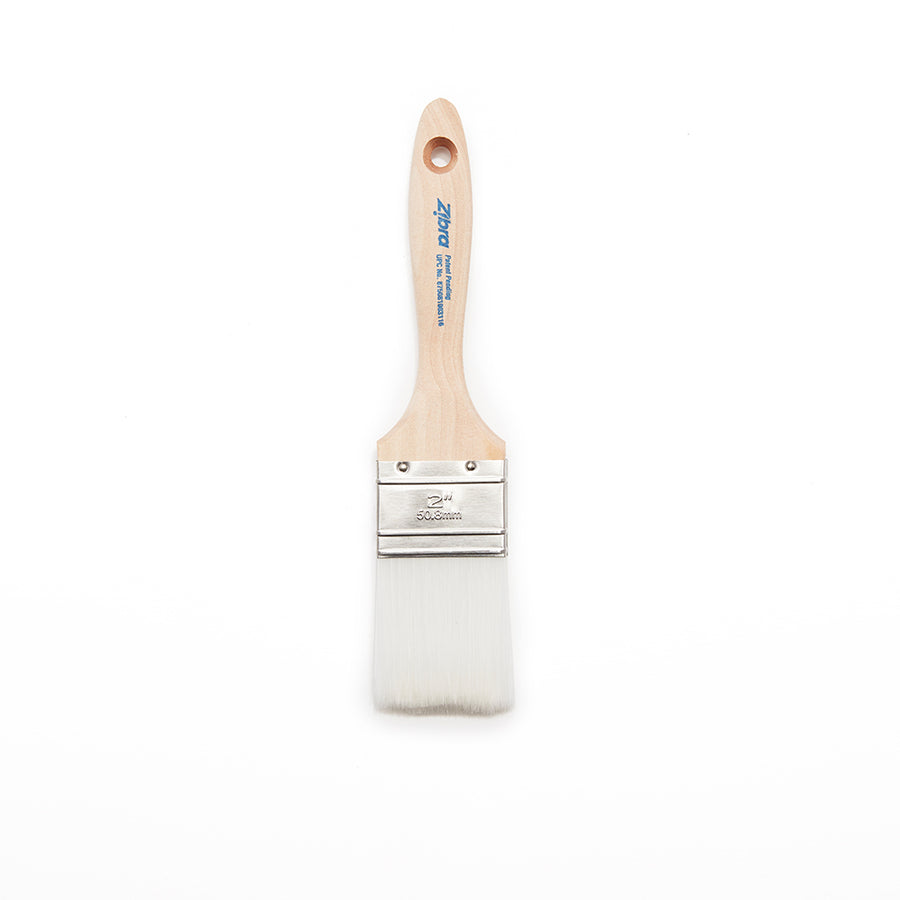
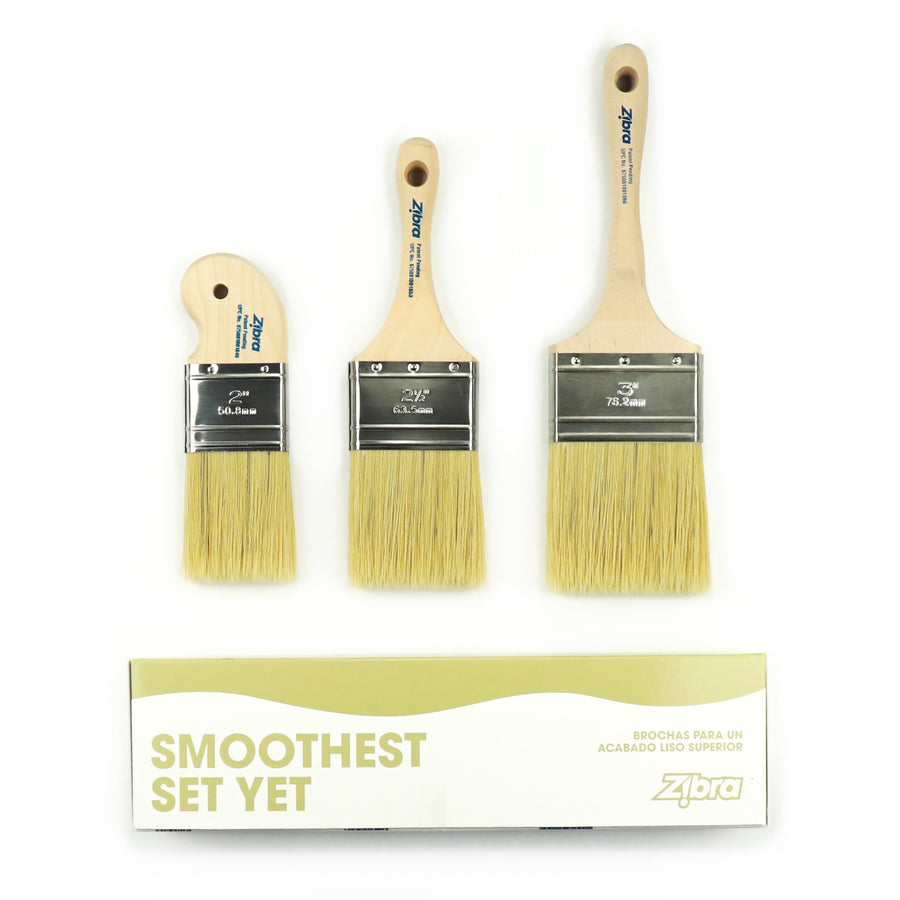
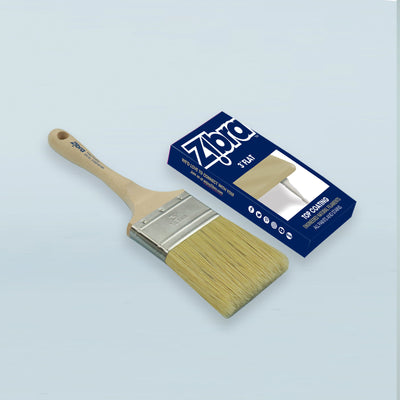
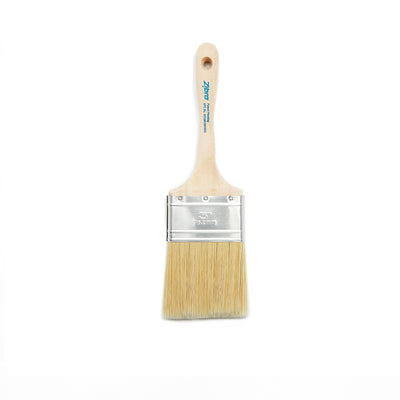
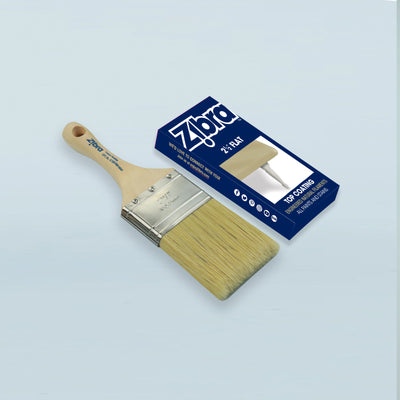
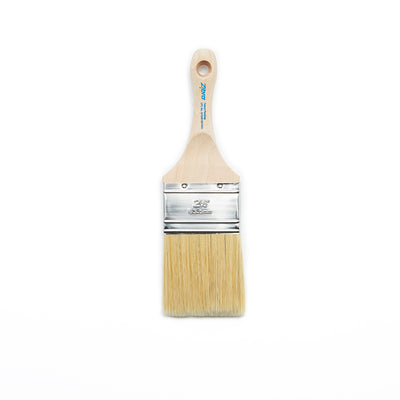
What is the best paint brush for kitchen cabinets? A quality angled brush, like the Zibra Triangle Paintbrush or Palm Pro Trim Paintbrush for edges and profiles, and the Zibra Flat Paintbrush for wider panels. Both have fine synthetic bristles that work well with water-based enamel.
Do I have to sand kitchen cabinets before painting? In most cases, yes. A light scuff sanding helps primer and paint bond. Some "no-sand" products exist, but they still require cleaning and degreasing, so follow the maker's directions.
Do I need primer on kitchen cabinets? Usually. A bonding primer helps paint stick to glossy or previously finished surfaces, and a stain-blocking primer helps on bare wood. Check your paint's label.
How many coats of paint do cabinets need? Typically two thin coats over primer. Dark colors or large color changes may need a third.
How long does it take to paint kitchen cabinets? Plan on several days, mostly for drying between steps. Full cure can take longer, depending on the paint.
How do I get a smooth finish with no brush marks? Use thin coats, a quality brush, a wet edge and a light final pass, and avoid going back into paint that has started to dry.
Ready to get started?
Grab your materials now and start transforming the look of your kitchen!