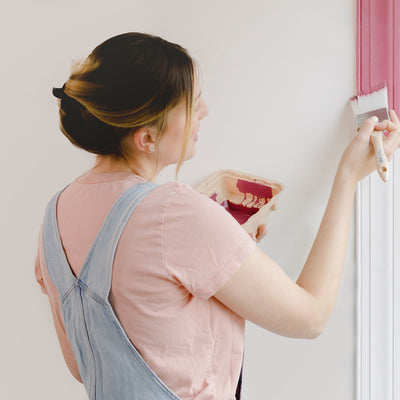
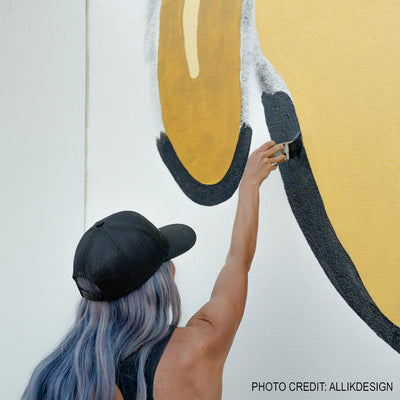
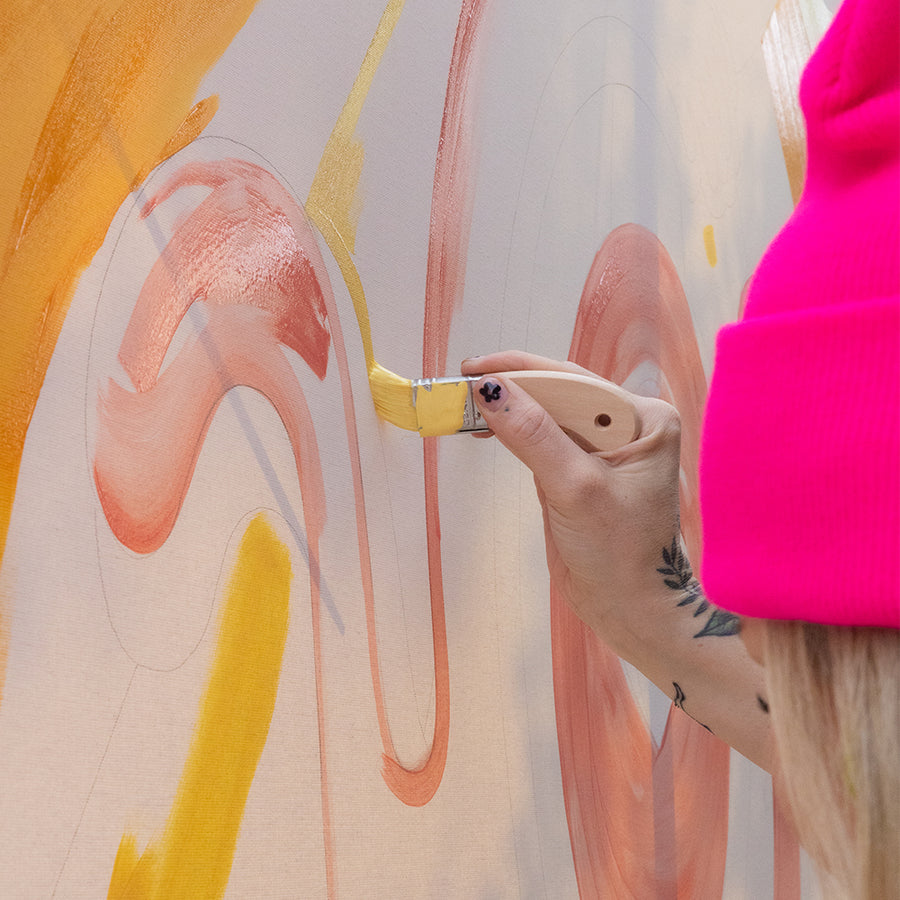
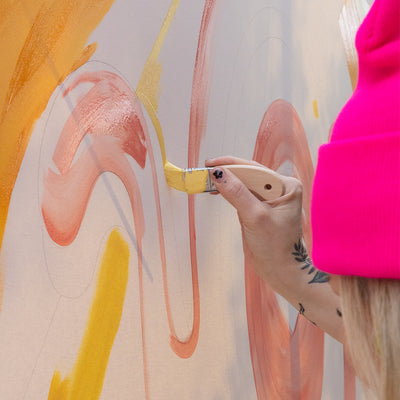
If you've been wanting to up your painting game recently and have seen walls that fade from one color into the next with no hard line in sight, that’s called an ombre (or color-blend) wall effect. In fact, it's one of the most requested looks in home painting right now.
As you’ve probably guessed it, the tricky part isn't picking pretty colors. It's getting them to melt into each other instead of sitting in stripes.
What Is an Ombre Wall Effect?
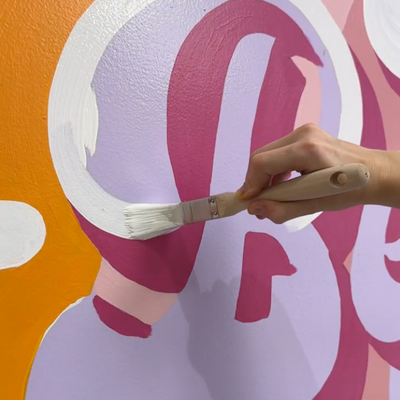
An ombre wall is a gradient, with one color gradually transitioning into another (or several) across a wall, ceiling, or accent feature, with no visible line between them. Unlike color blocking, which uses crisp divisions, ombre is all about the transition zone, or the messy, blended middle where the colors overlap.
What You'll Need:
- 2–3 coordinating paint colors (more on why below)
- A roller for base coverage
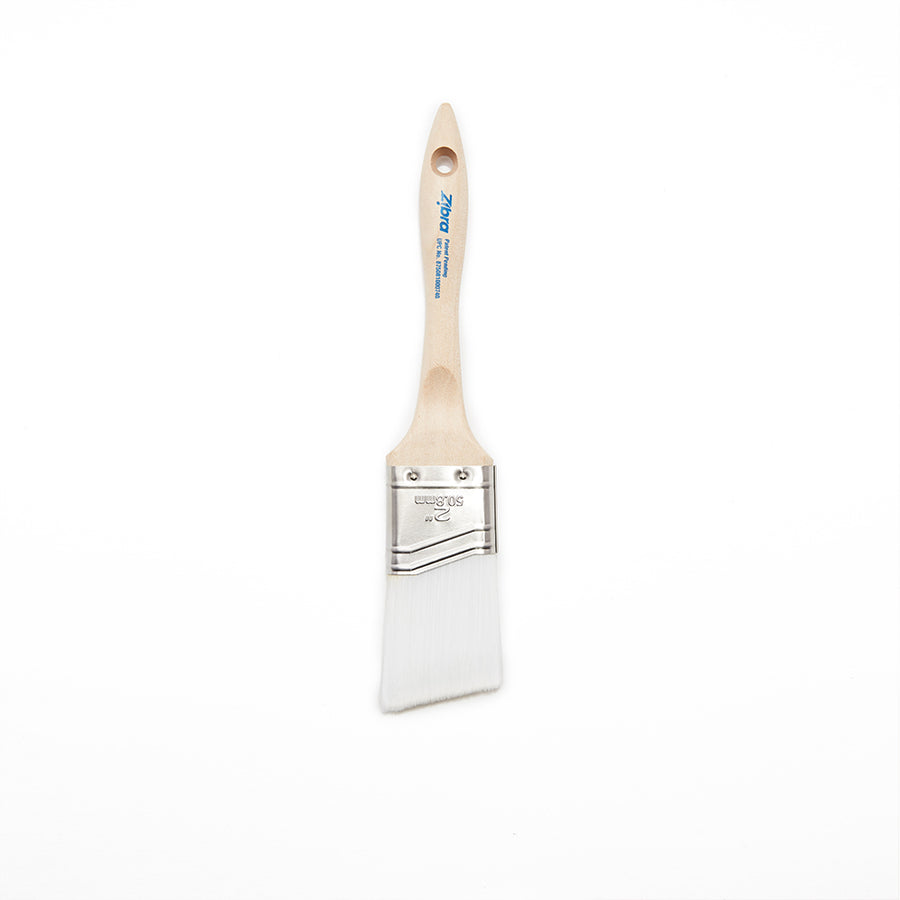
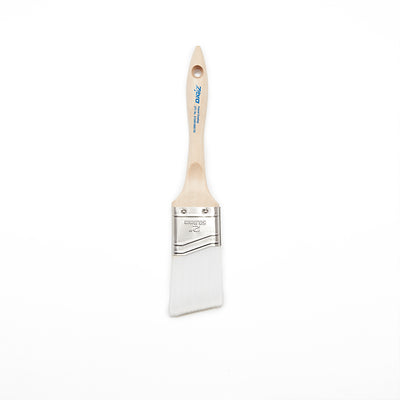
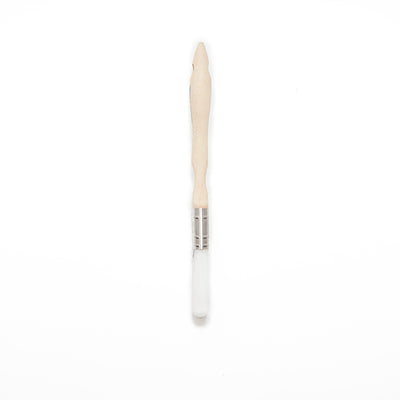
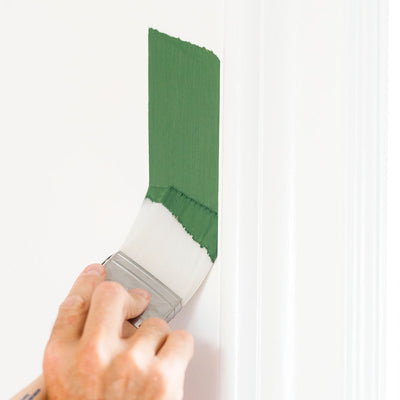
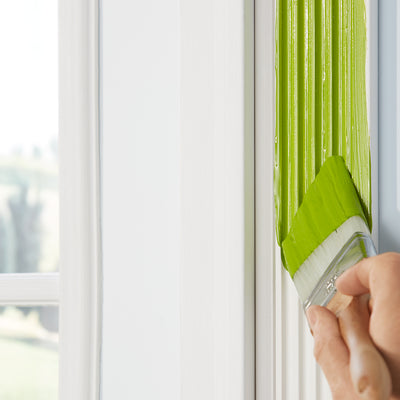
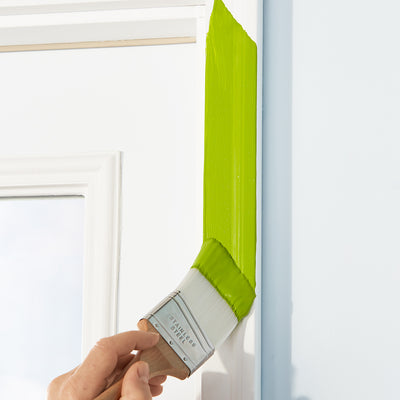
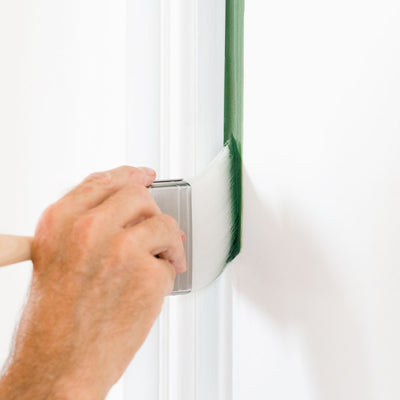
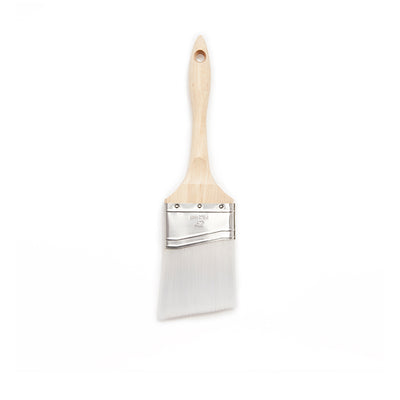
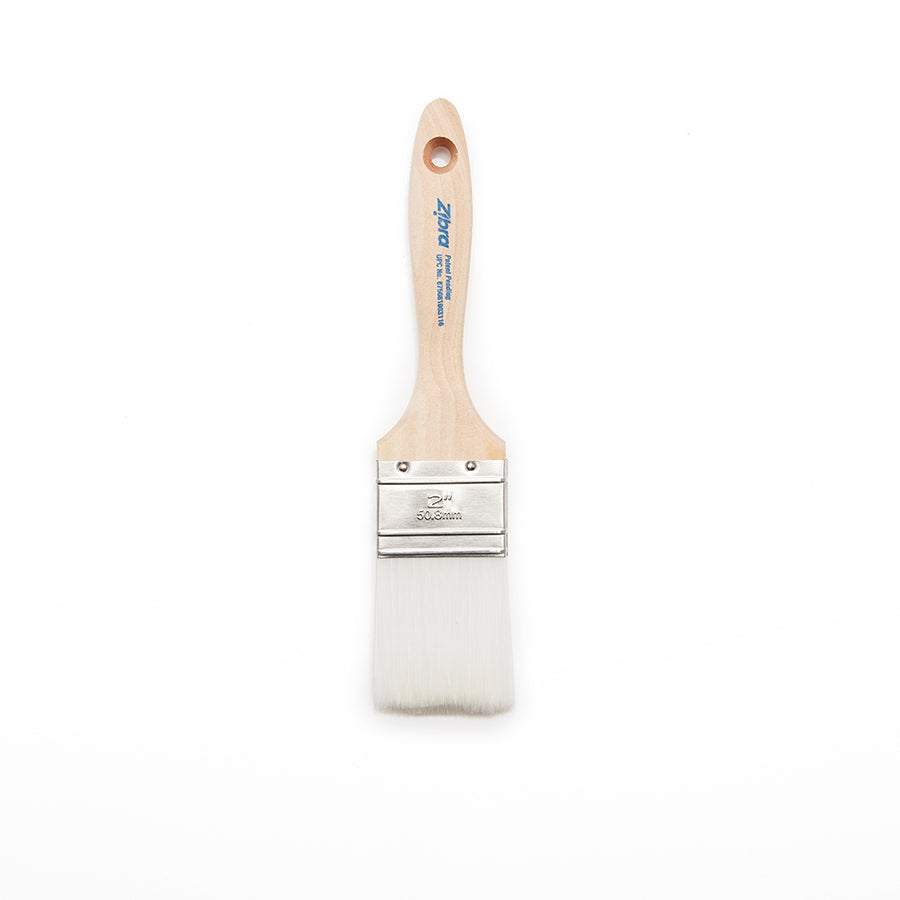
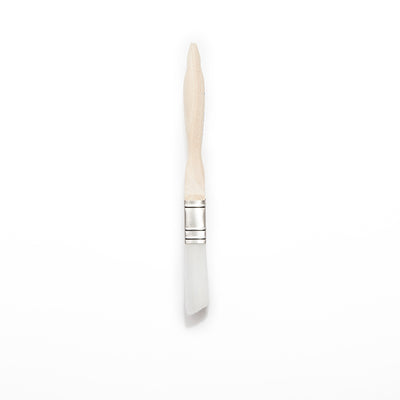
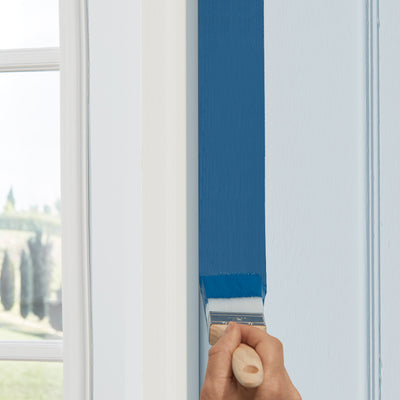
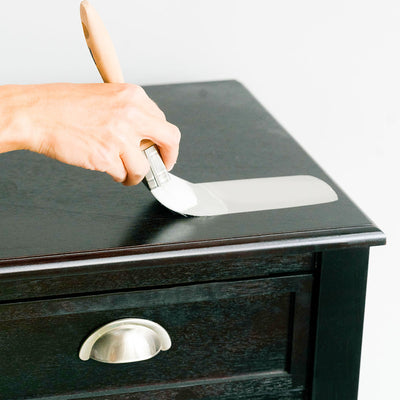
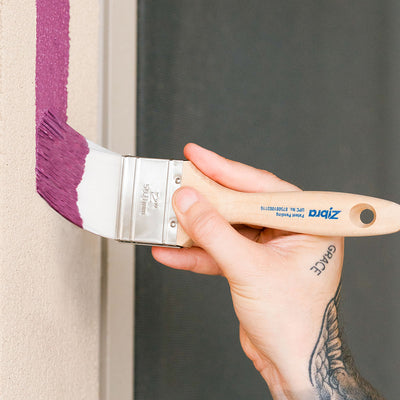
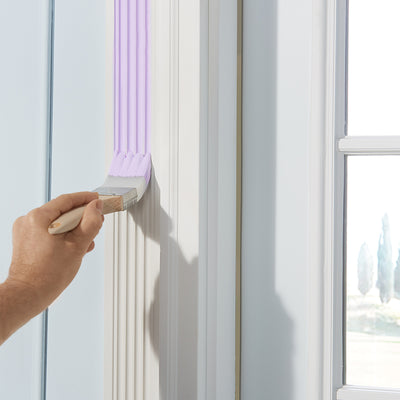
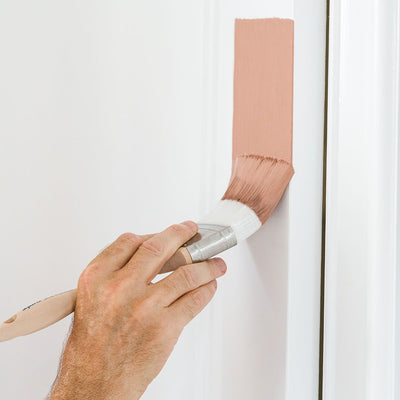
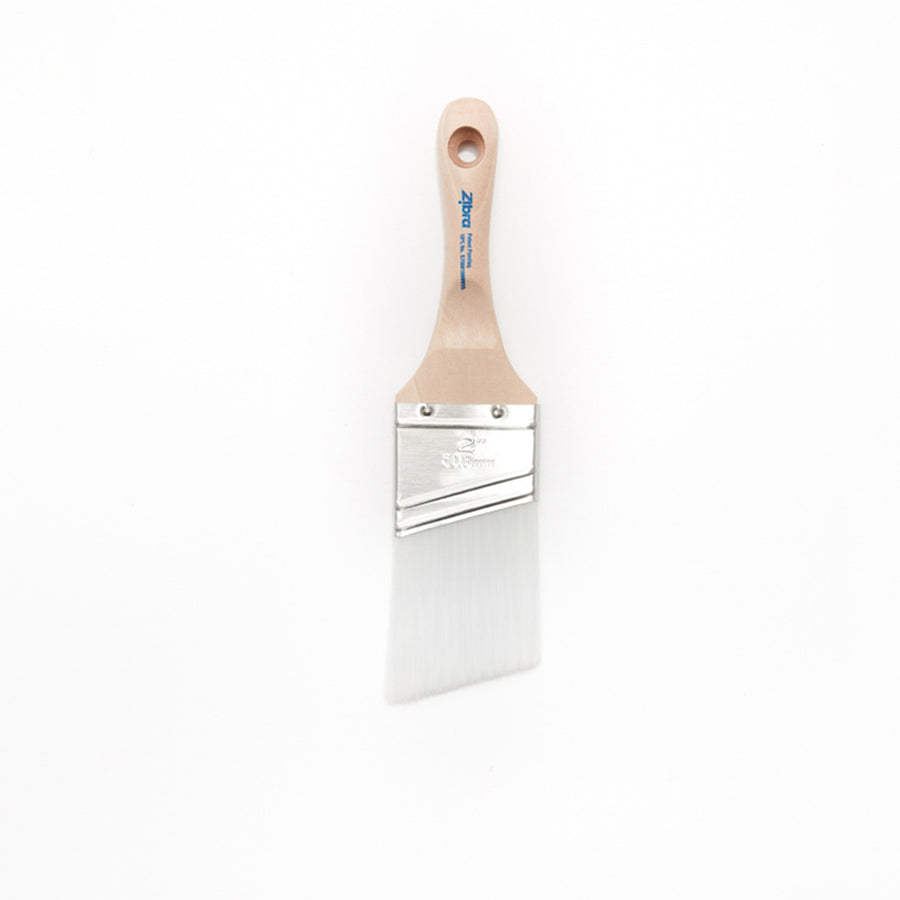
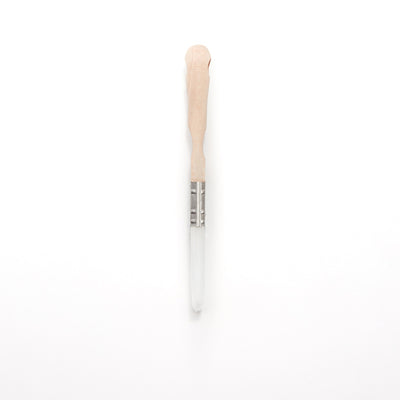
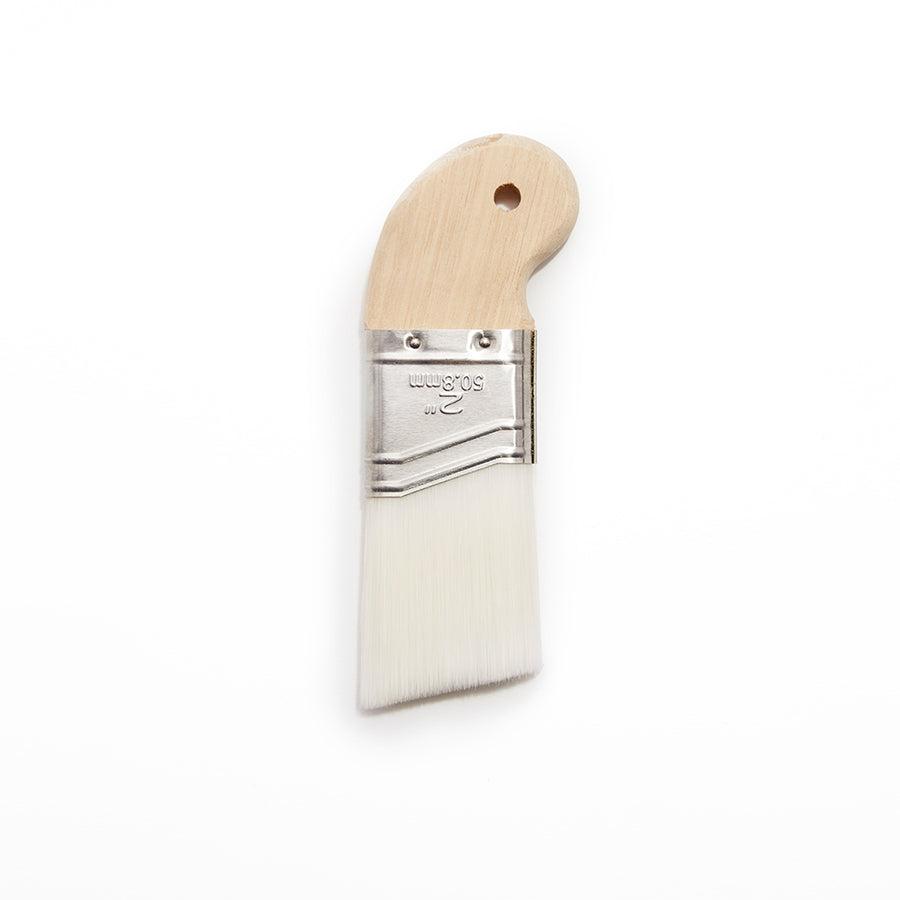
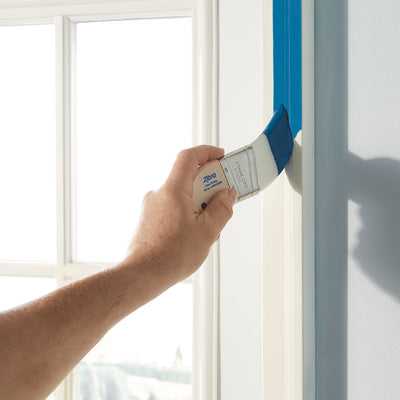
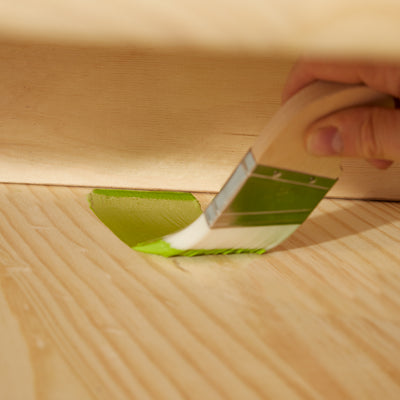
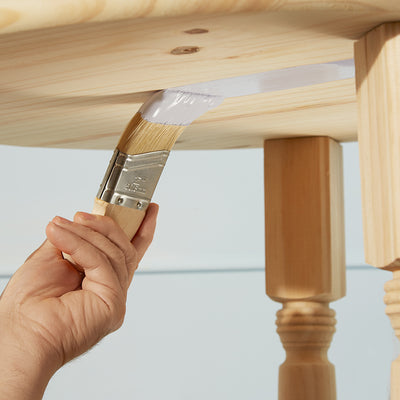
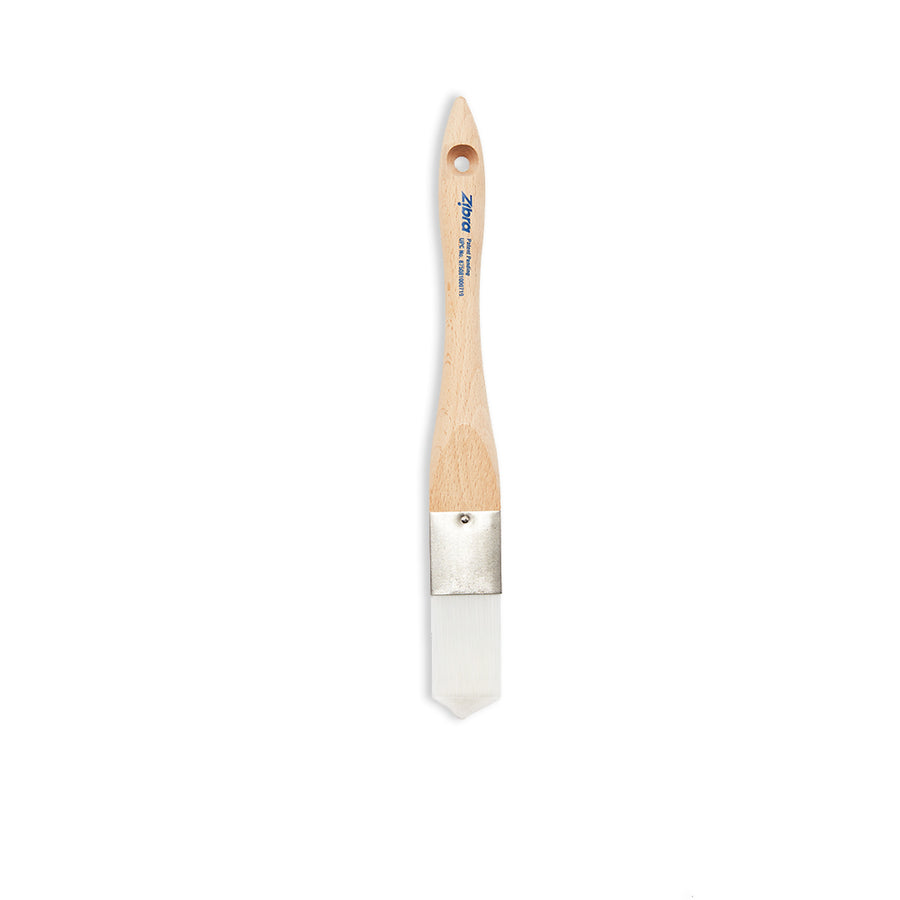
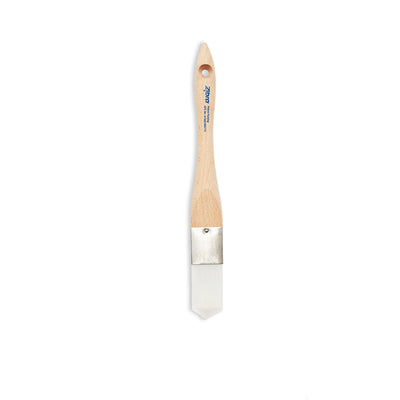
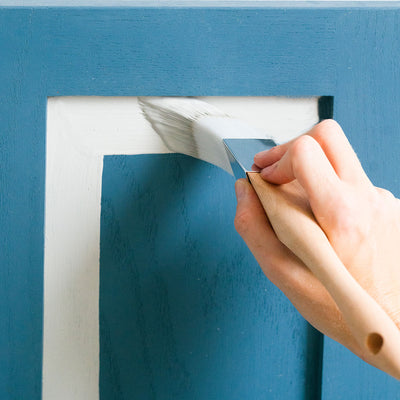
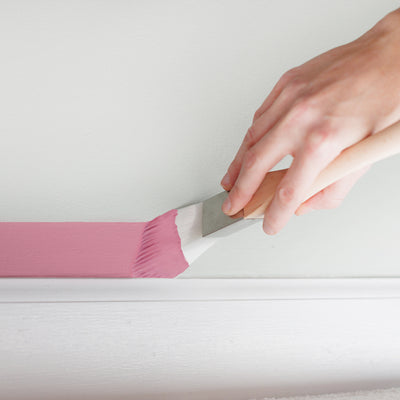
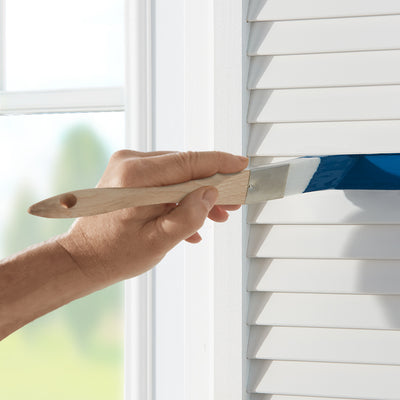
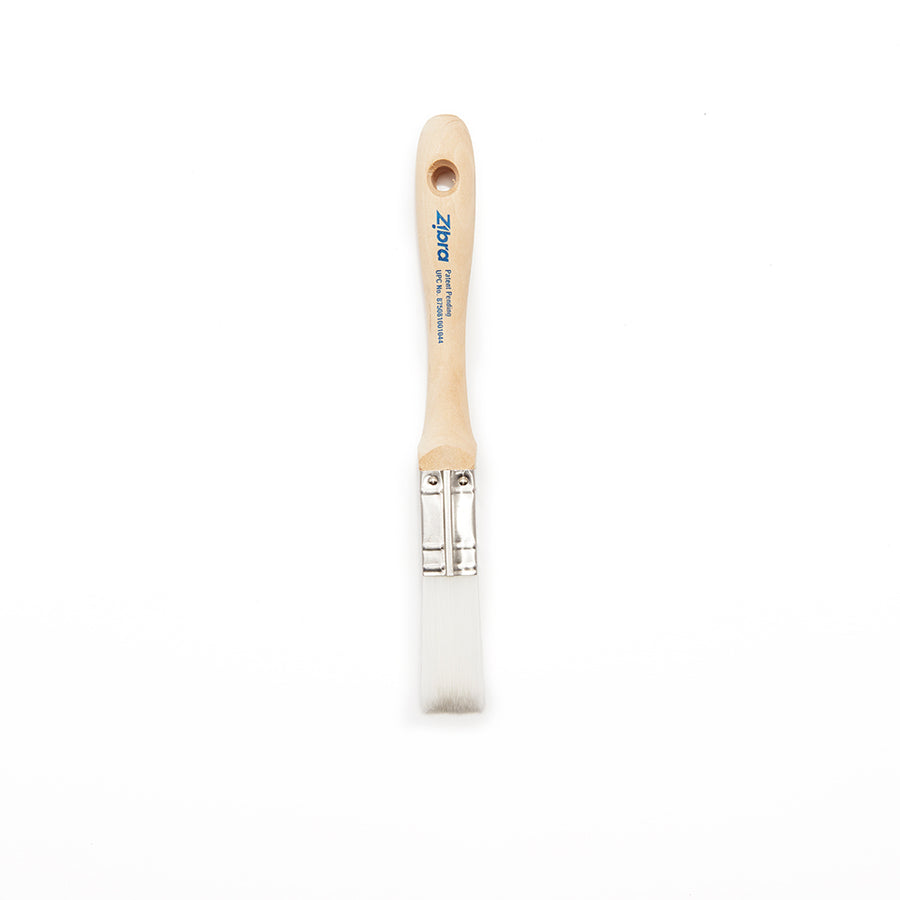
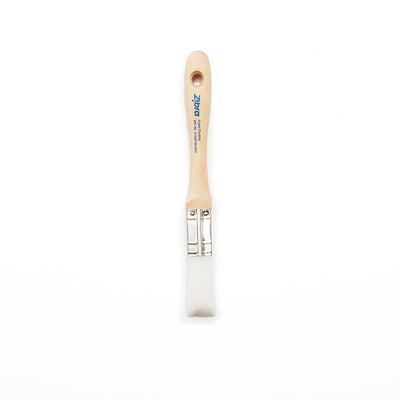
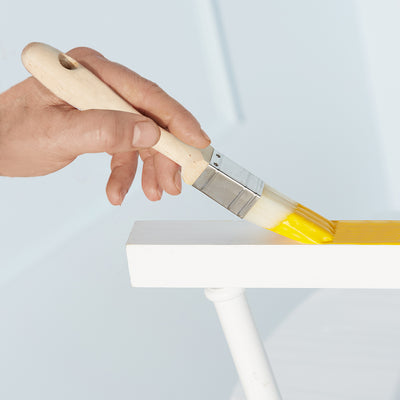
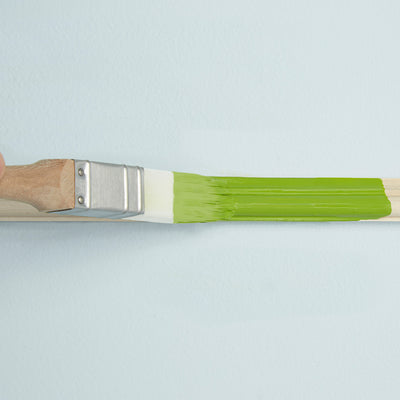
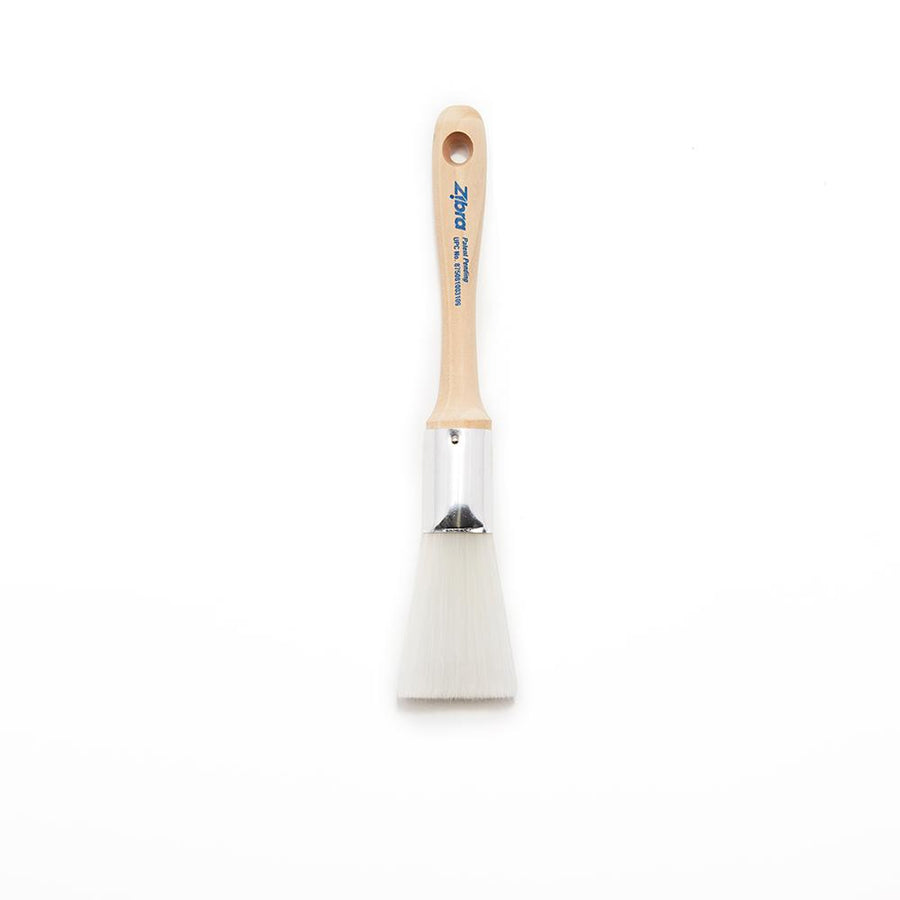
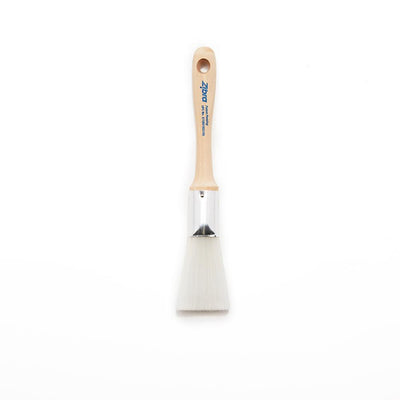
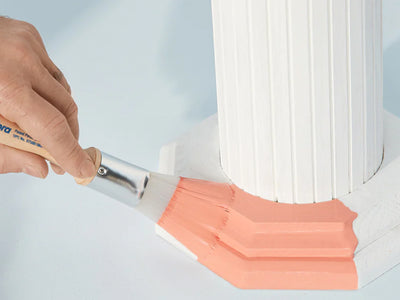
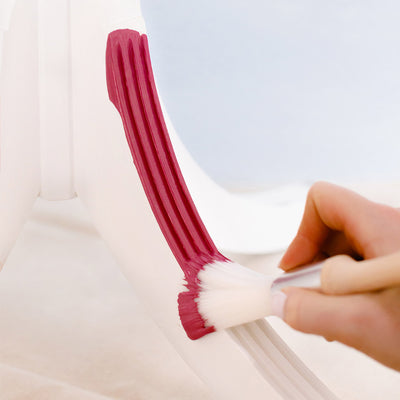
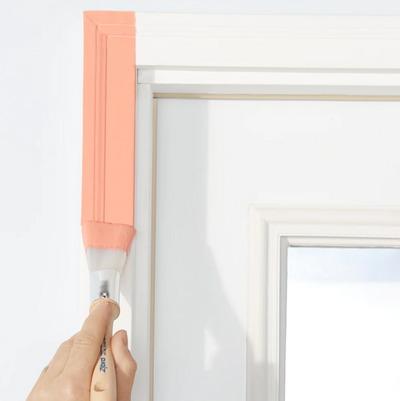
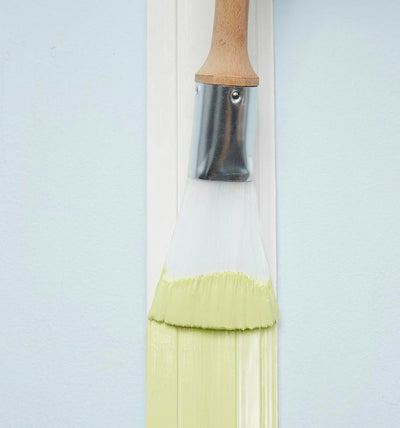
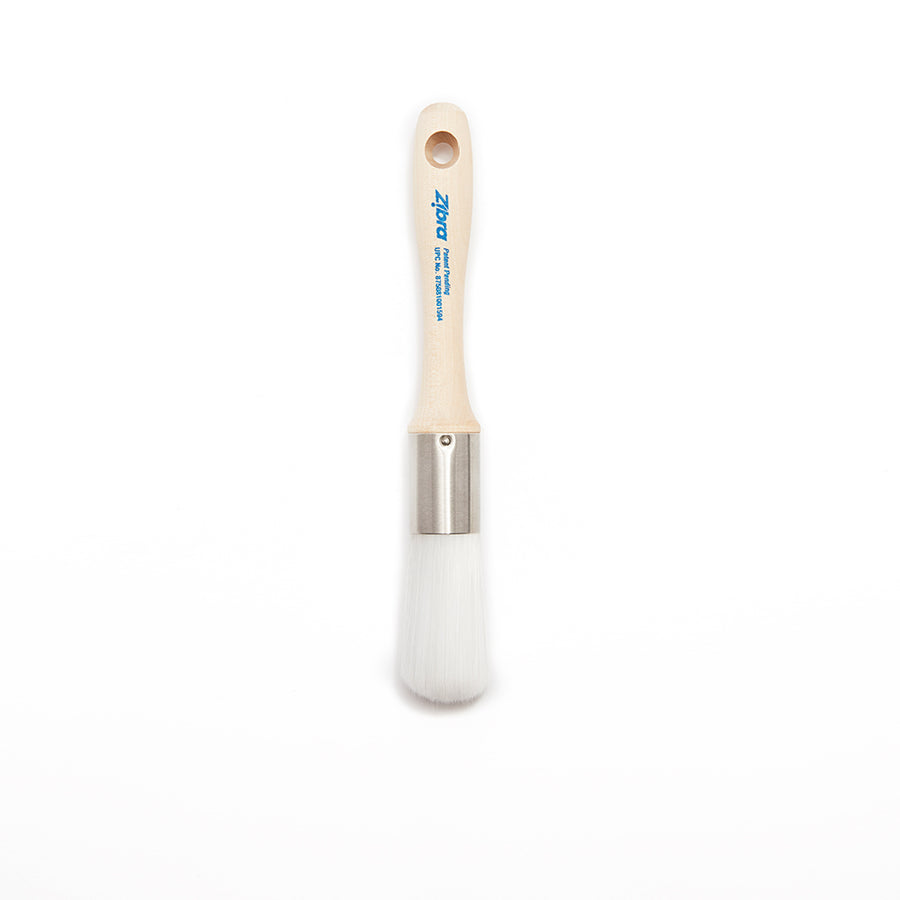
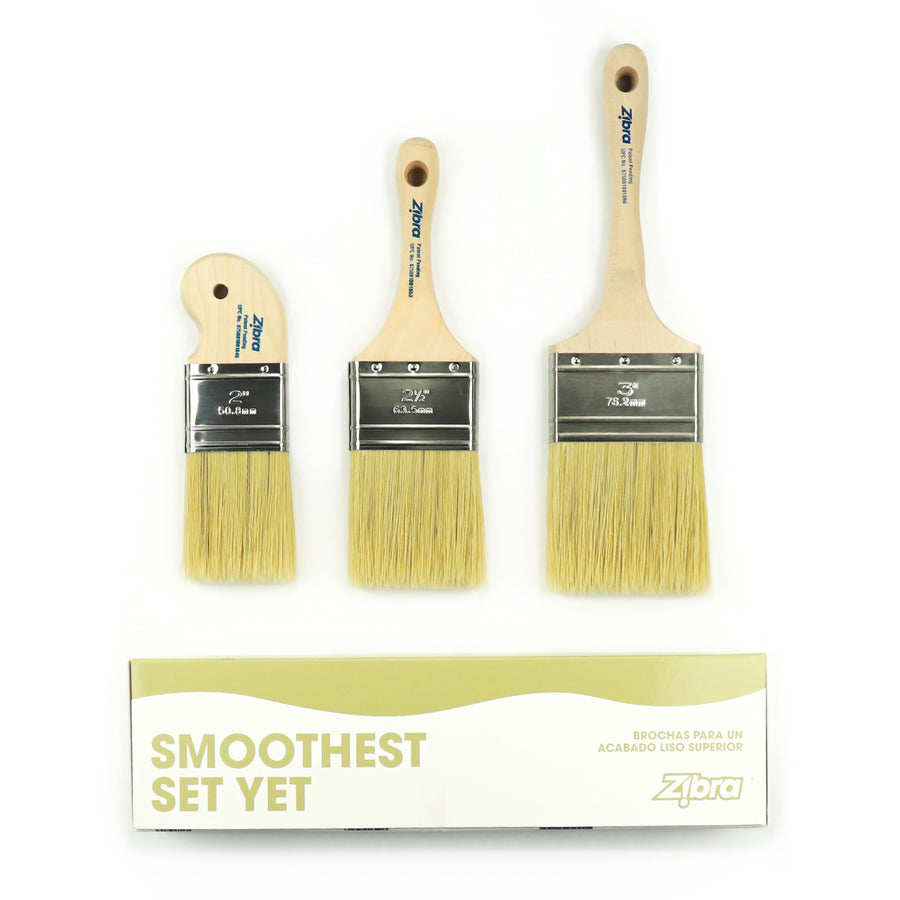
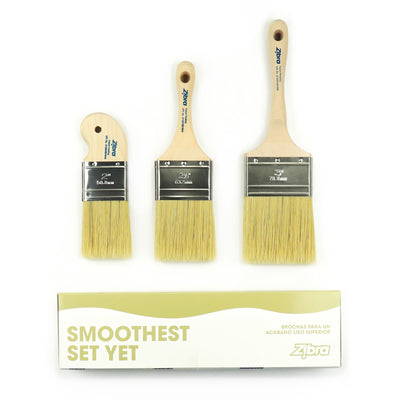
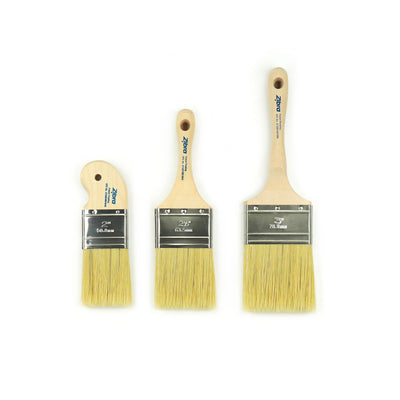
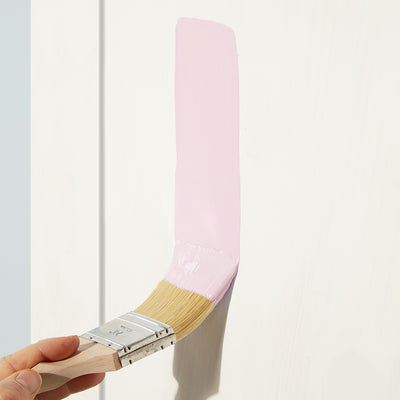
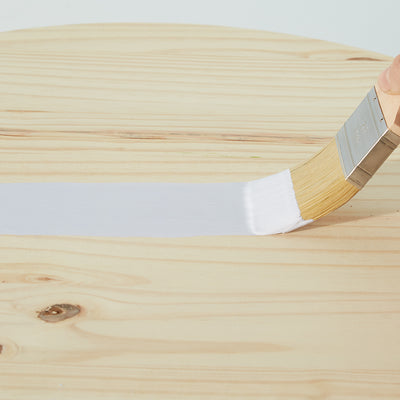
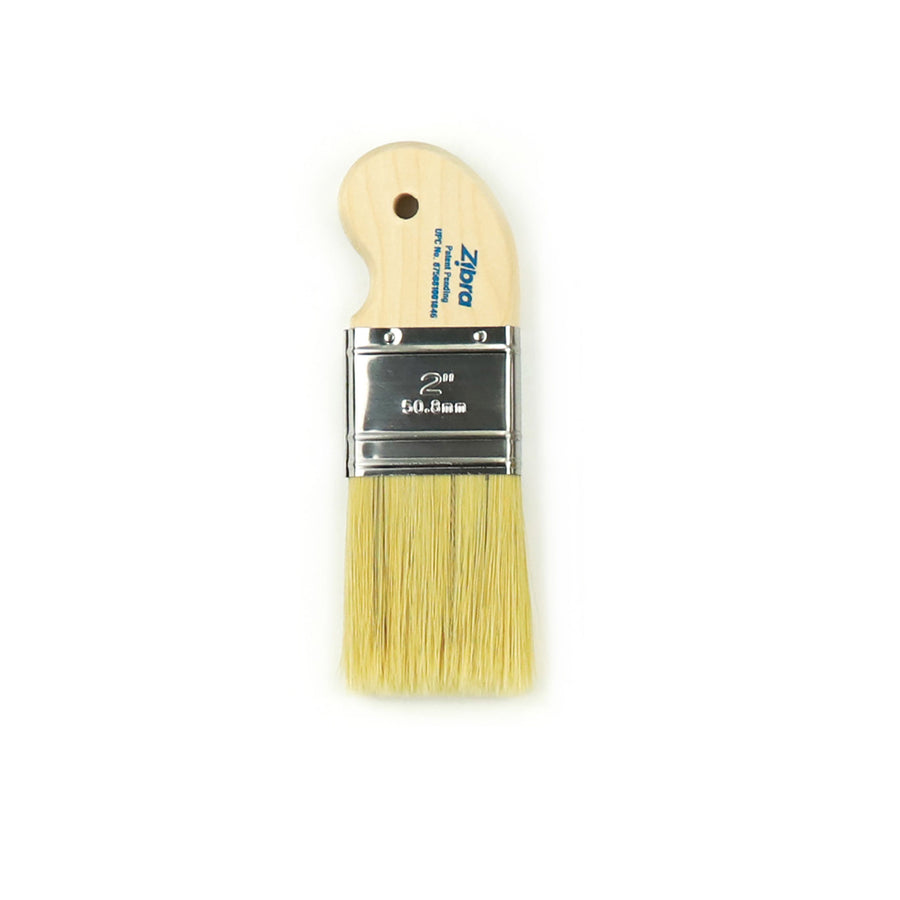
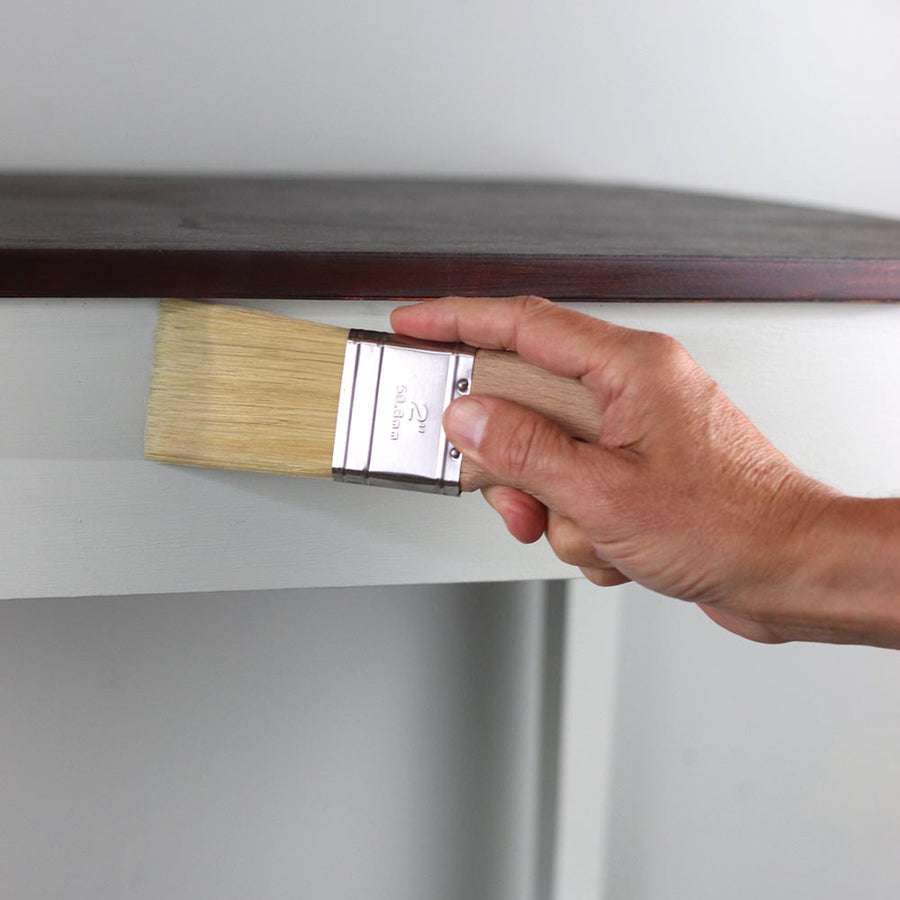
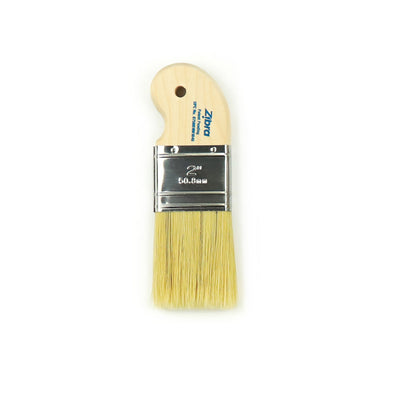
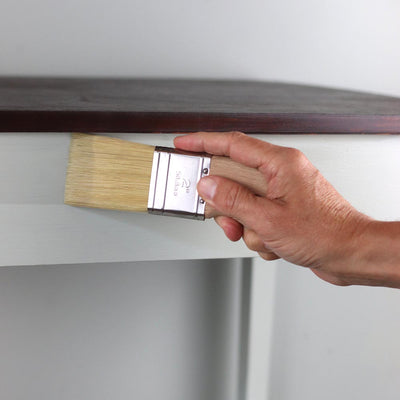
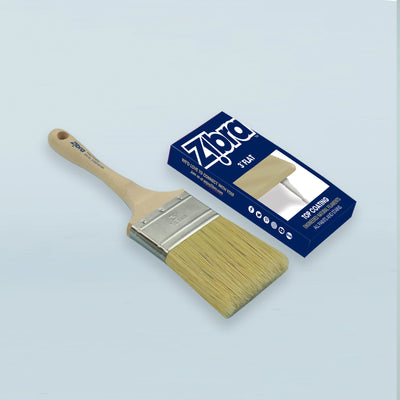
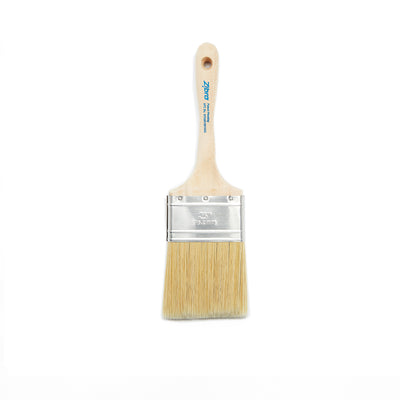
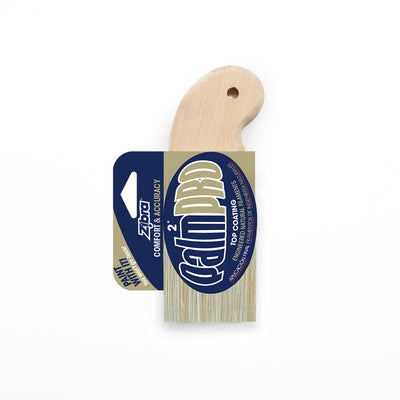
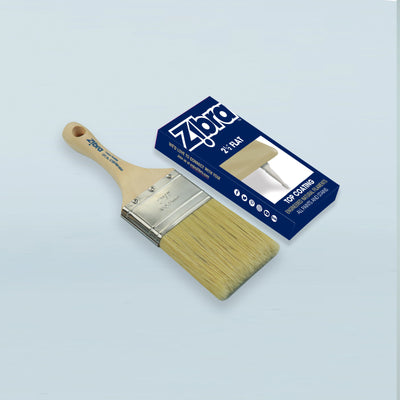
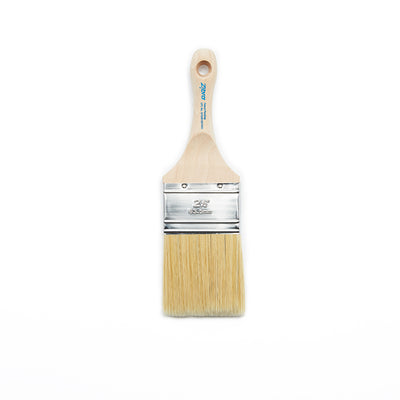
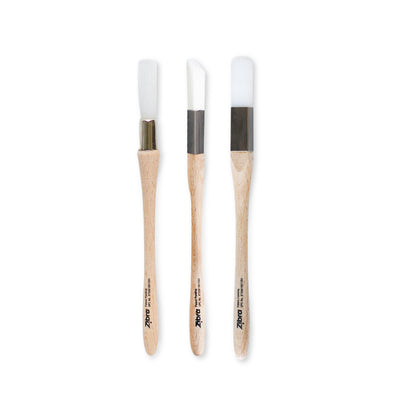
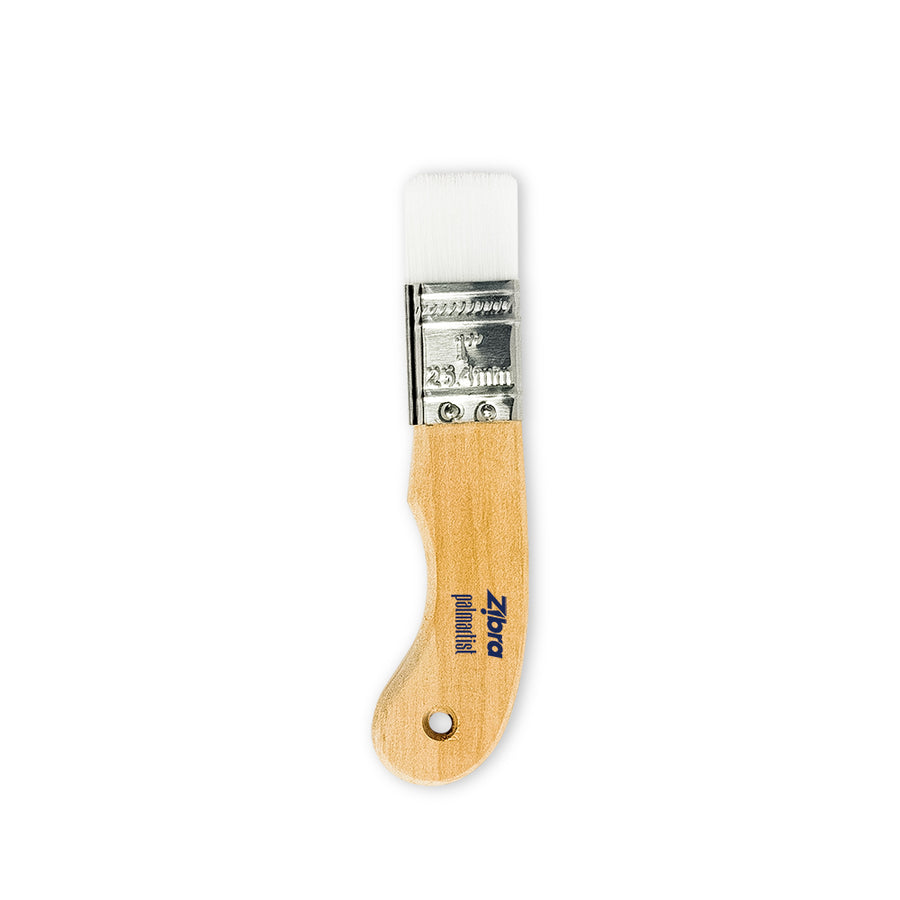
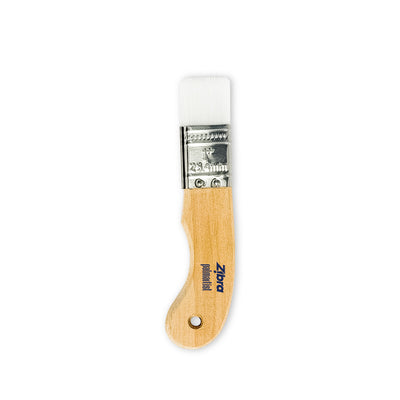
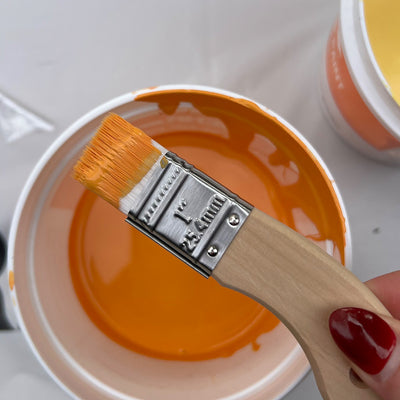
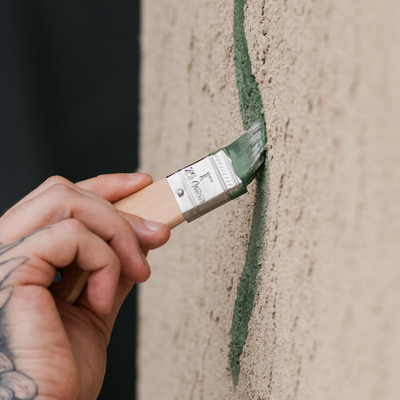
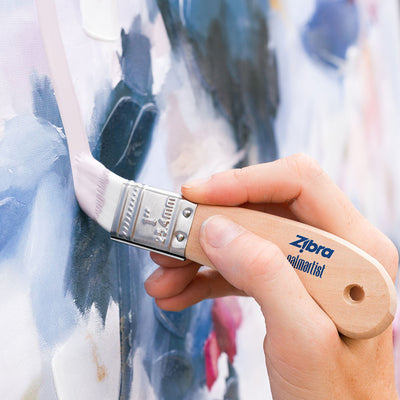
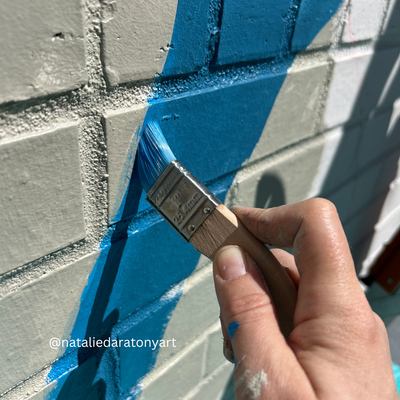
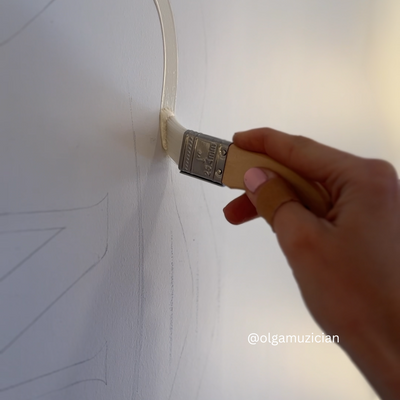
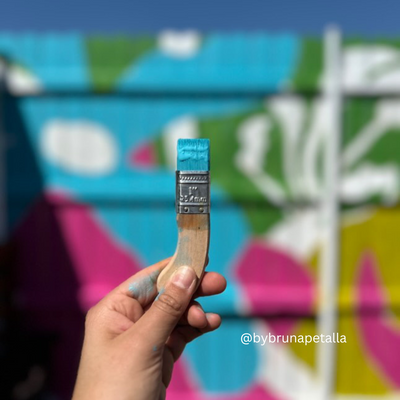
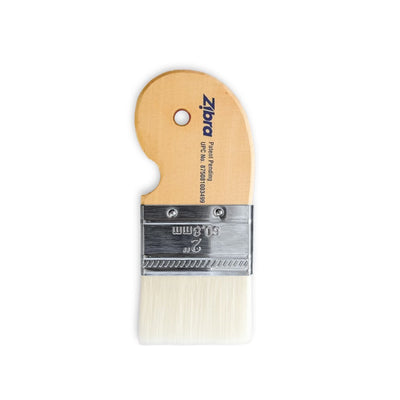
- A quality wall brush for blending, like Zibra's Flat Paint Brush and Chiseled Wedge Paint Brush, which are built for long, even paint runs. This matters a lot once you're working fast to keep colors wet
- A clean bucket of water and a rag
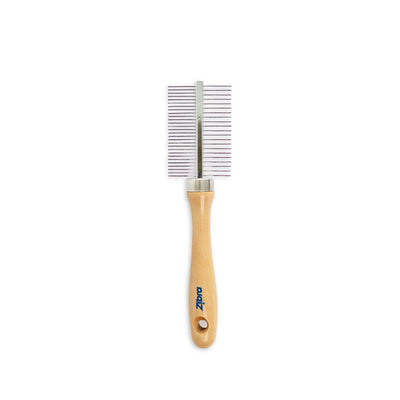
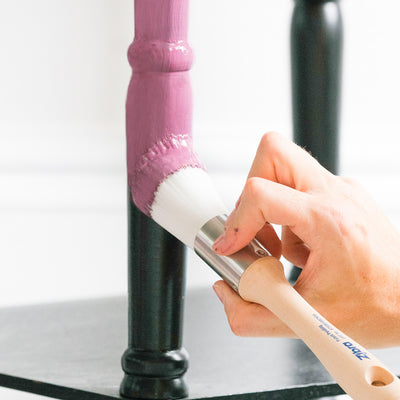
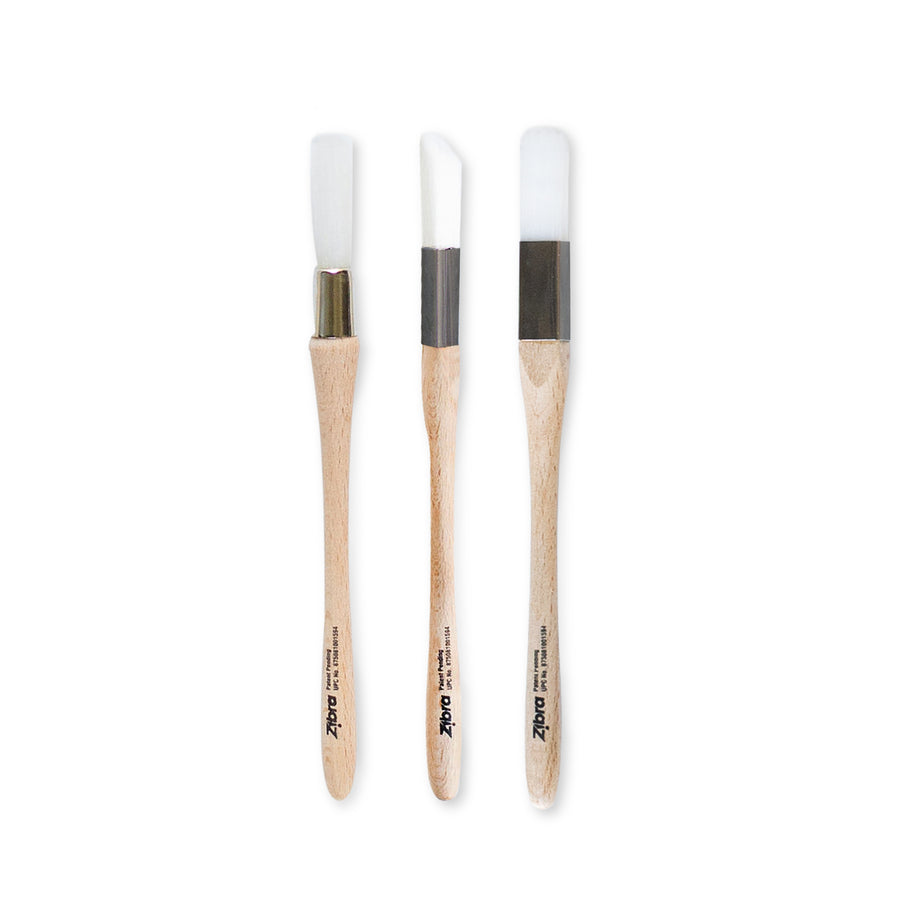
- A Paintbrush Cleaning Comb, so you can rinse and reshape your brush quickly between blending passes without losing time
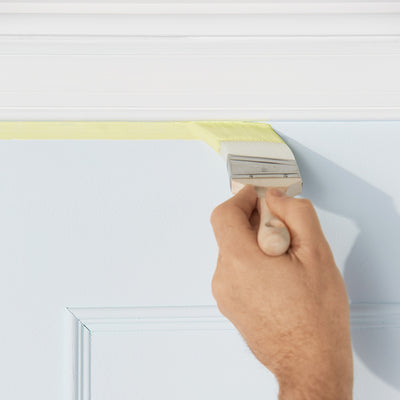
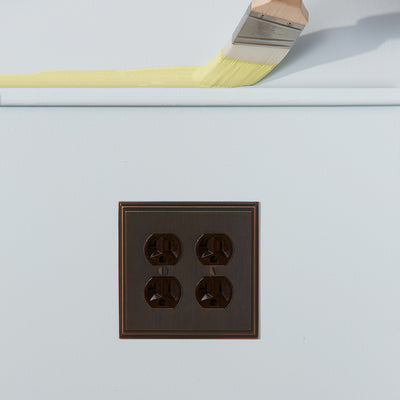
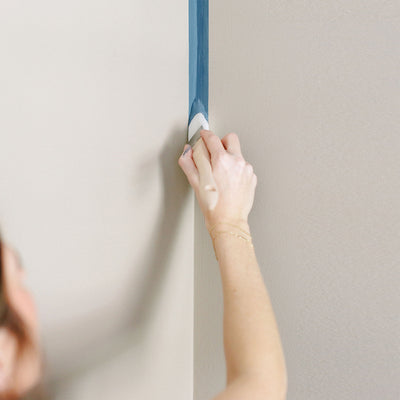
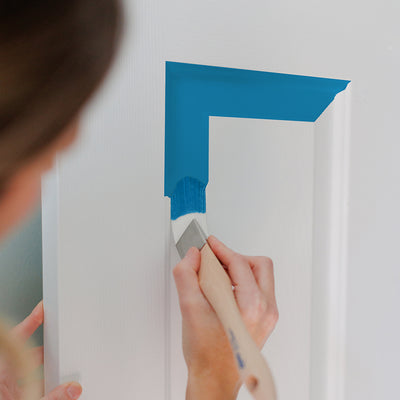
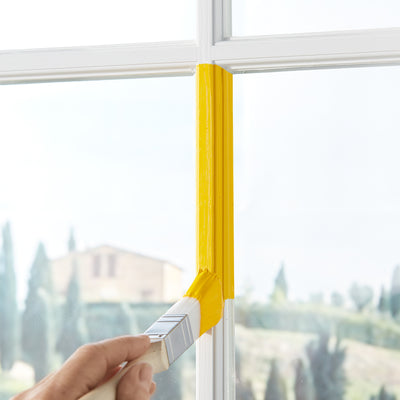
- Painter's tape (optional, for clean edges at the top/bottom of the wall)
Step-by-Step: How to Blend an Ombre Wall
1. Start With Your Color Palette
"I usually recommend working with 2–3 colors rather than trying to blend too many," Marilena says. Choose shades that already sit near each other on the color wheel or within the same paint family. Think three tints of the same base color, or a soft transition from a warm neutral into a blush or sage. The more similar the colors are in tone and value, the more naturally they'll blend, and the less likely you are to end up with a muddy strip in the middle.
2. Use Good-Quality Paint
Cheap paint dries fast, which is the enemy of a good blend. Marilena points out that a good paint gives you enough working time so the colors don't dry before you've had a chance to soften the transitions. Look for a paint labeled with a longer open (working) time, and don't skimp here. This is the one supply worth spending a little more on for this particular project.
3. Keep the Paint Wet
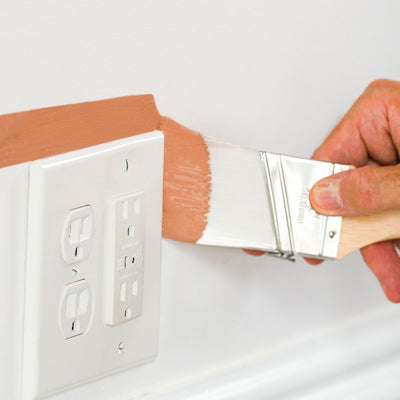
This is the golden rule of ombre blending: work the transition zones while every color involved is still wet. Marilena's approach is to overload the brush with paint rather than rationing it. You want enough product on the wall that you can physically move it around and soften edges, not just cover the surface.
4. Blend With Clean Tools
Whether you're using a brush, roller, or sponge, the tool needs to stay clean and slightly damp as you blend (otherwise you're just smearing dried or half-dried paint into the wet color, which muddies rather than softens.) Keep that bucket of water nearby and rinse often. This is where a comb made for cleaning bristles quickly (rather than a full brush-cleaning session) earns its keep. You'll be dipping in and out of the water more than you'd expect.
5. Embrace Some Movement
A great blend isn't perfectly uniform, and it shouldn't be. "Step back often and look from a distance," Marilena advises. The transition should read as smooth and intentional from across the room, even if up close it has some natural variation. Working close to the wall the whole time makes it easy to over-correct a blend that actually looks fine from a normal viewing distance.
6. Take Your Time
The biggest mistake, according to Marilena, is rushing the transitions. A professional-looking ombre comes from patience. Try gradually building color in the blend zone rather than trying to force a perfect gradient in one pass. Plan for this project to take longer than a standard paint job, and resist the urge to rush toward "done."
Quick Recap: Marilena's Ombre Wall Tips
- Stick to 2–3 coordinating colors
- Invest in good-quality paint with a longer working time
- Keep paint wet in the blend zone
- Rinse tools often and keep them slightly damp
- Step back and evaluate from a distance, not up close
- Go slow. Blending is built up gradually, not rushed
Ombre Frequently Asked Questions:
How many colors should I use for an ombre wall?
Two to three is the sweet spot. More colors mean more transition zones to manage while everything is still wet, which gets exponentially harder to control.
Can I create an ombre effect with a roller instead of a brush?
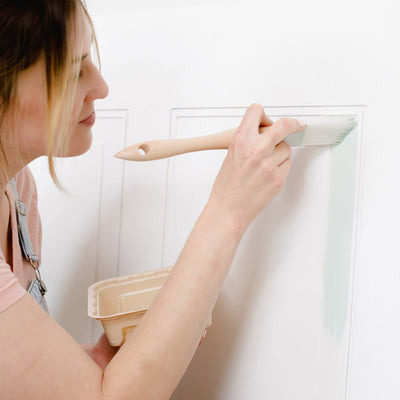
You can use a roller for the solid base sections, but the blend zones themselves are much easier to control with a brush. You get more precision over how much paint you're moving and where.
How long does an ombre wall take to paint?
Budget more time than a standard single-color wall. Because you're working sections while they're still wet, an ombre wall is usually a slower, more deliberate project than a flat coat of color.
Do I need special paint for a color-blend effect?
Not a special product, but a higher-quality paint with a longer open time will make a noticeable difference in how easily the colors blend.
Don’t forget to share your painting projects with us on social media, using @zibrapainting and inspire others on their painting journey! Want more tips and tricks? Sign up for our mailing list. Happy painting!