Ombre Pumpkins

Create a fun and stylish centerpiece display using only a few affordable supplies!

Hero Image

Supplies you will need:

Step 1: Start by laying out all of your pumpkins by how you want them to be displayed on your table. You'll then want to group to them into the colors you'll be using to create your Ombre effect, we used about 5-6 different colors that blended from one color to the next to create a very rich Fall look.


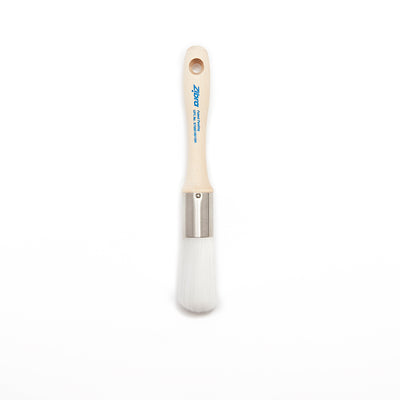
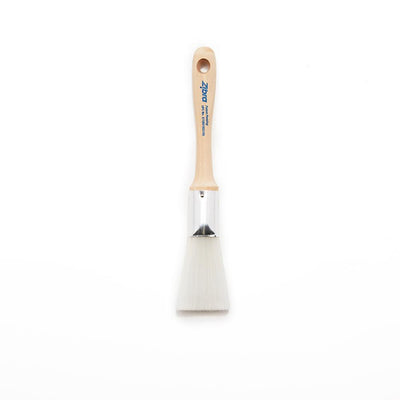
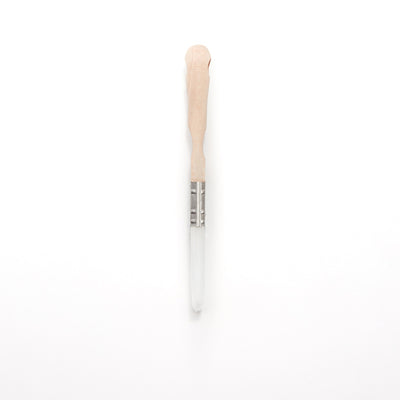
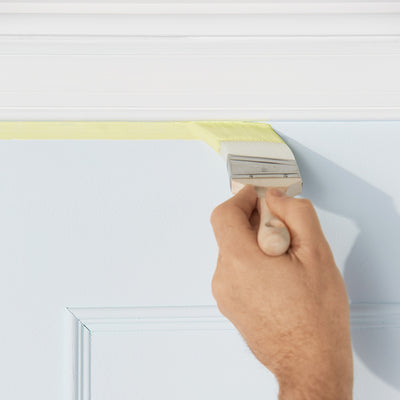
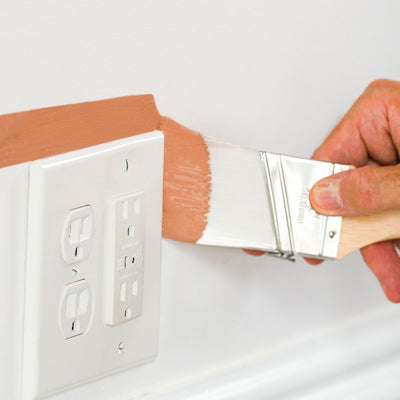
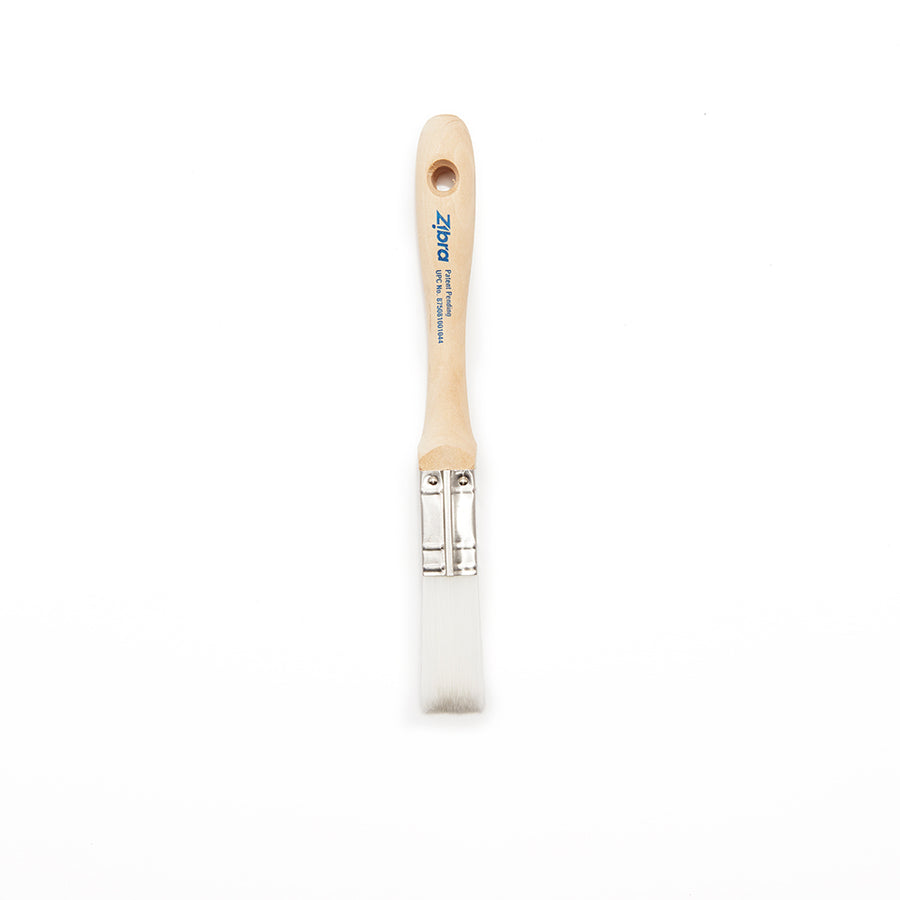
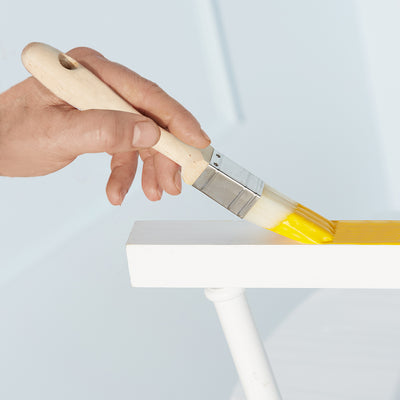
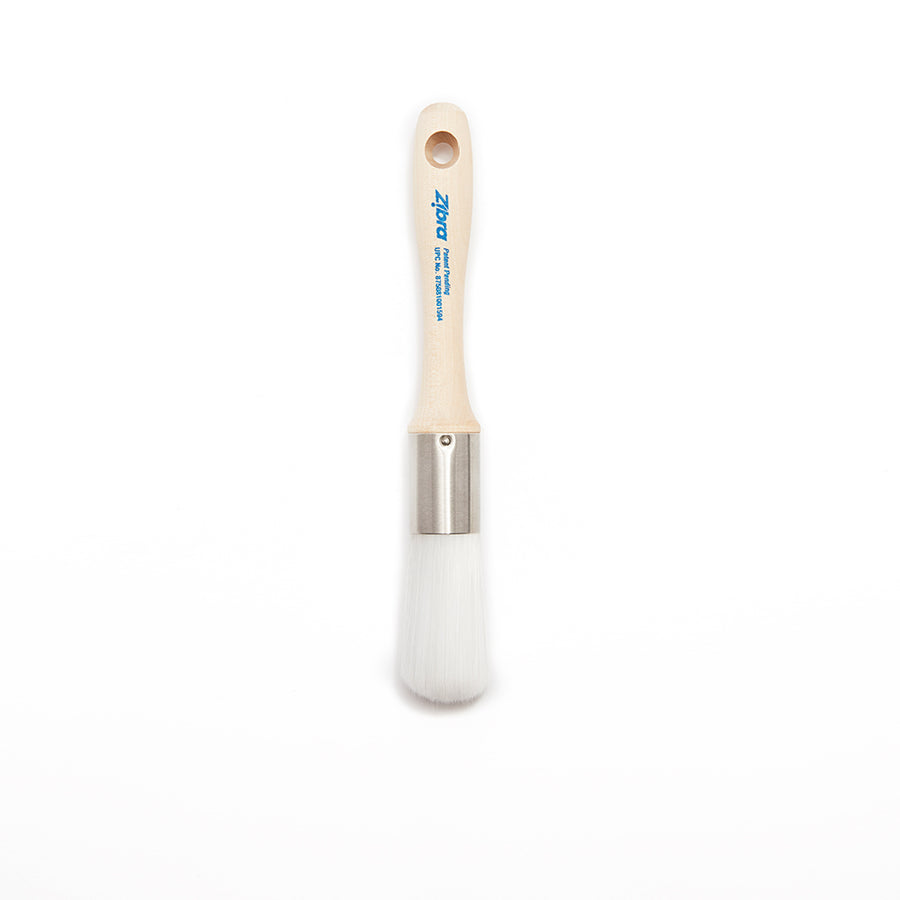
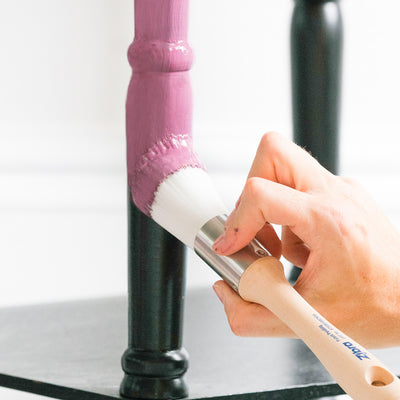
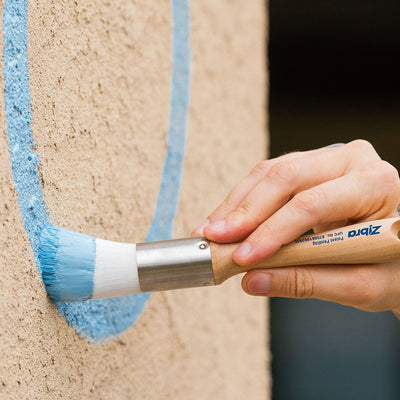
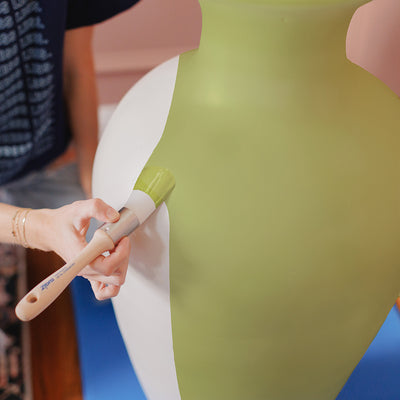
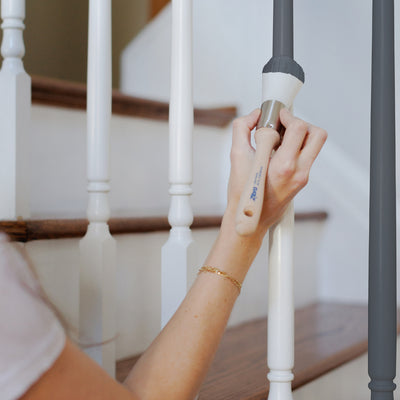
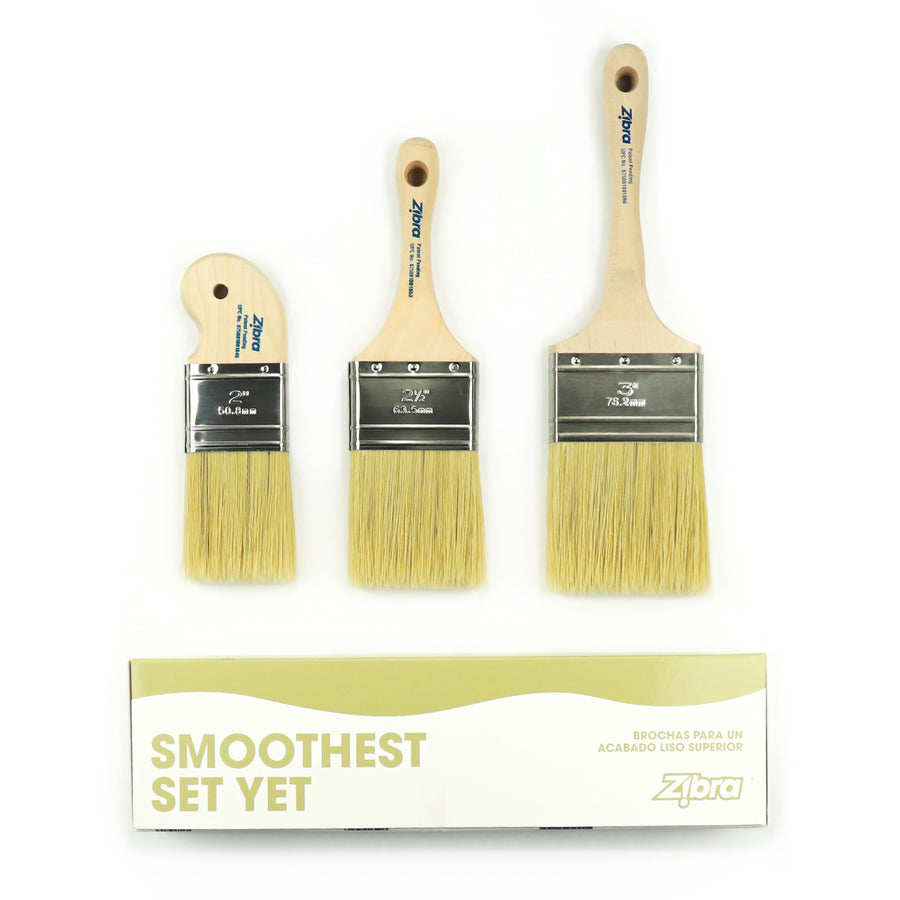
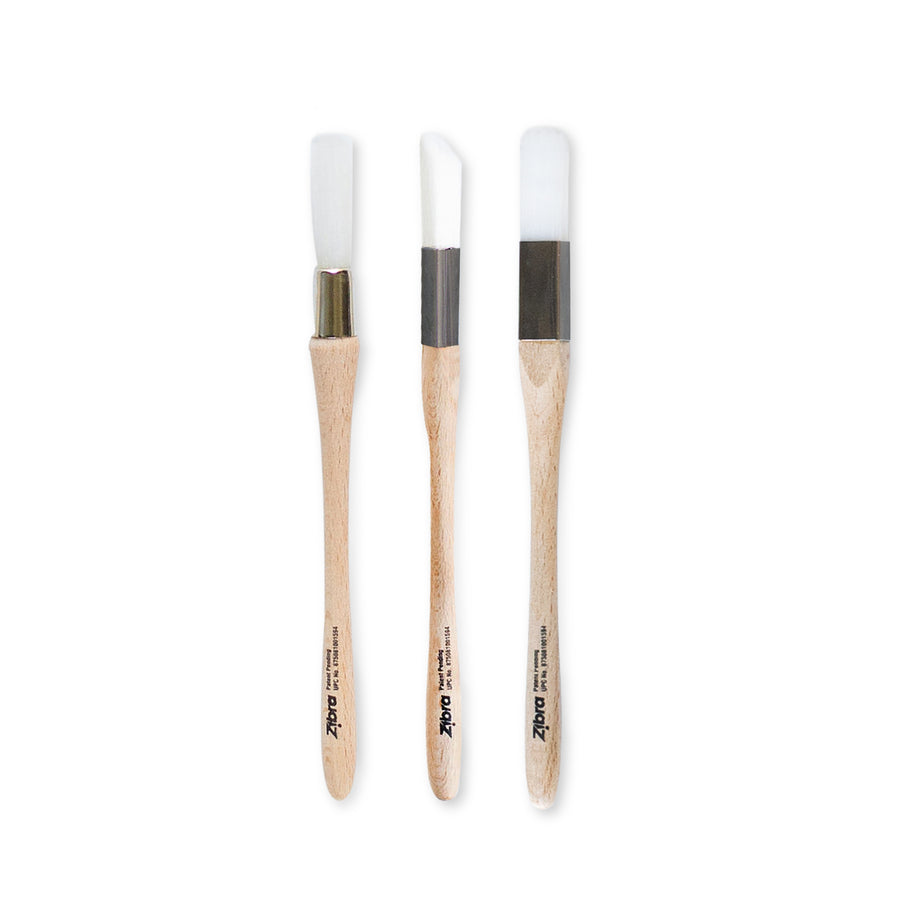
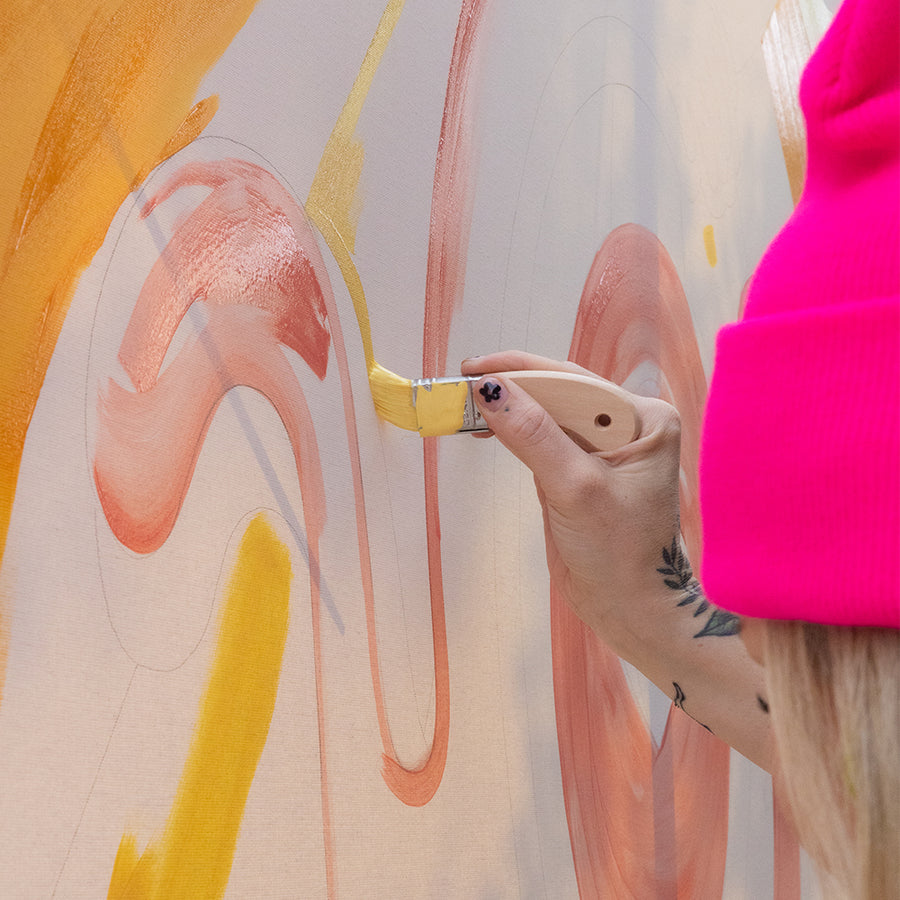
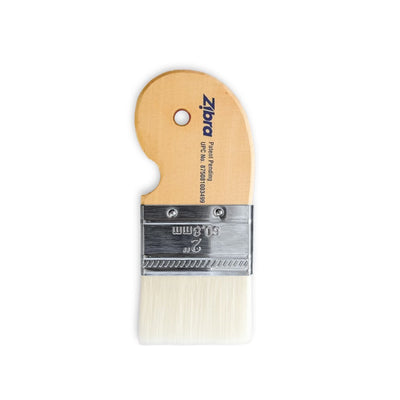
Step 2:  Using your Zibra Round Brush or Zibra Fan Brush paint your pumpkins. We recommend painting the bottom side of the pumpkin first and laying it on it's side until the paint is dry, then when dried you can continue painting the rest of the pumpkin. Generously coat each pumpkin. You may need 2 coats of paint depending on how thick you apply the paint. Let dry between coats.


Step 3 (optional): Paint the stems of the pumpkin a nice metallic gold to add a finishing touch and elevate your beautiful display!


We hope you enjoyed this step by step DIY to making your own Ombre Pumpkin Centerpiece Dispaly. If you make your own, tag us on Instagram @zibrapainting or use the hashtag #zibrainspo. We love to see what you create! 

Follow us on Instagram for more DIY inspo and pin the image below on Pinterest to refer back to. 

Happy Crafting! 

- Brie @ the Zibra Crew


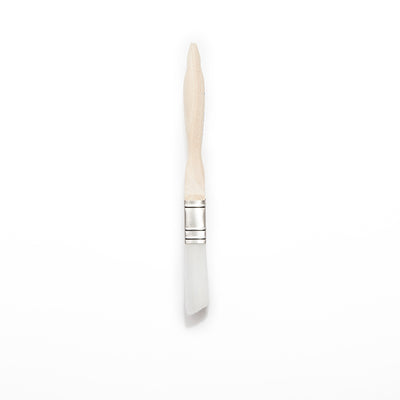
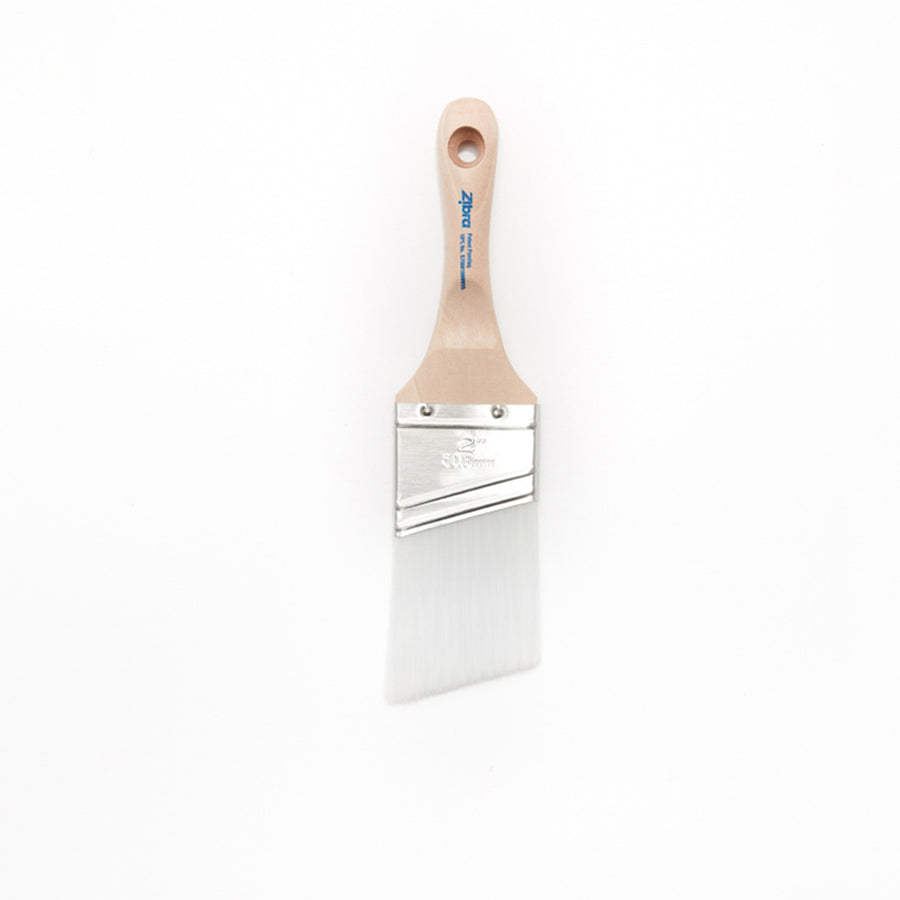
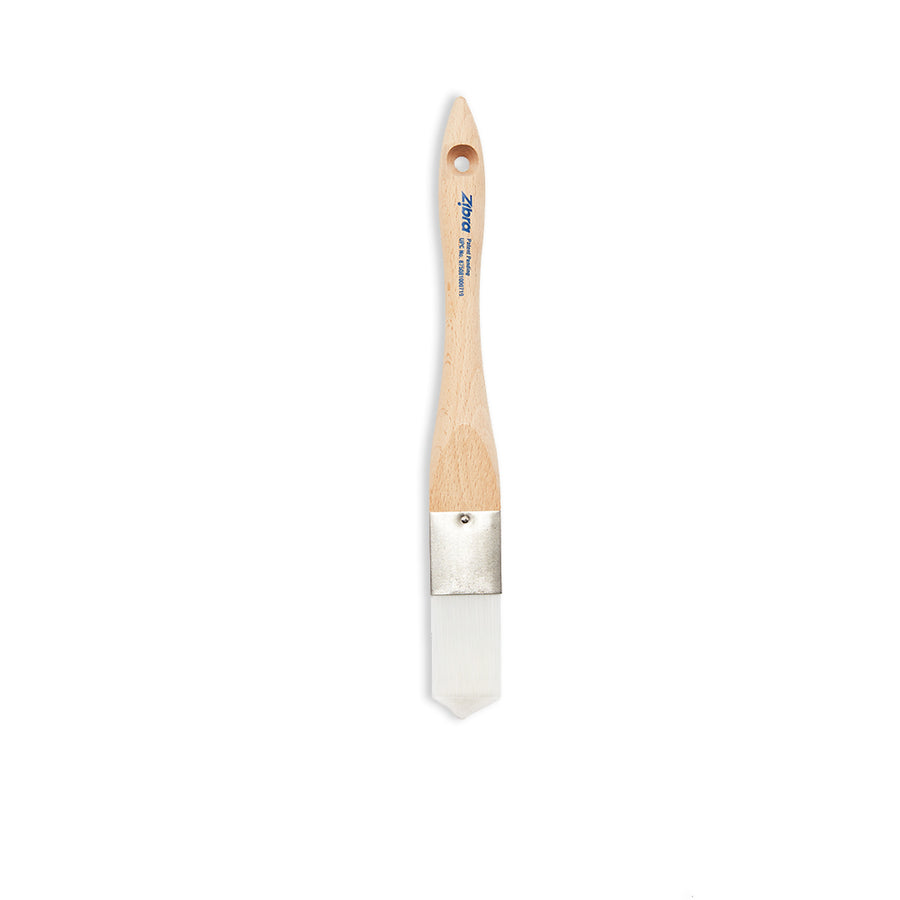
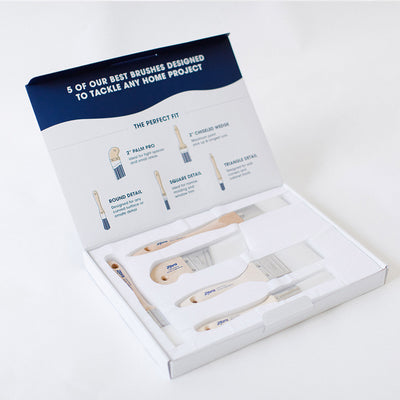
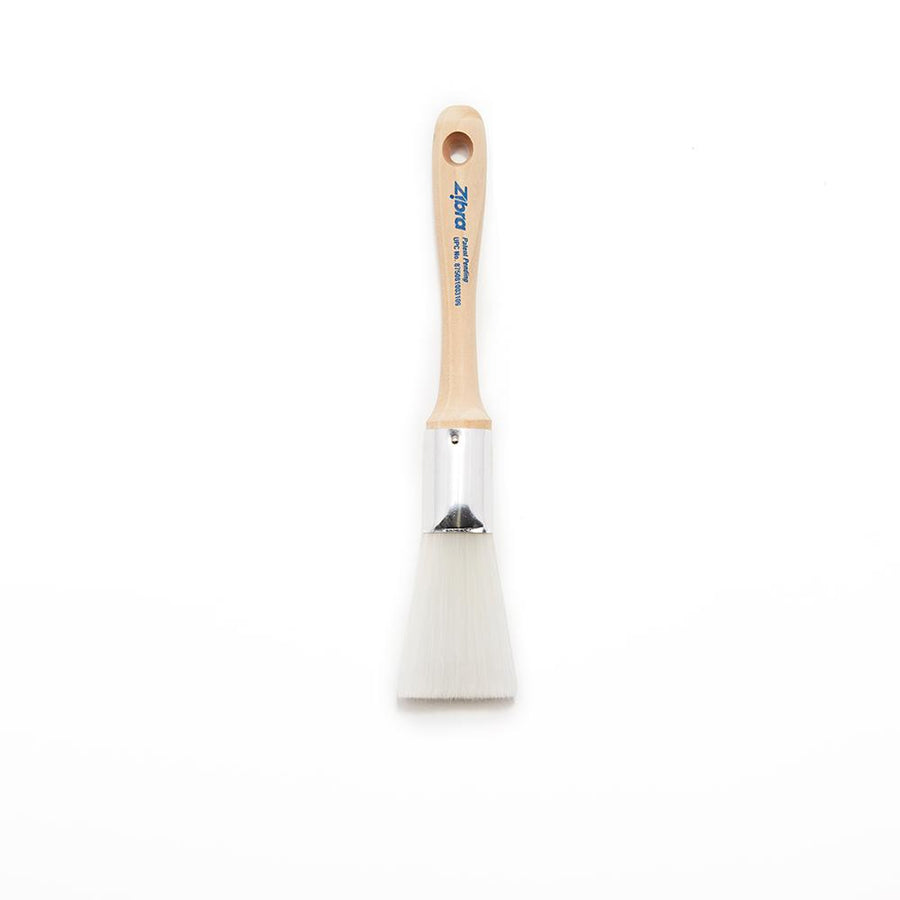
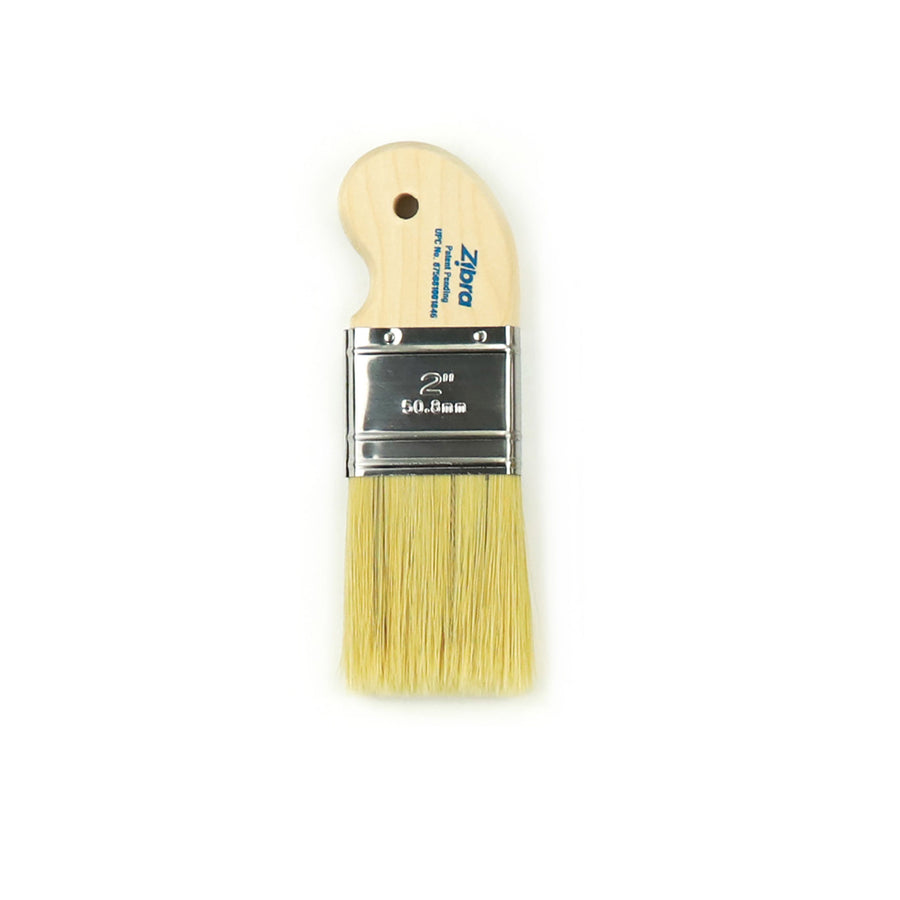
Great for detail work

Round Paintbrush

$10.50
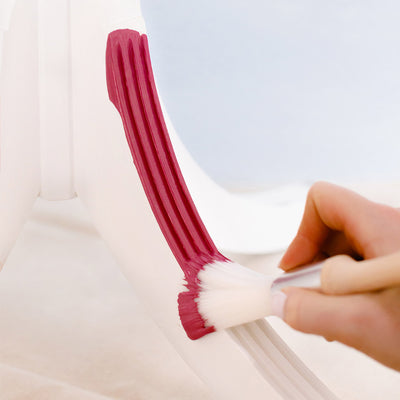
Perfect for broader strokes

Fan Paintbrush

$9.90

Related articles

  • Window Painting 101 with Laura Thompson Zibra DIY Inspo
    2 minute read
    Hanalyse Loboda

    Window Painting 101
    with Laura Thompson

    We sat down with muralist and window artist Laura Thompson (@ltmurals) to talk all things window painting, from materials and maintenance to why this medium has become such a powerful (and profitable) part of her creative work.
  • Pro Tips on How to Flip a Piece of Furniture Zibra DIY Inspo
    2 minute read
    Hanalyse Loboda

    Pro Tips on How to Flip a Piece of Furniture

    With Guest Blogger: Jen Talley of Perfectly Imperfect Furniture Refinishing If you’ve never flipped a piece of furniture before, it can seem pretty simple at first: find a piece, paint it, sell it. Easy, right? But anyone who’s done it knows there’s a lot more that goes into creating pieces that actually sell and stand out. We’re sharing expert tips from professional furniture artist Jen Talley, whose work blends timeless design with a “perfectly imperfect” philosophy rooted in intention, simplicity, and quality. (You may also recognize her from her episode on Brush & Banter, “When ‘No’ Becomes the Business Plan,” where she talks about boundaries, burnout, and building a sustainable creative business.) Whether you’re just starting out or looking to refine your process, these tips will help you flip with more confidence, and better results.
  • Brush + Banter Podcast Ep. 9 with Alli Koch of Alli K Design — Setting Your Prices as an Artist Zibra DIY Inspo
    2 minute read
    Hanalyse Loboda

    Brush + Banter Podcast Ep. 9 with Alli Koch of Alli K Design — Setting Your Prices as an Artist

    What does it actually take to build a mural business that lasts more than a decade, and still feel steady, sustainable, and creatively fulfilling? In the latest episode of Brush & Banter, hosts Brie and Lauren sit down with Texas-based muralist, author, and sculptor Alli Koch to talk about the behind-the-scenes structure that supports her 11-year creative career. From publishing drawing books to installing a 25-foot public sculpture, Alli has built a body of work that spans mediums and industries. But how has she done so much over the course of her incredible career? Turns out that it’s the boundaries and mindset that helped her stay booked (with repeat clients into 2026) while protecting her creativity along the way.