Chances are you’ve already got your desired end result burned into your memory, from paint color to new throw pillows. But if you don’t, now is the time to imagine the possibilities! There’s plenty of bedroom painting ideas for bedrooms of all shapes and sizes for you to pull inspiration from, so start browsing!
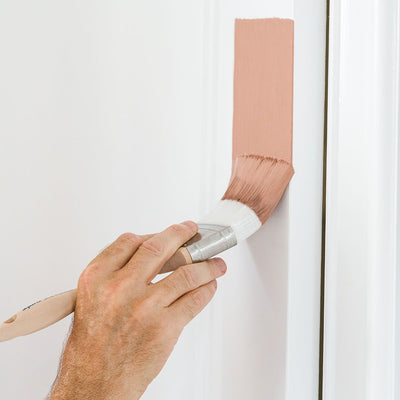
Now that you’ve got your bedroom painting inspo, it’s time to pick a color--or colors. After all, nothing breaks up a space as beautifully as an accent wall!
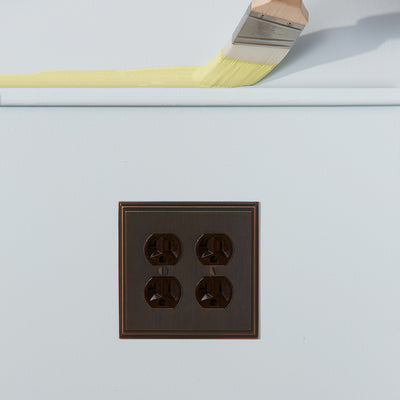
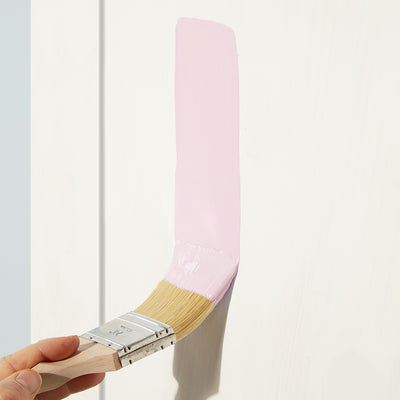
Picking a bedroom color is a very personal choice and can significantly influence the way you feel in your place of rest. Rather than just going with the trendy color of the moment, choose a color or color scheme that you really like. If you want your bedroom to be a place of quiet and tranquility after a long day, opt-in for a light hue of your favorite color. If in the mornings you wish to wake up feeling energized and ready for the day, perhaps a bright and bold color will be the wake-up call you need to get up and go! Remember, you’re not limited to one color, or even just paint! Wallpaper is an extremely popular design material today and can be an easy way to spruce up a wall or two in addition to a fresh coat of paint!
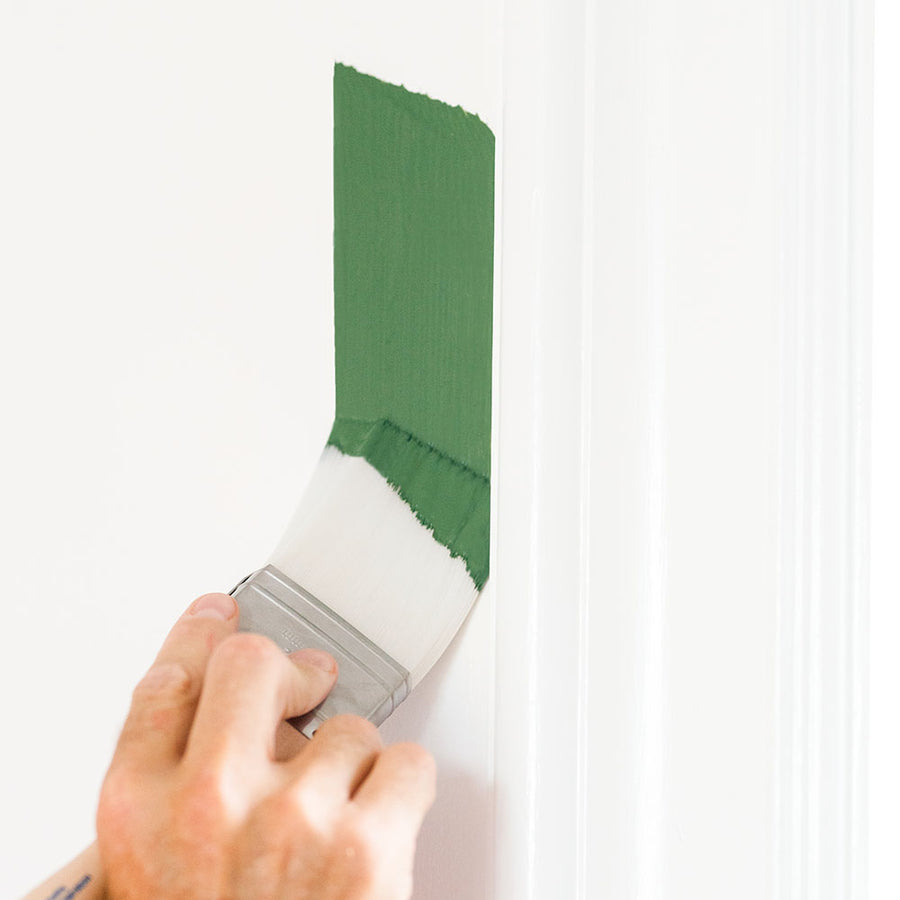
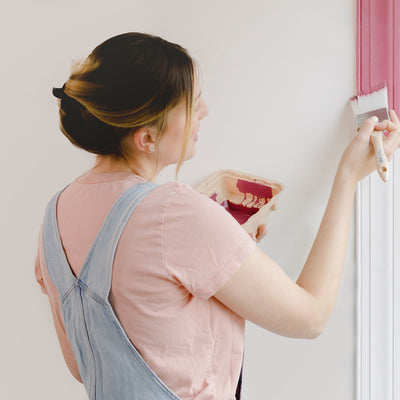
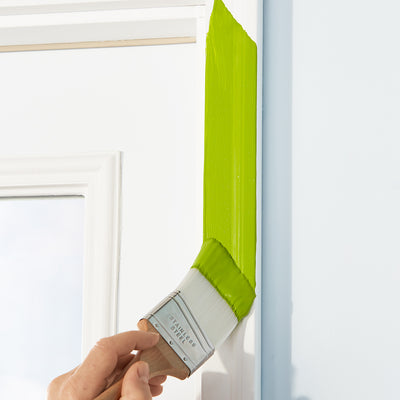
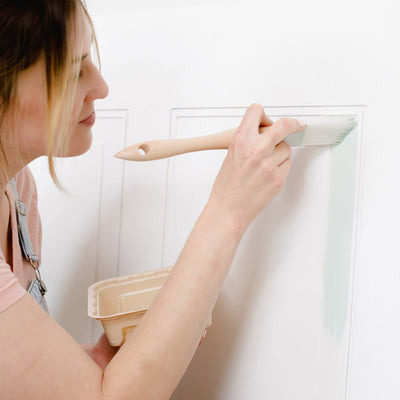
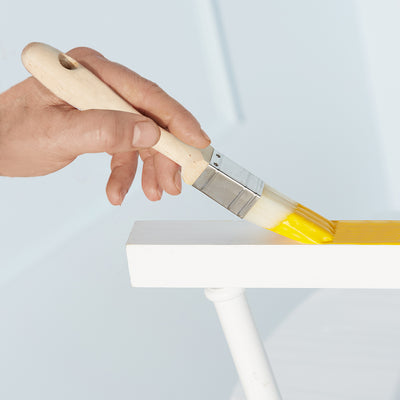
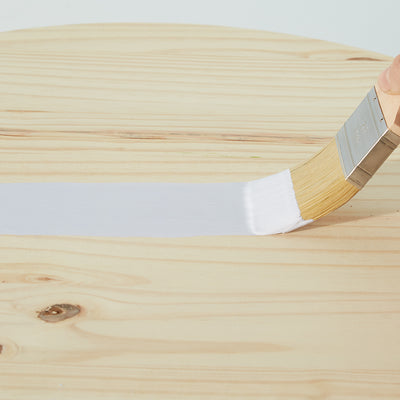
Once you’ve picture paint color, you’re ready to get the paint! Just like how using great paintbrushes will make your painting project easier, high-quality paint has the power to completely transform the look of any space and may even require fewer coats, which means less work for you! This isn’t to say you have to spend an arm and a leg on paint. There are plenty of excellent paints out there to choose from; just find the one that best fits your needs and budget!
How much paint you need will depend on the paint quality (i.e., if the paint is thinner or more watery, it may require more coats than a thick paint), but the general rule of thumb is one gallon for every 300-400 square feet. The average-sized room is about 800 square feet, requiring about two gallons.
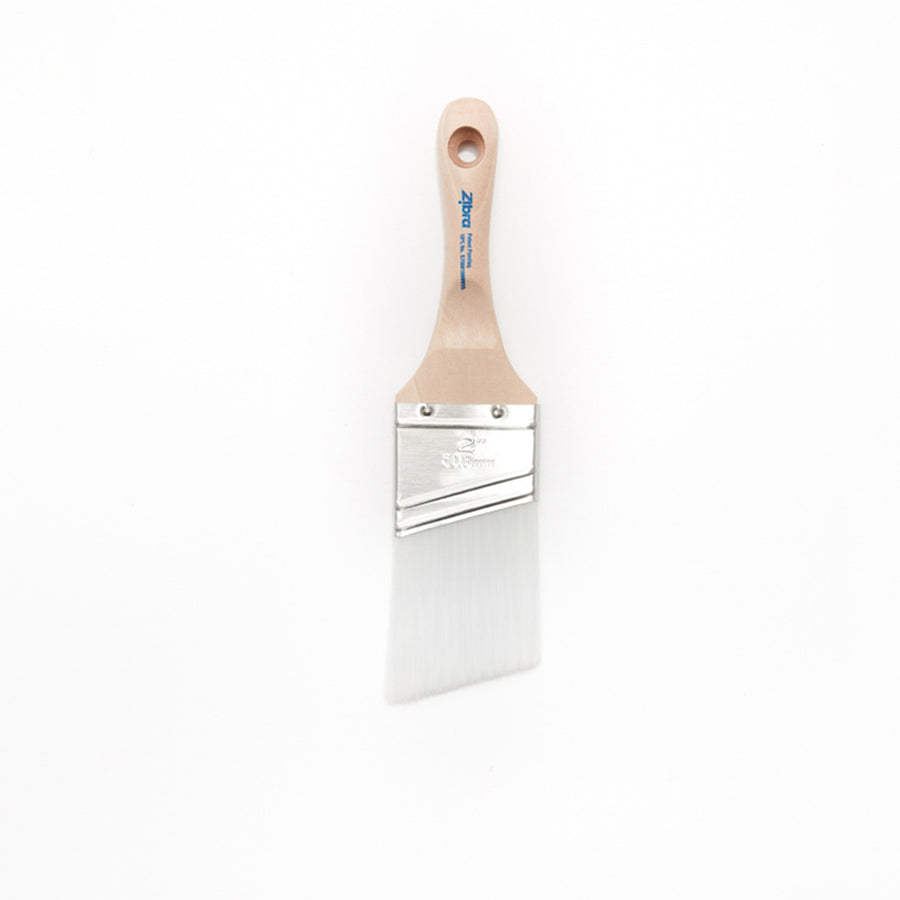
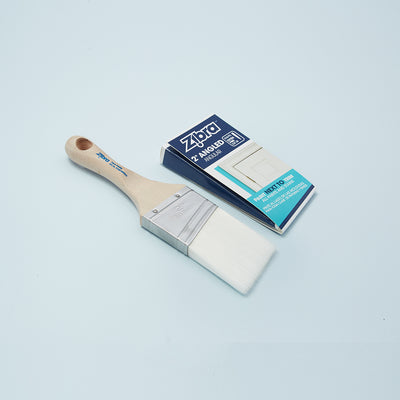
Learning how to properly paint a room doesn’t just come down to the quality of paint you’re using, but your tools and materials you use as well. At the most basic level, you’ll need:
-
Paint & paint mixer
-
Paint roller & extension pole for ceilings, high walls
-
Paint tray
-
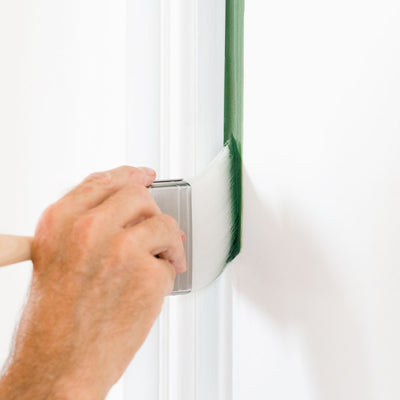
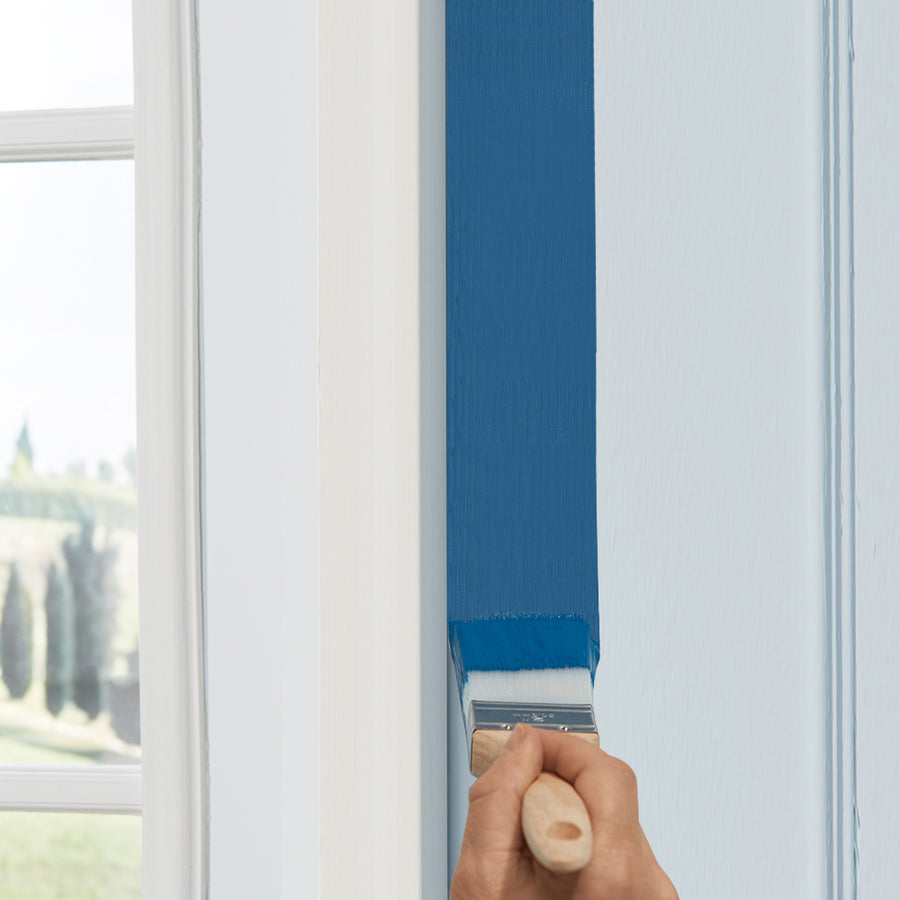
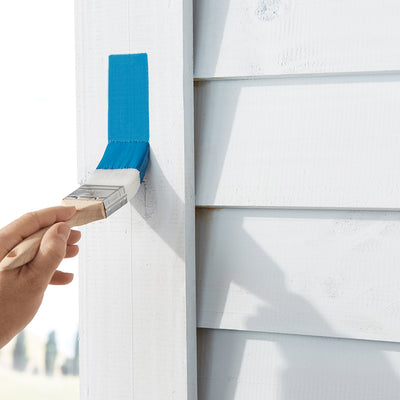
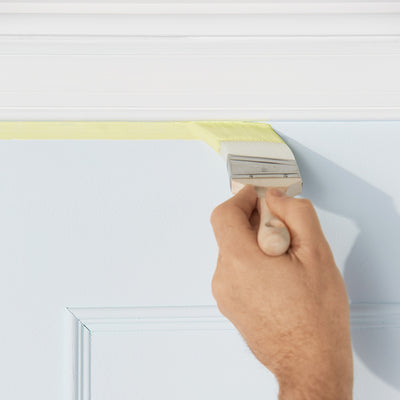
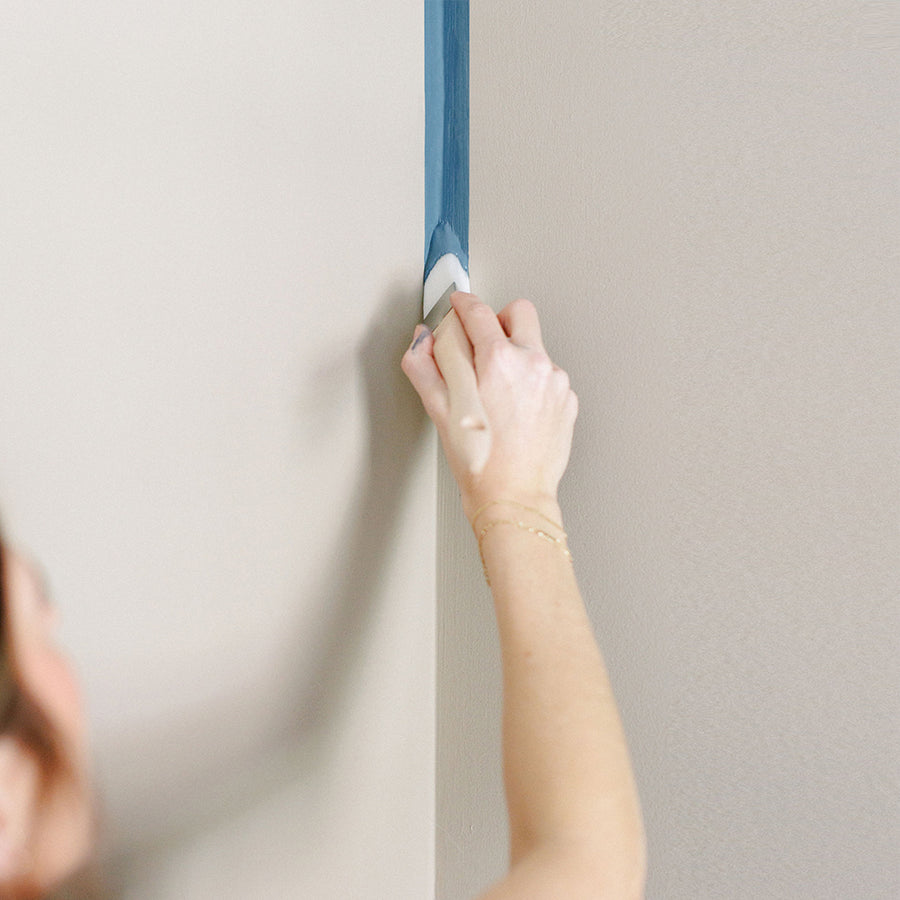
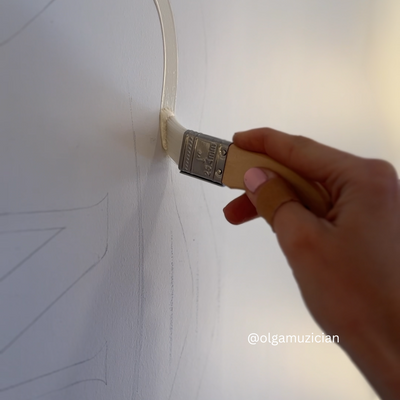
Painters Tape
-
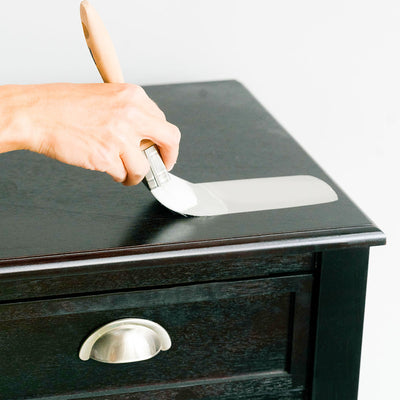
Light spackle
-
Putty knife
-
220 grit sandpaper or a sanding sponge
-
Painting Accessories like rags, painting aprons and drop cloths to protect clothes, floors, and furniture
-
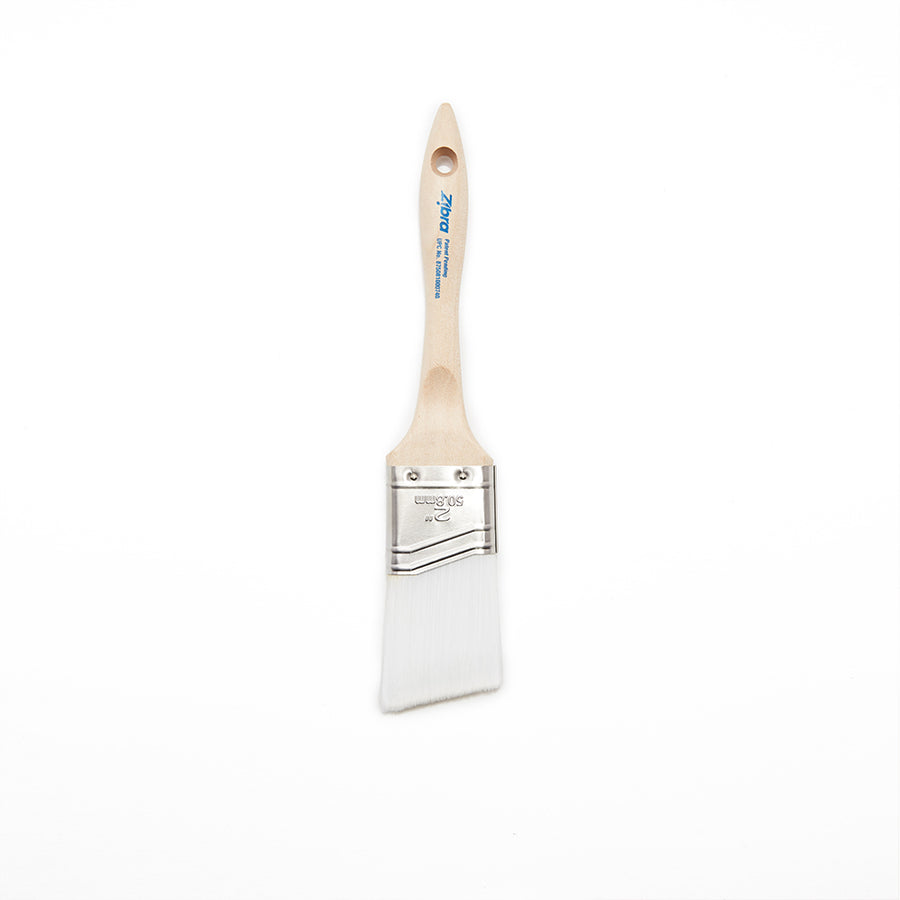
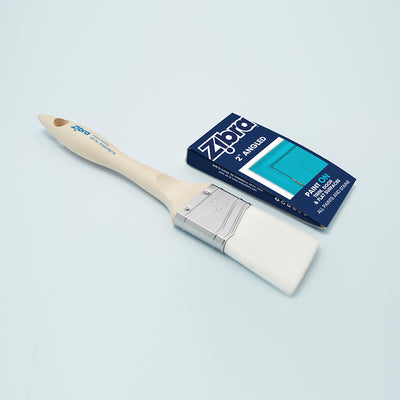
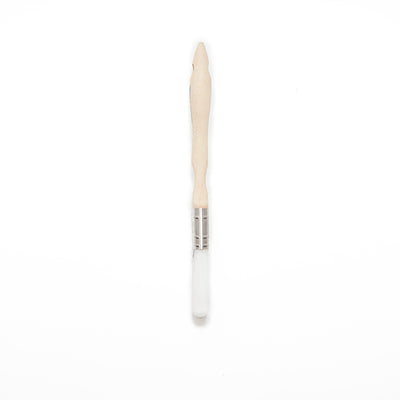
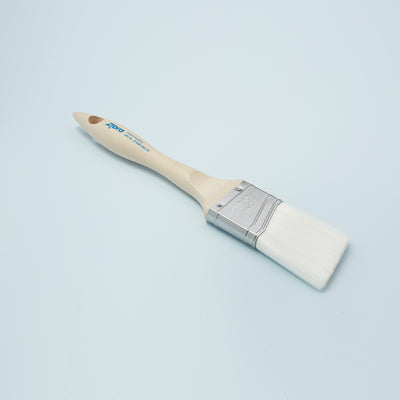
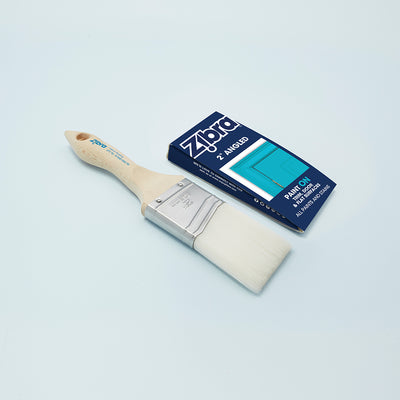
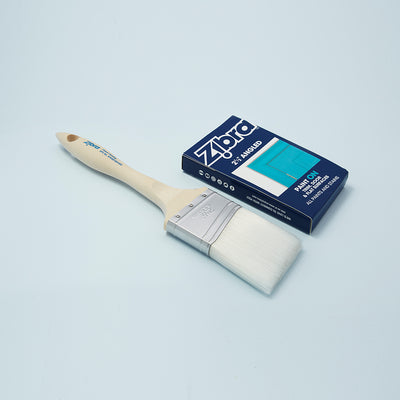
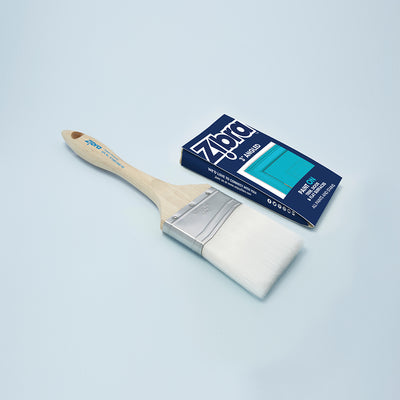
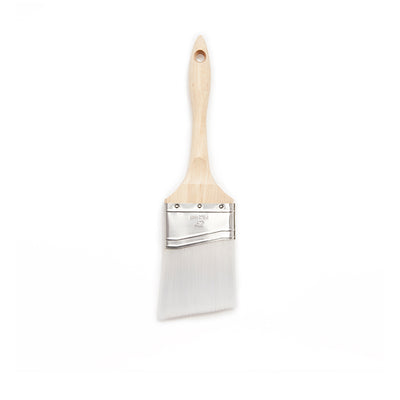
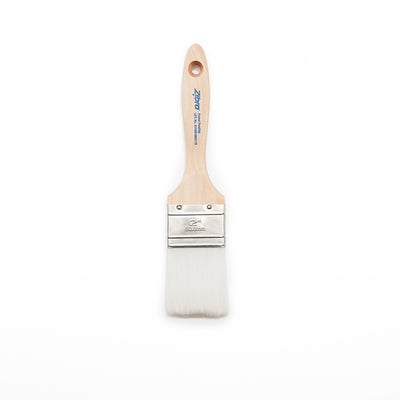
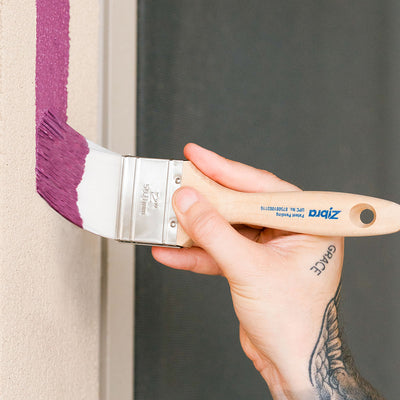
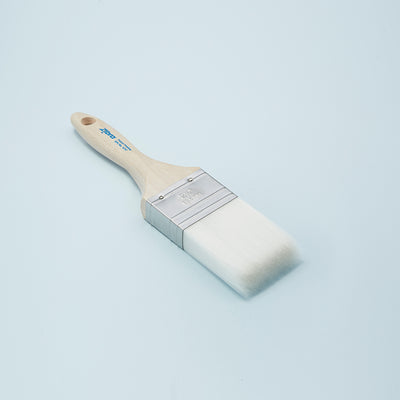
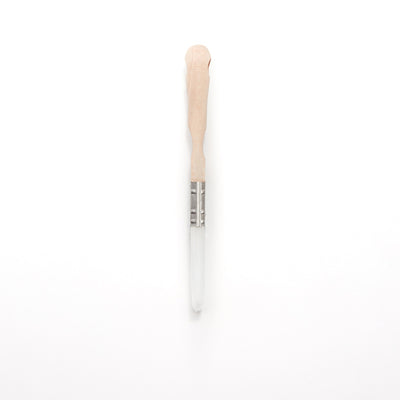
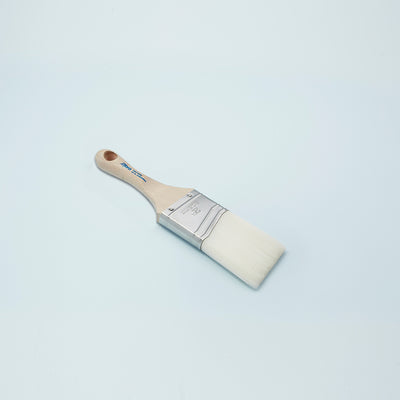
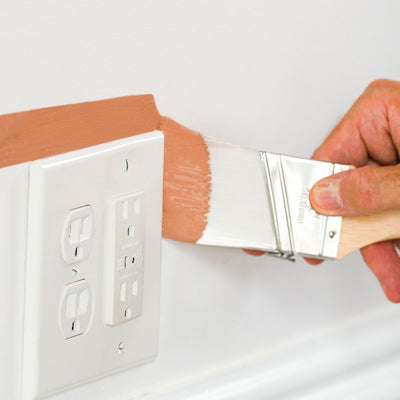
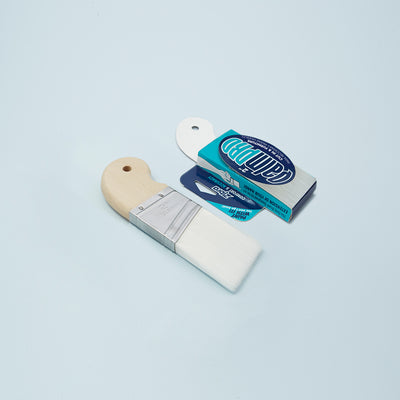
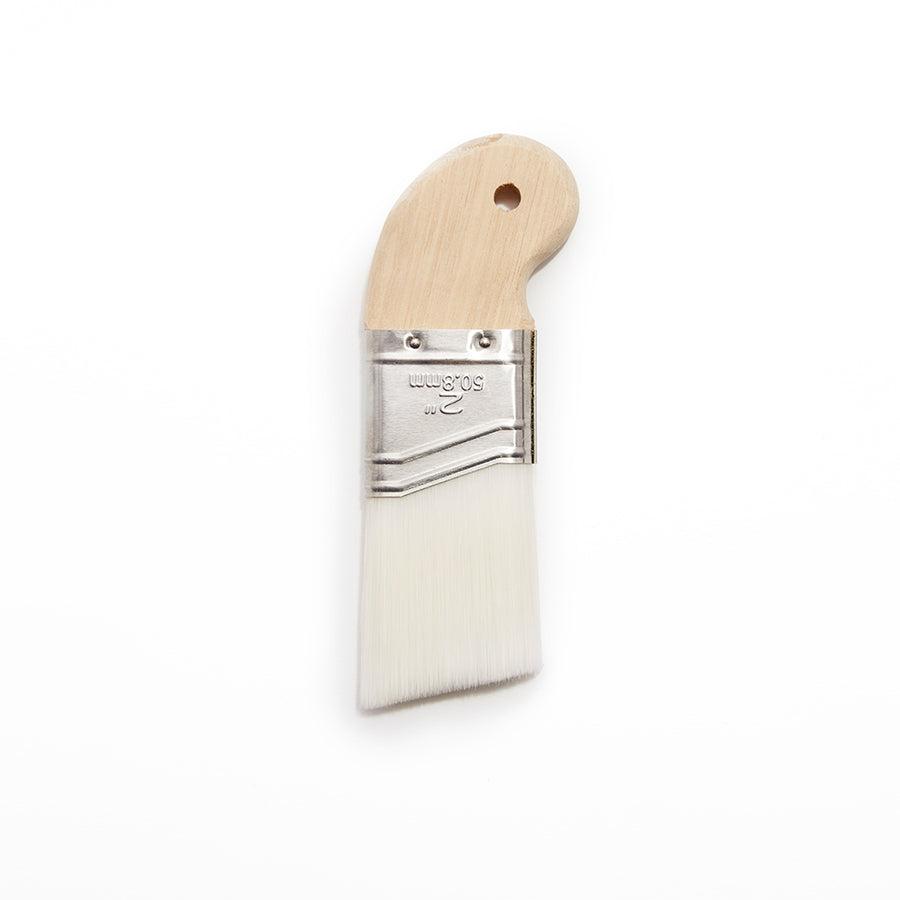
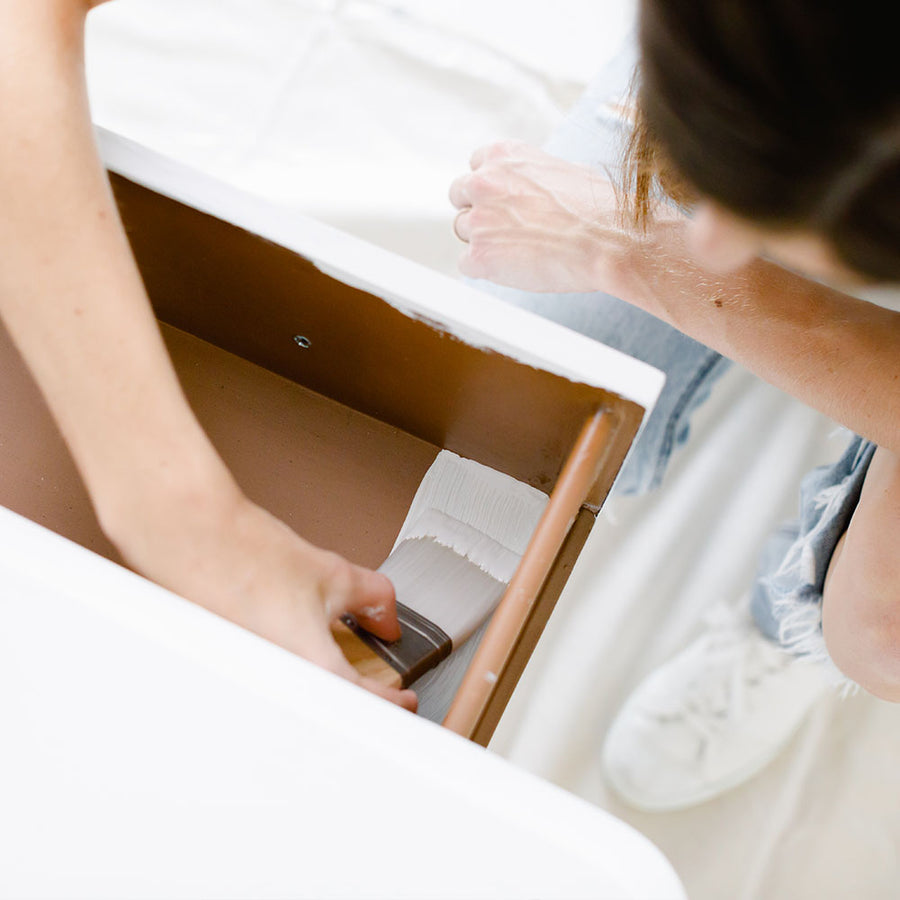
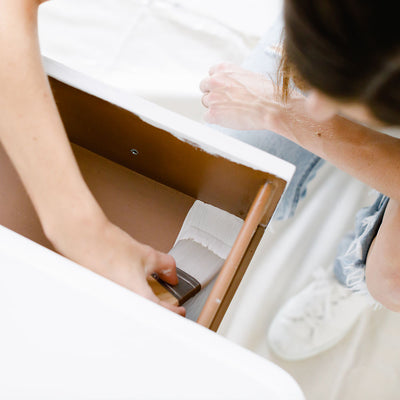
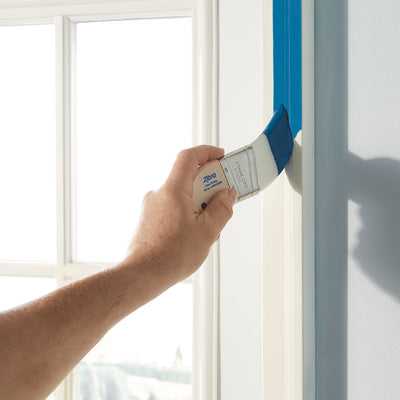
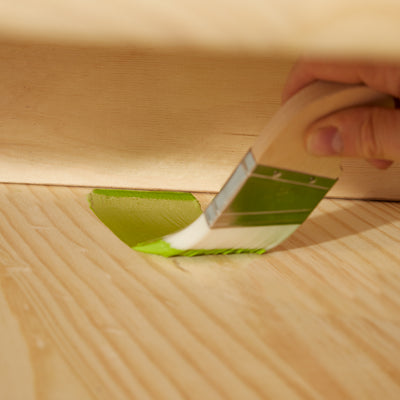
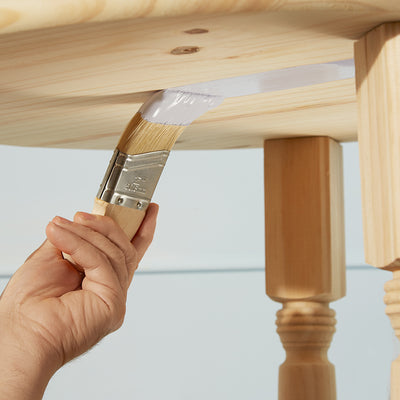
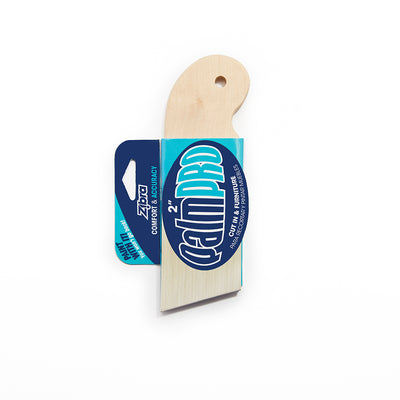
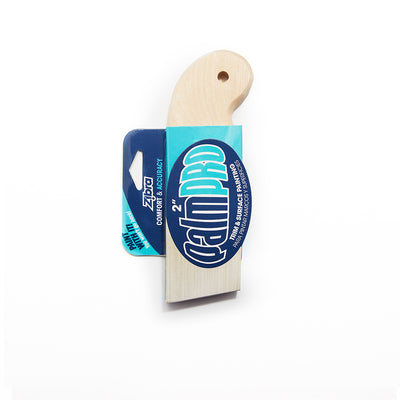
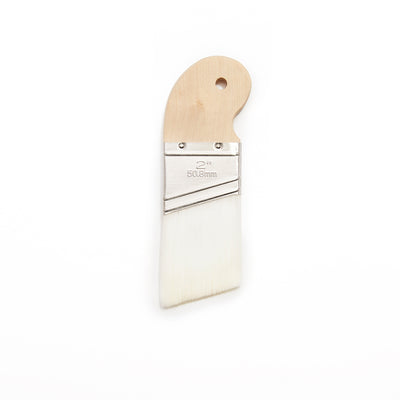
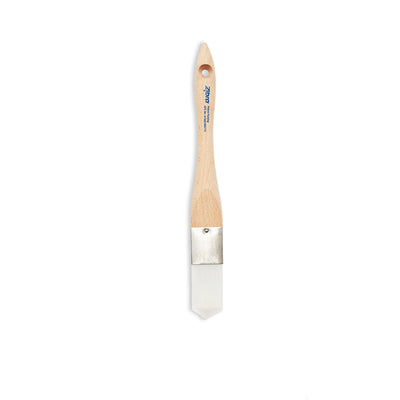
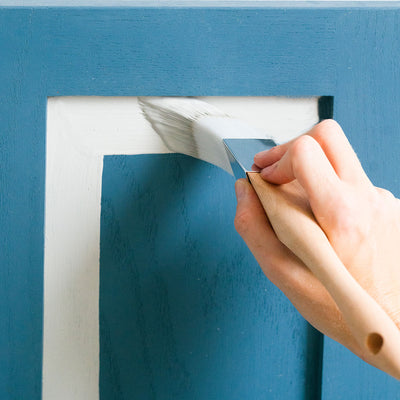
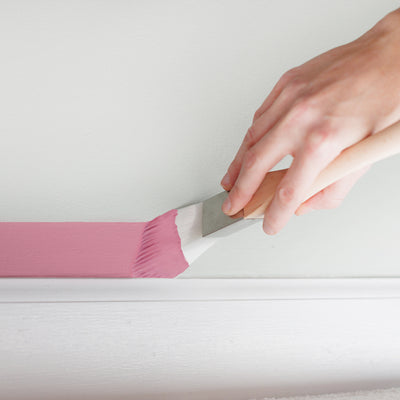
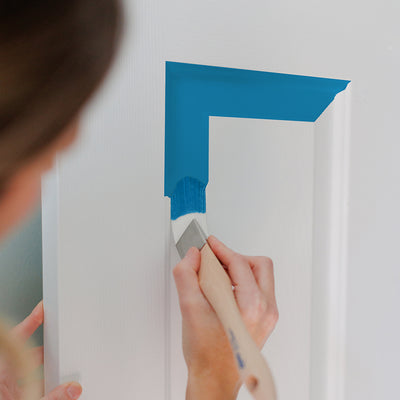
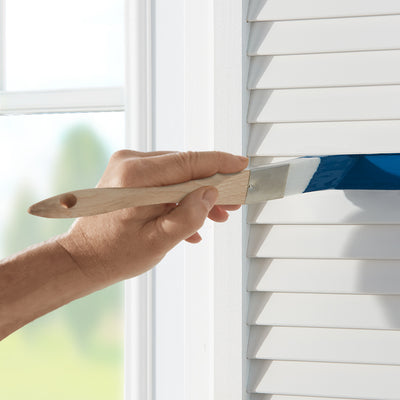
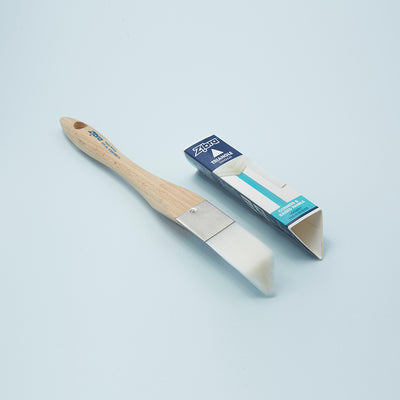
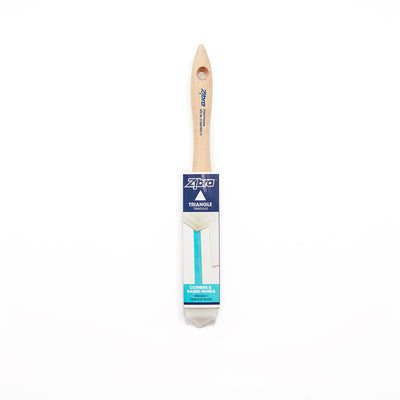
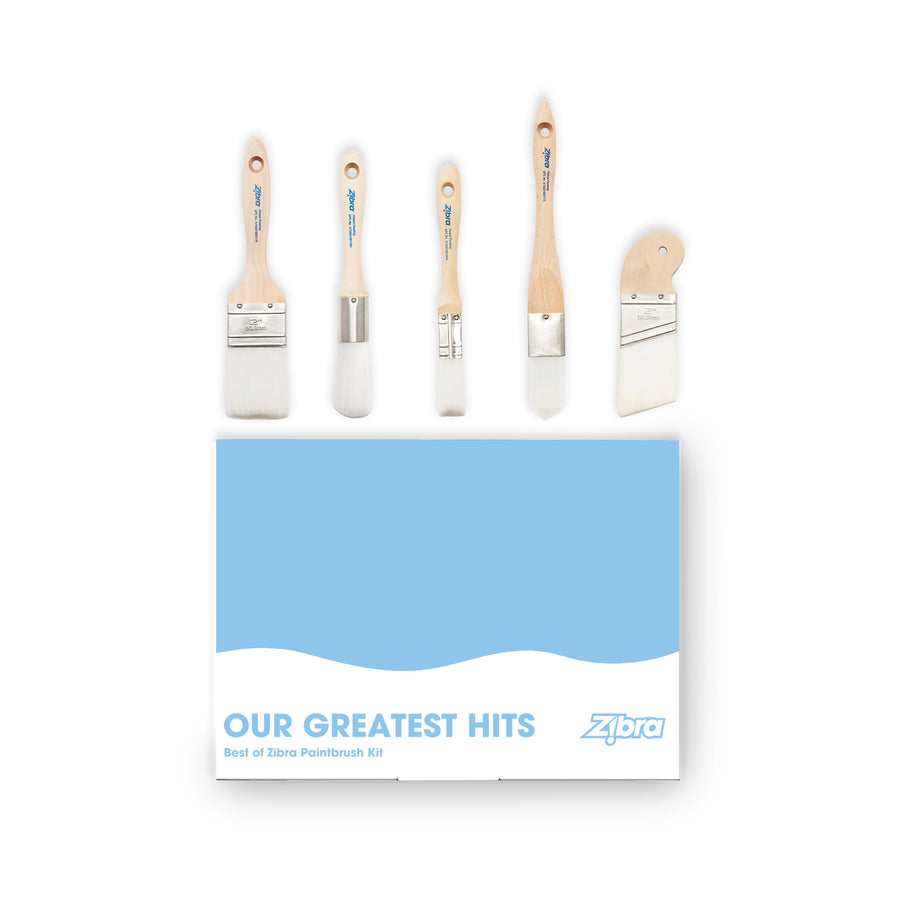
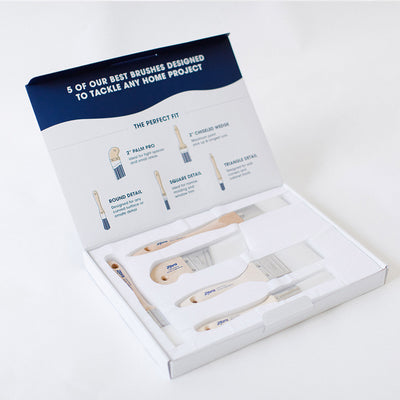
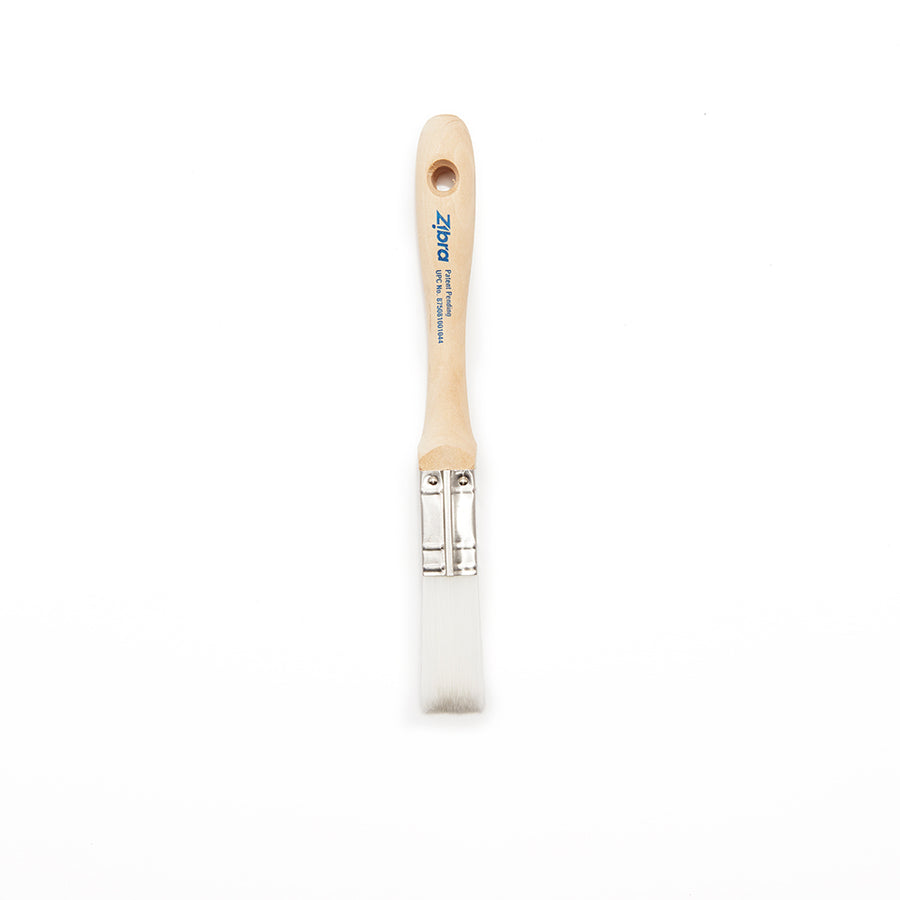
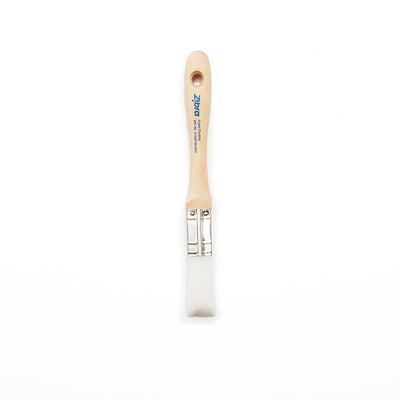
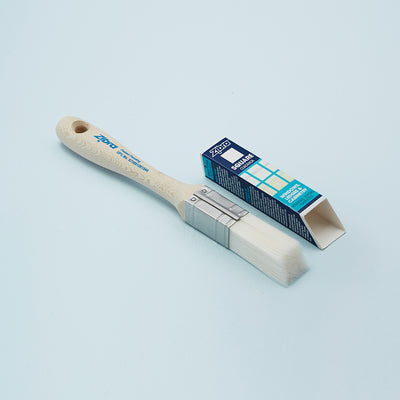
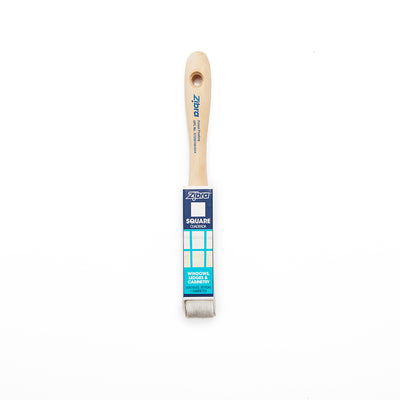
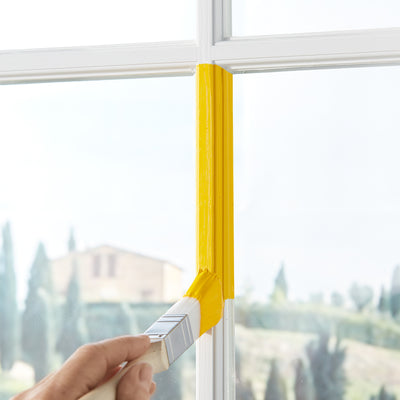
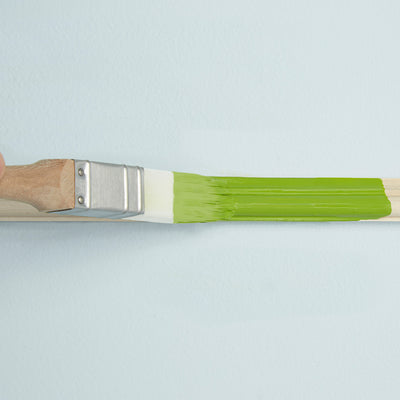
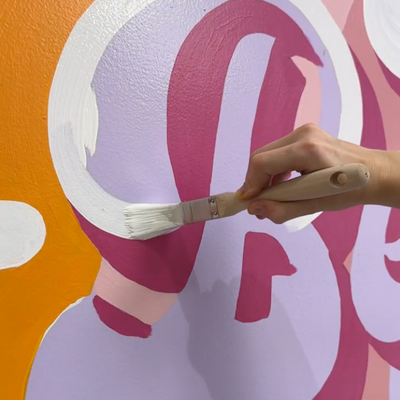
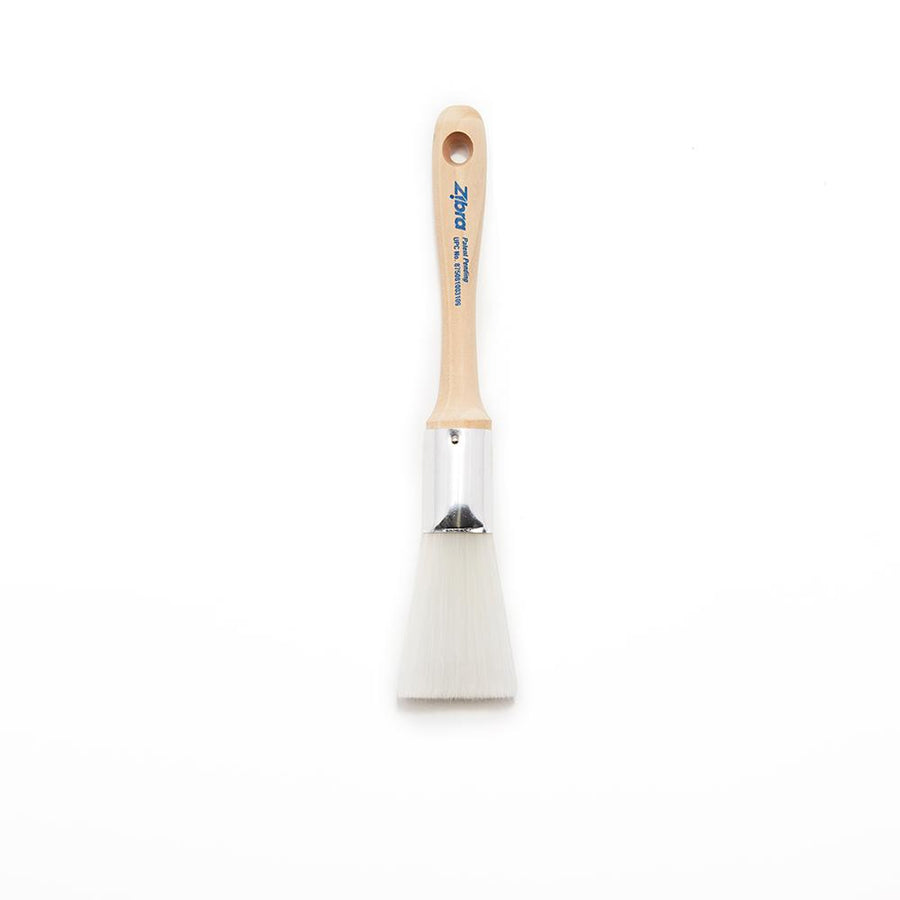
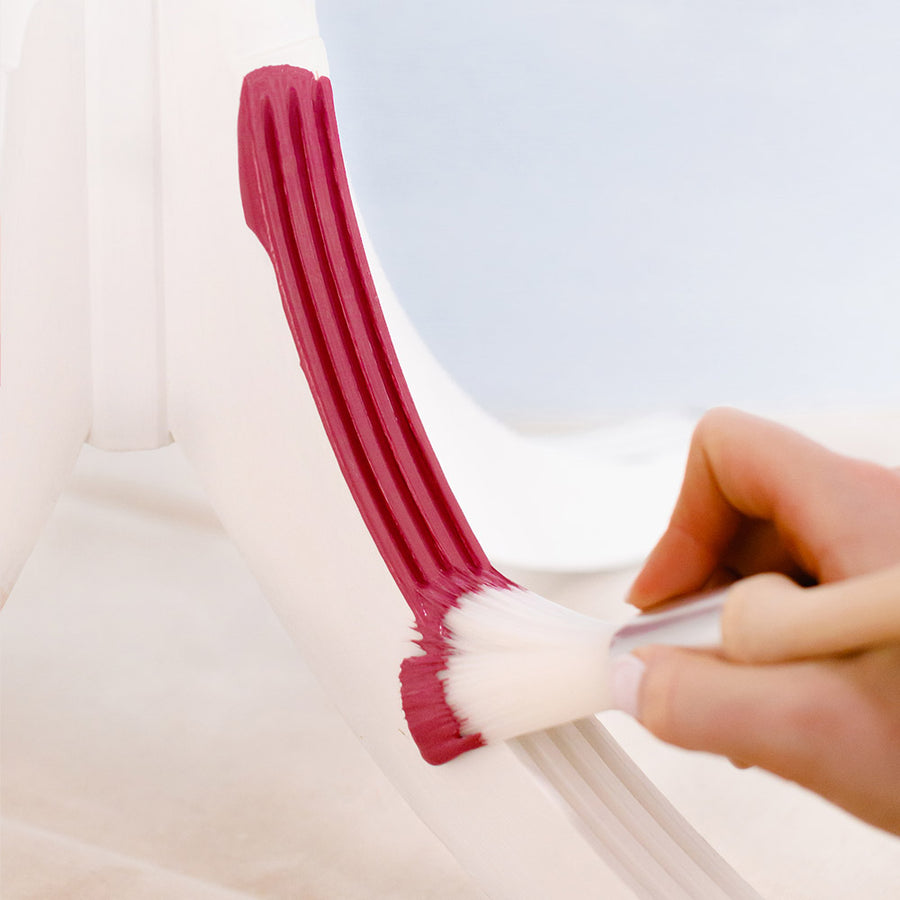
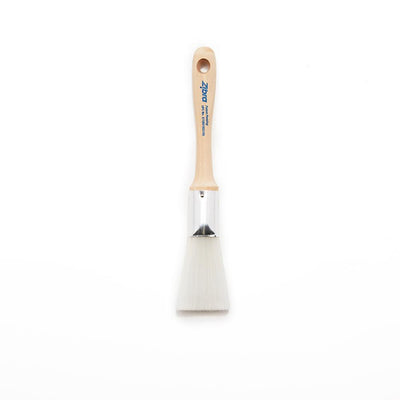
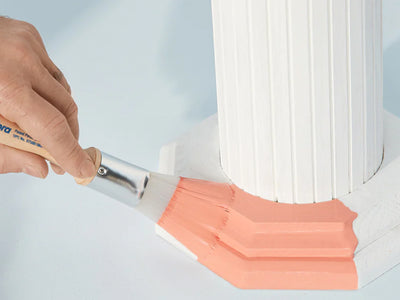
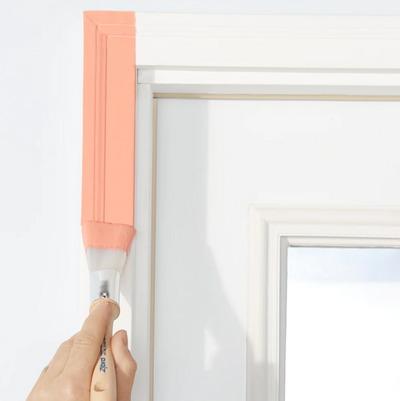
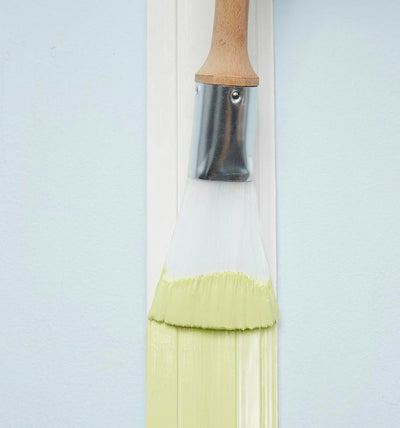
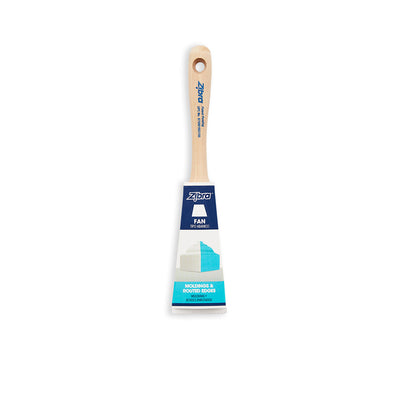
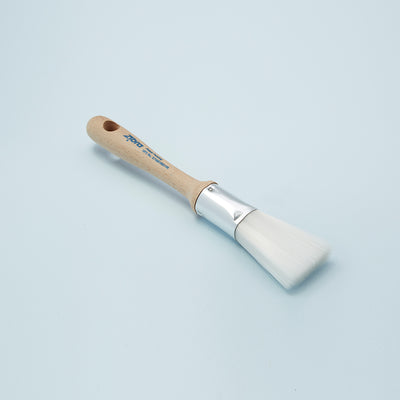
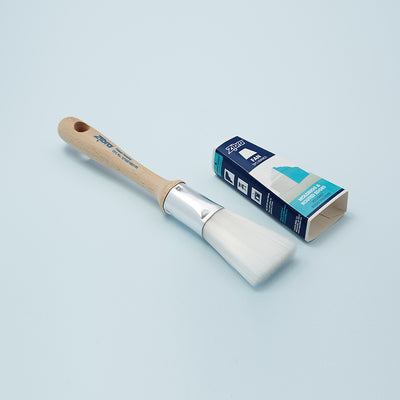
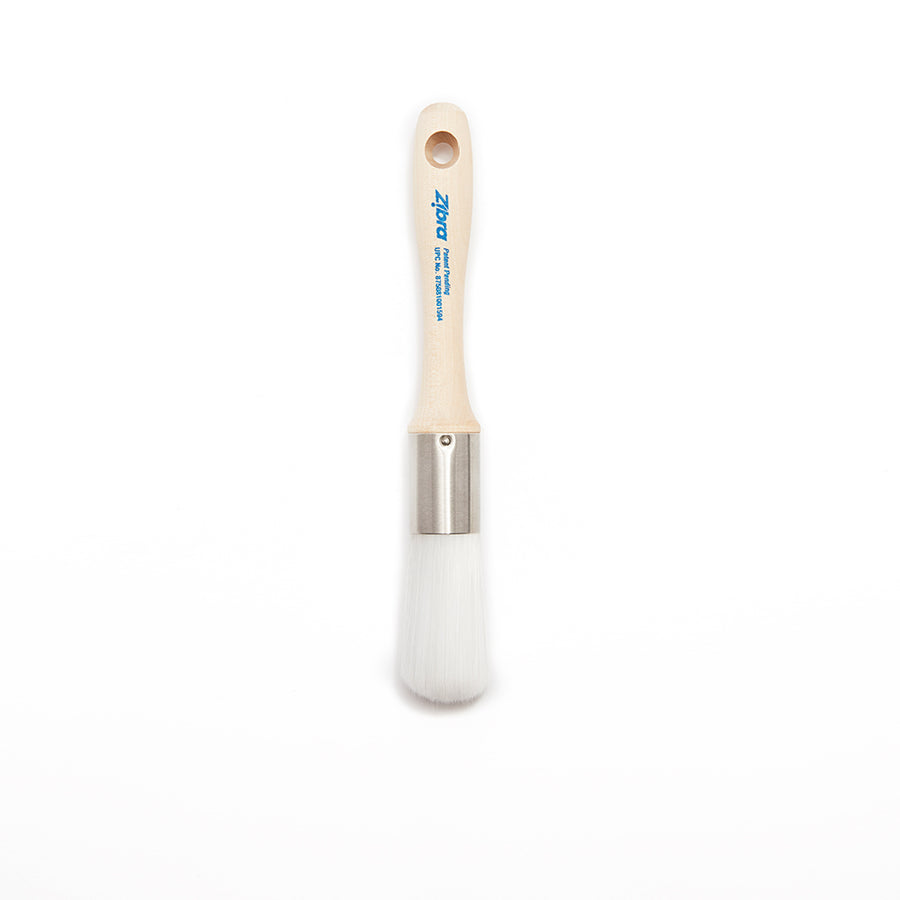
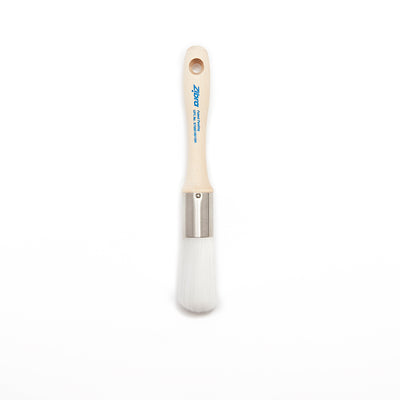
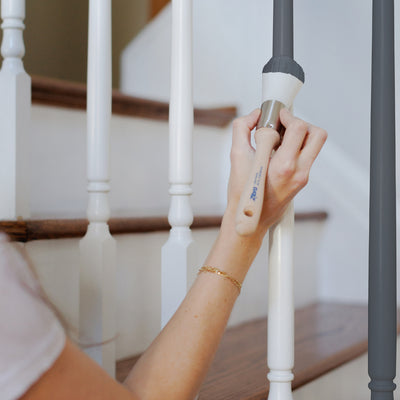
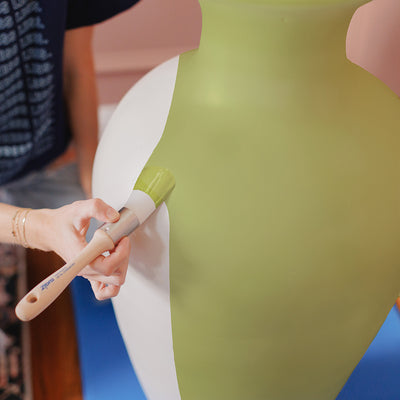
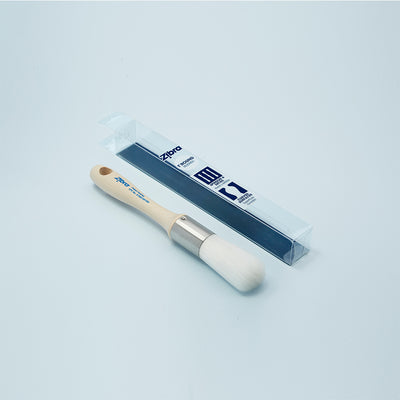
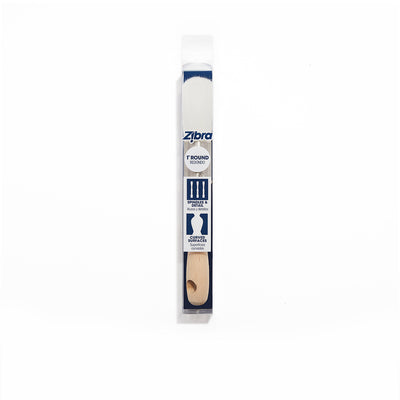
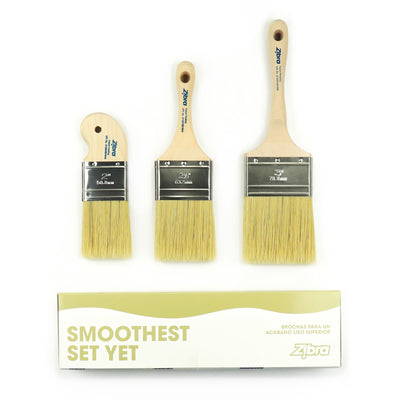
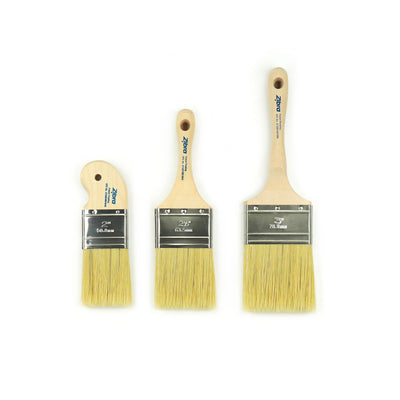
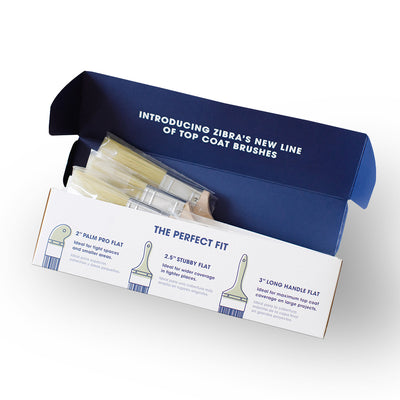
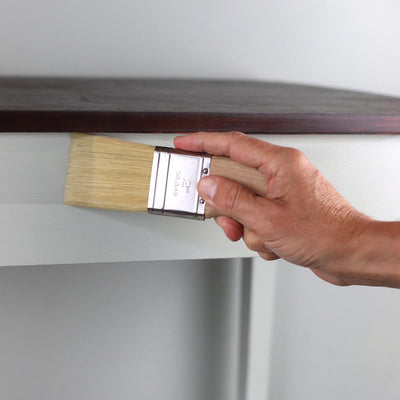
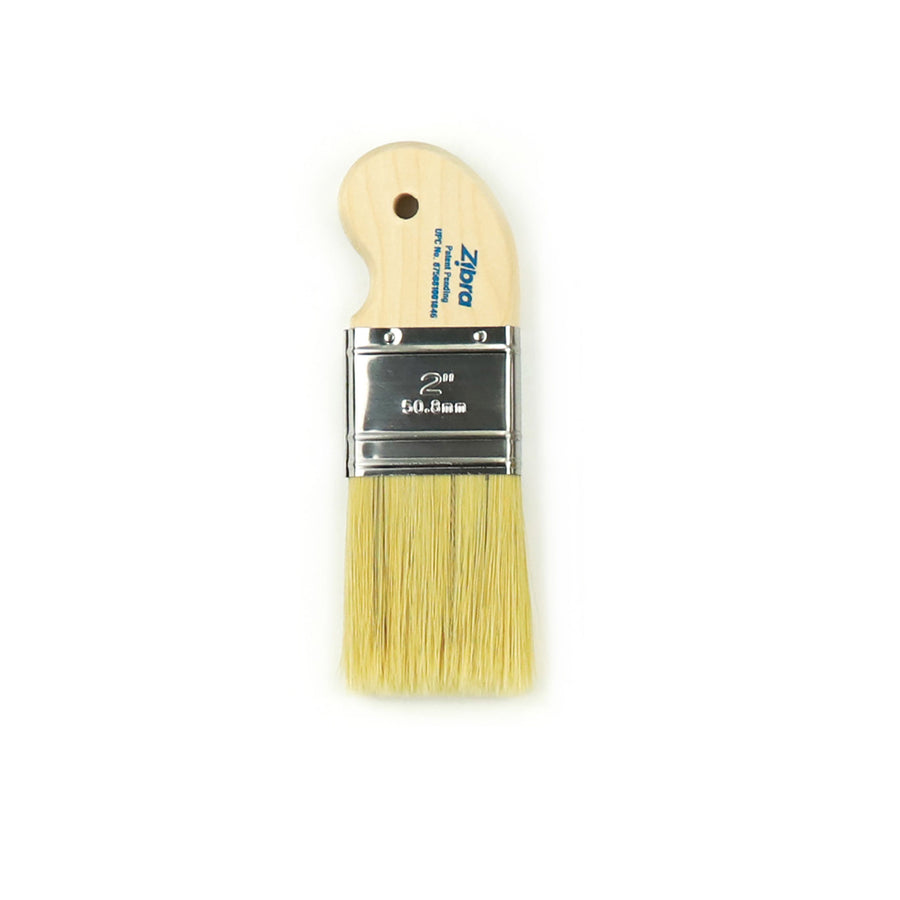
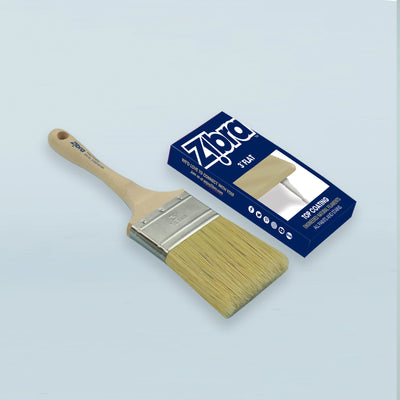
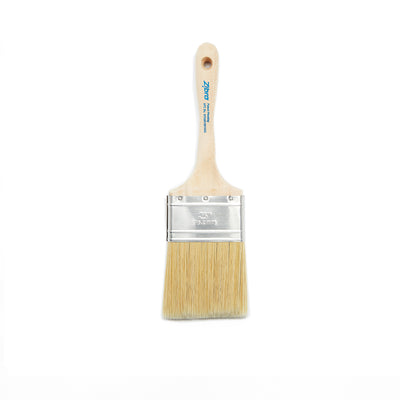
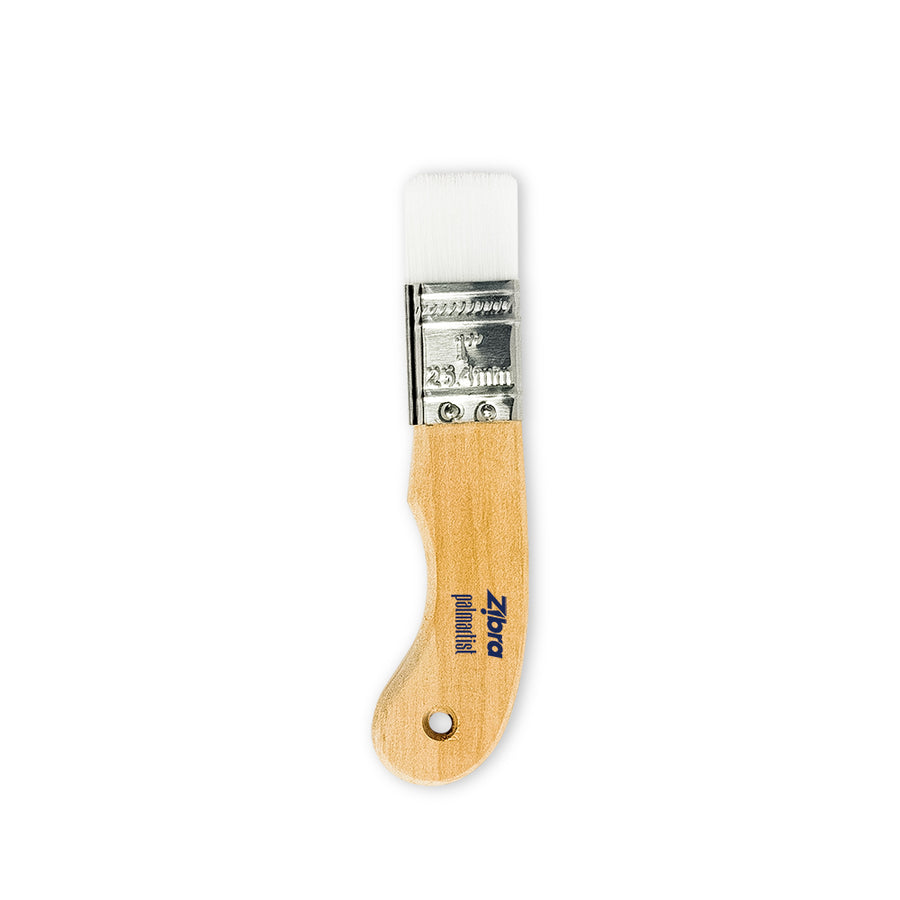
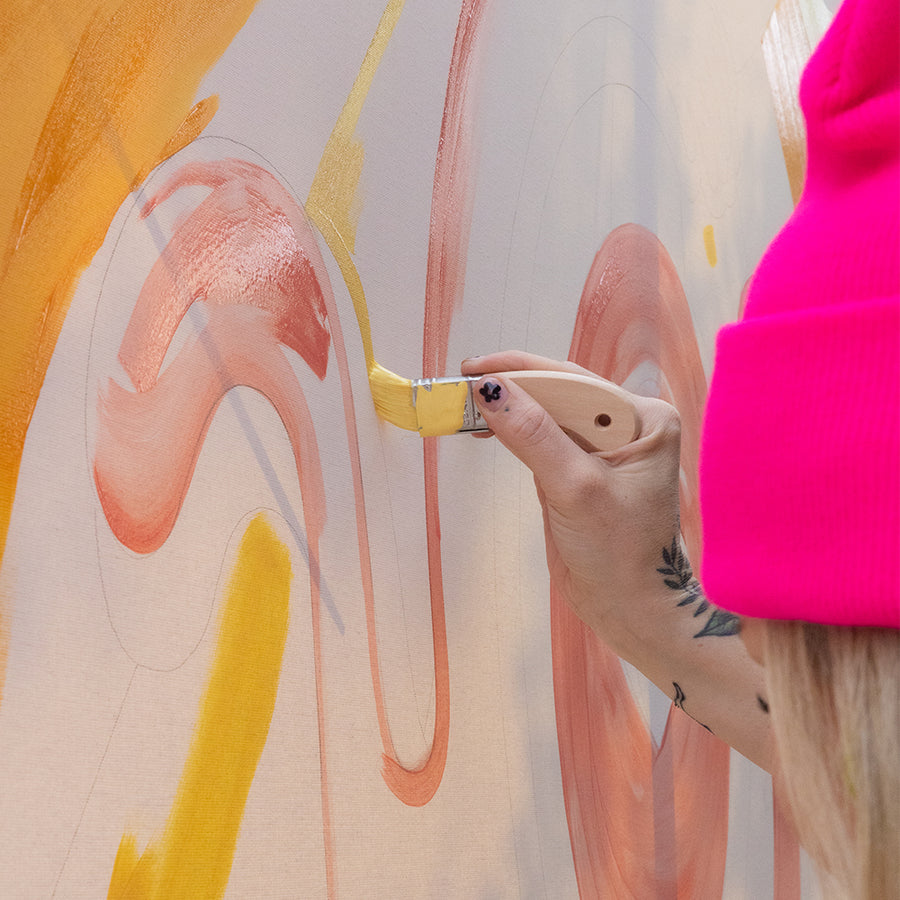
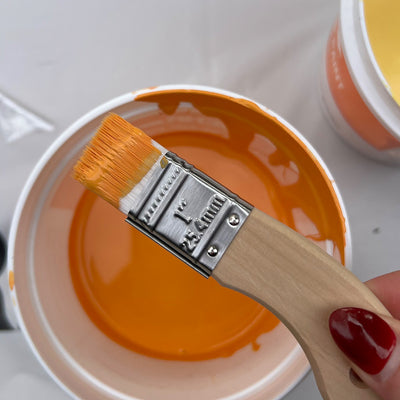
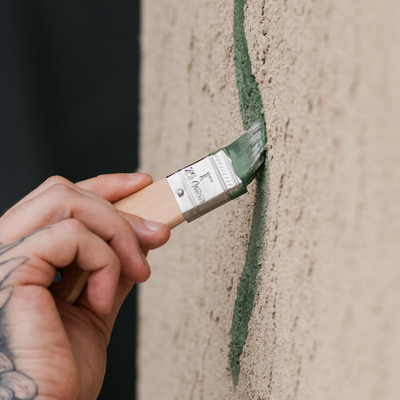
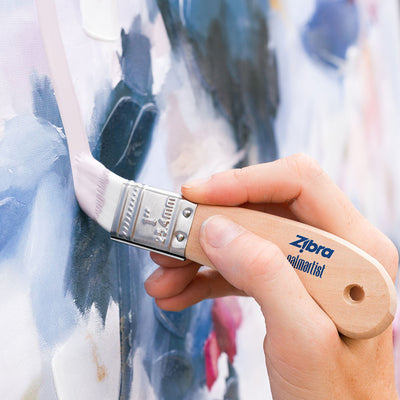
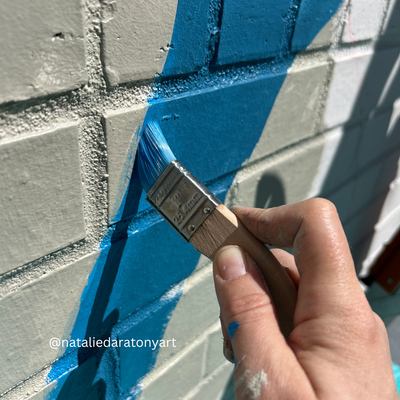
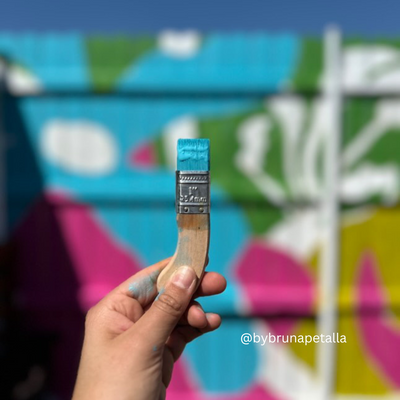
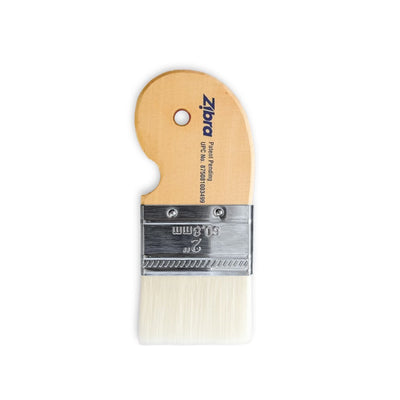
Paintbrushes or a Paintbrush Kit for painting trim and detail work, like Zibra’s Room Makeover Paintbrush Kit! Take Zibra’s Brush Finder Quiz to find the perfect paintbrushes for your project quickly