1. Proper Surface Preparation
Before you start painting, it’s crucial to prepare the brick surface properly. Clean the brick thoroughly to remove any dirt, dust, and debris. You can use a wire brush and soapy water to scrub the surface, followed by a rinse with clean water. Allow the brick to dry completely before moving on to the next step.
2. Prime the Brick
Priming the brick is essential to ensure the paint adheres well and lasts longer. Use a high-quality masonry primer to seal the surface. This will help create a smooth base for your mural and reduce the roughness of the brick. Apply the primer with a roller for larger areas and a brush for smaller, detailed sections.
3. Use High-Quality Paints and Brushes
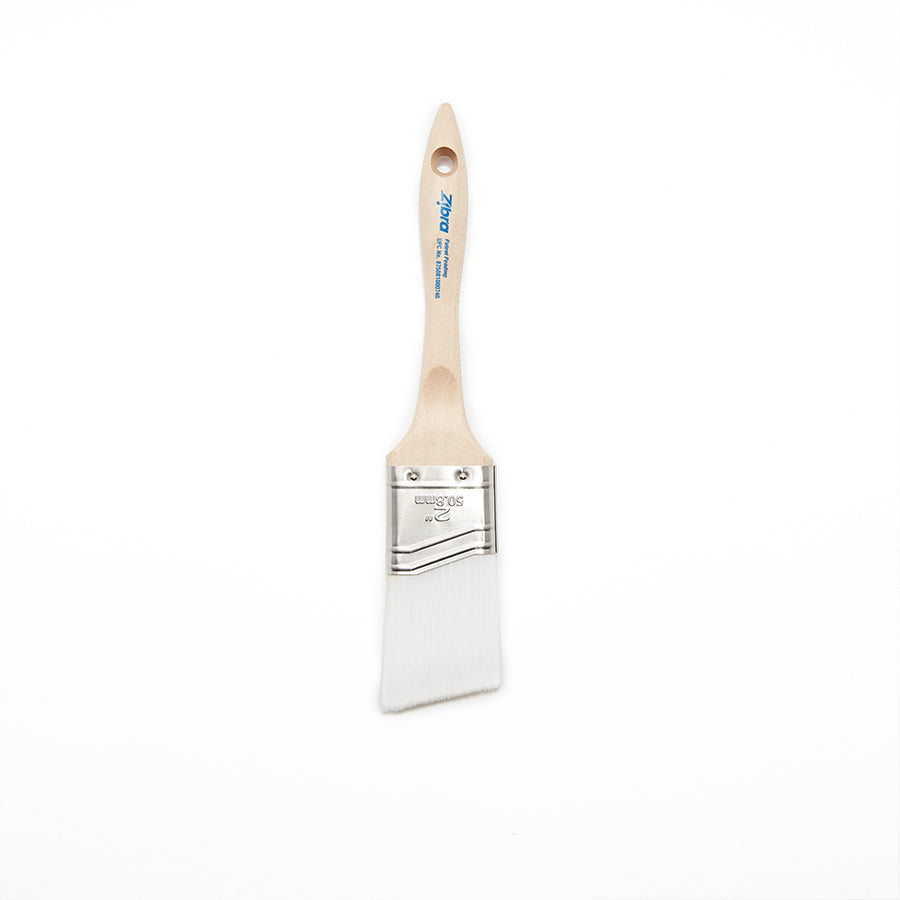
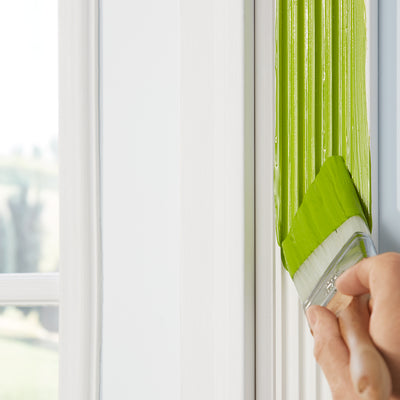
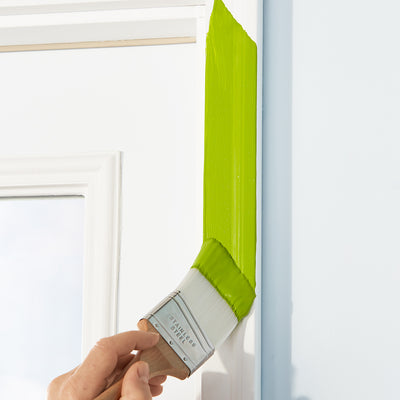
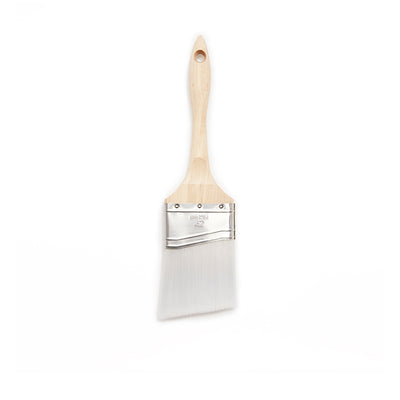
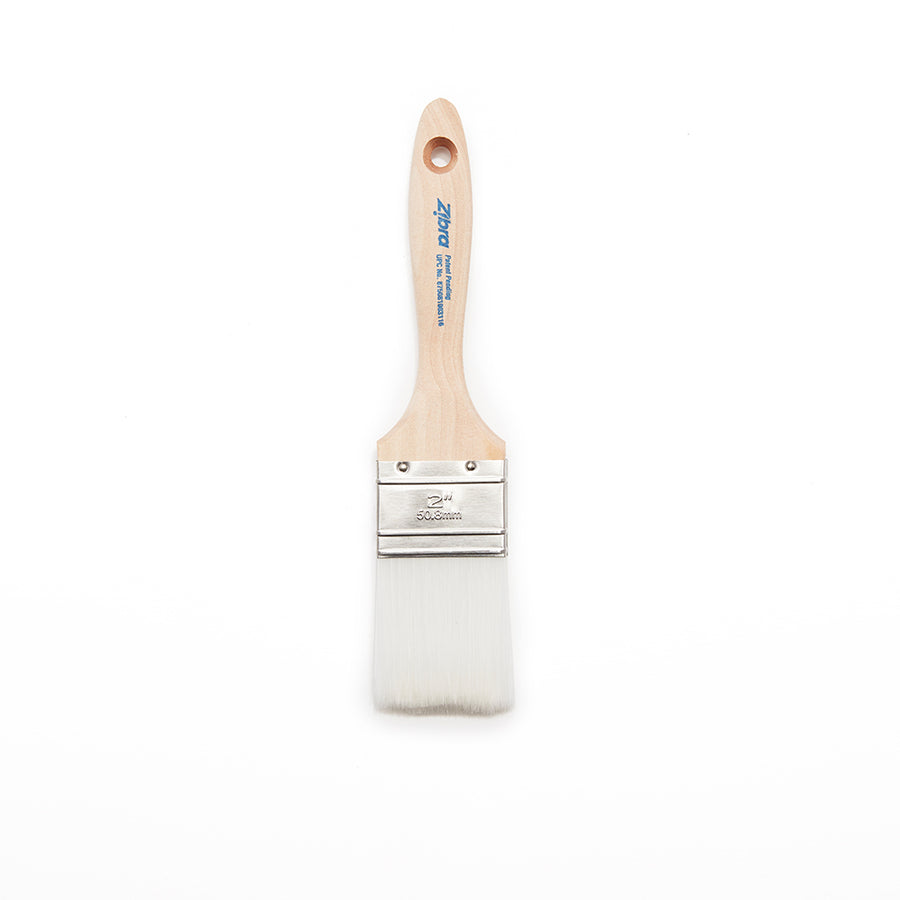
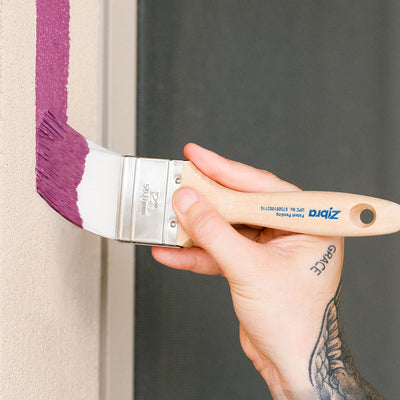
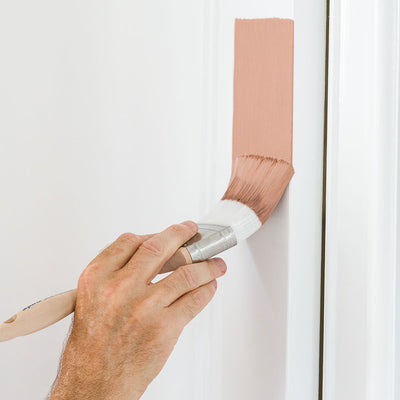
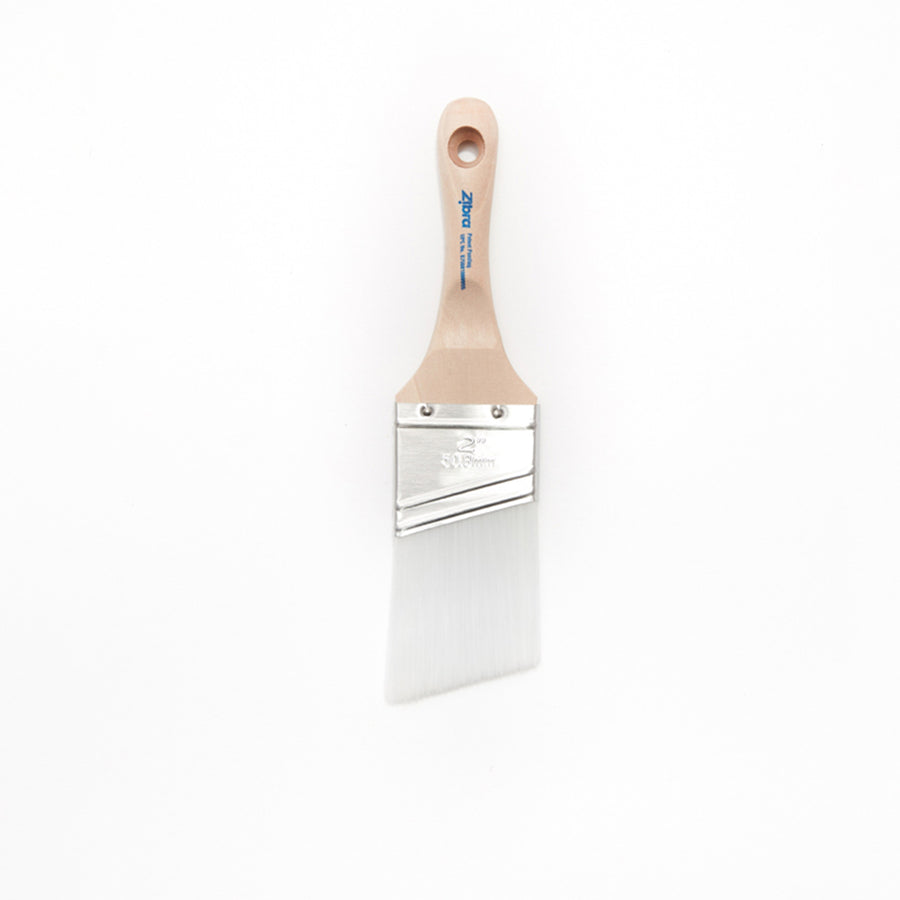
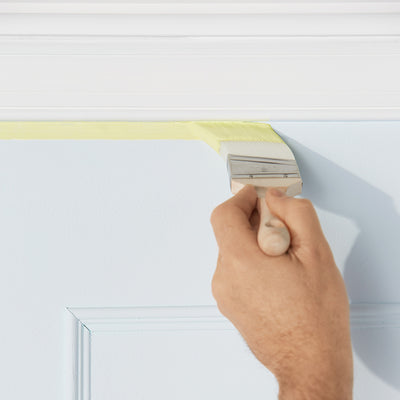
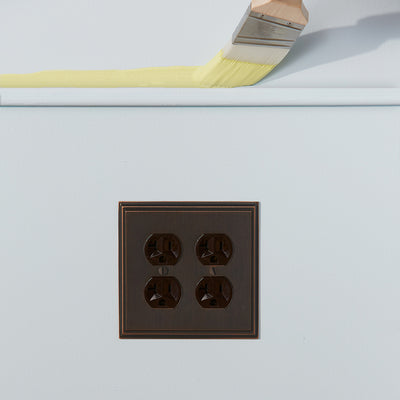
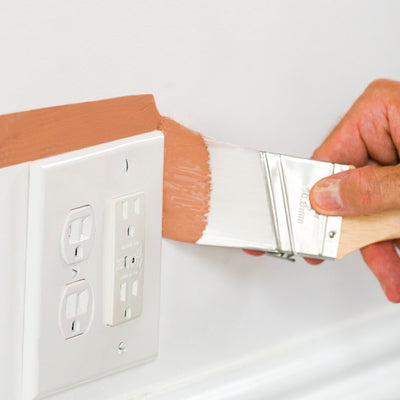
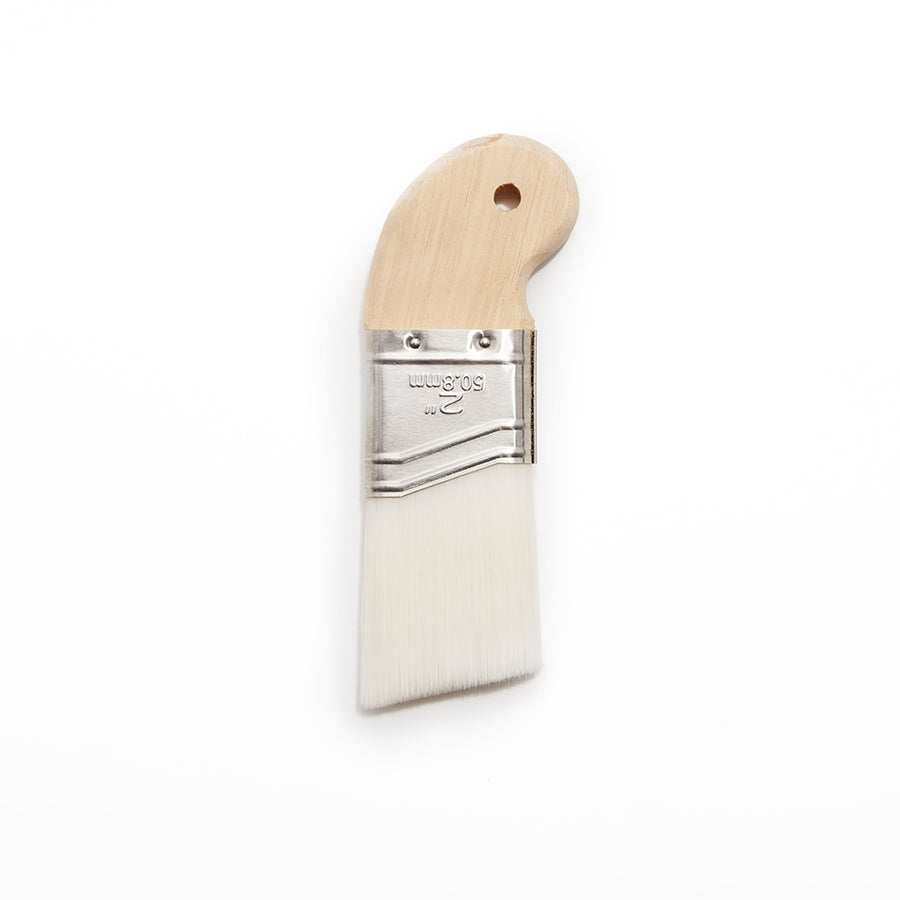
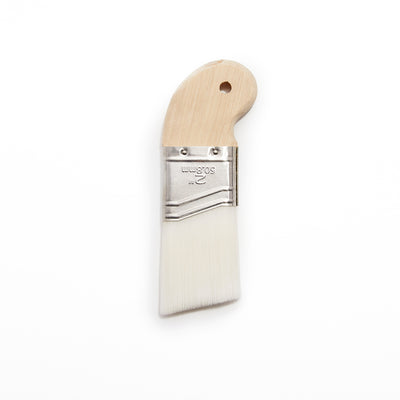
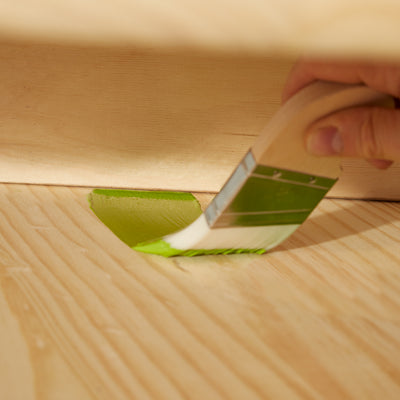
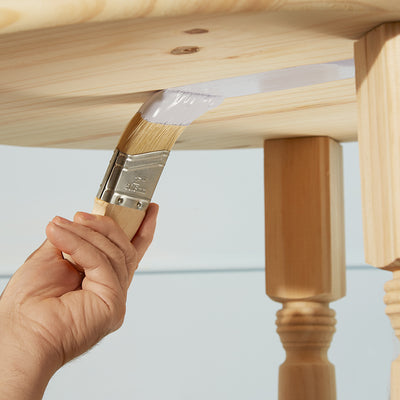
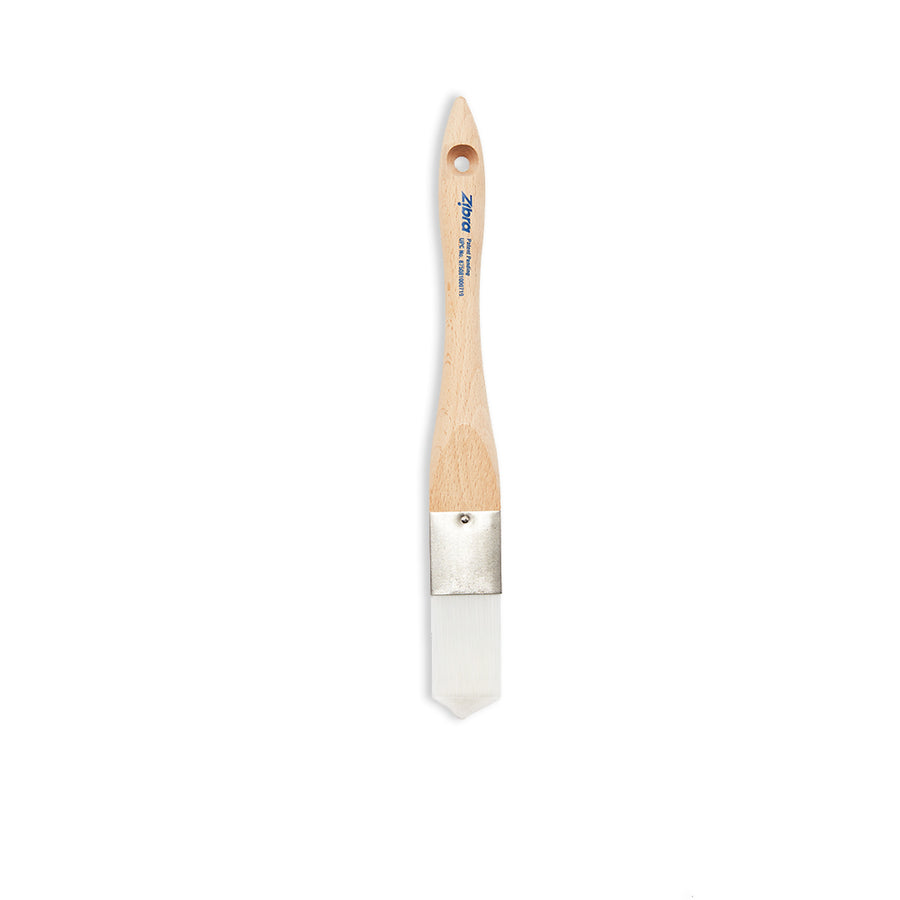
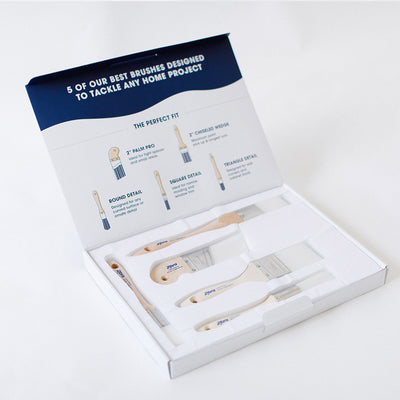
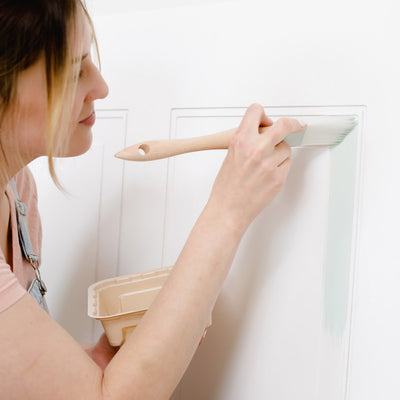
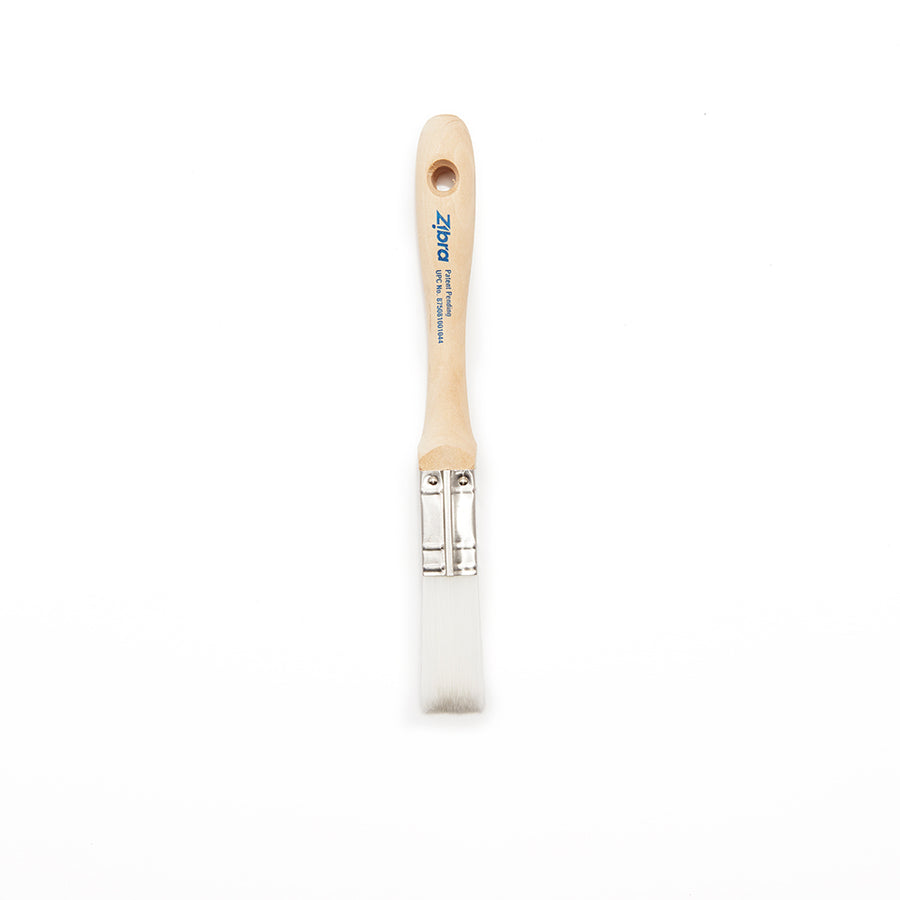
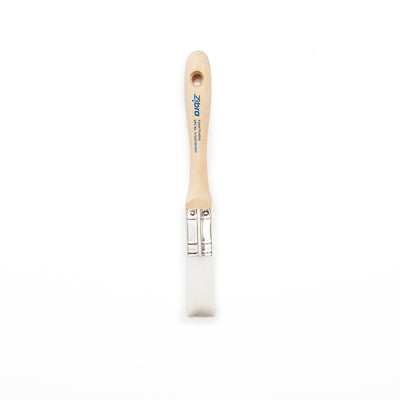
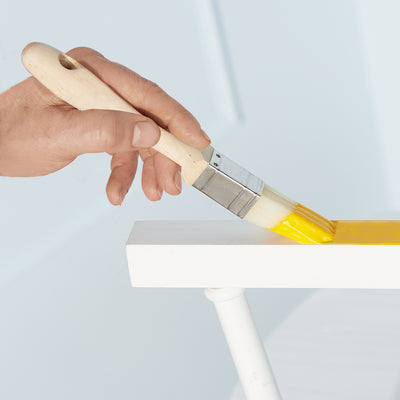
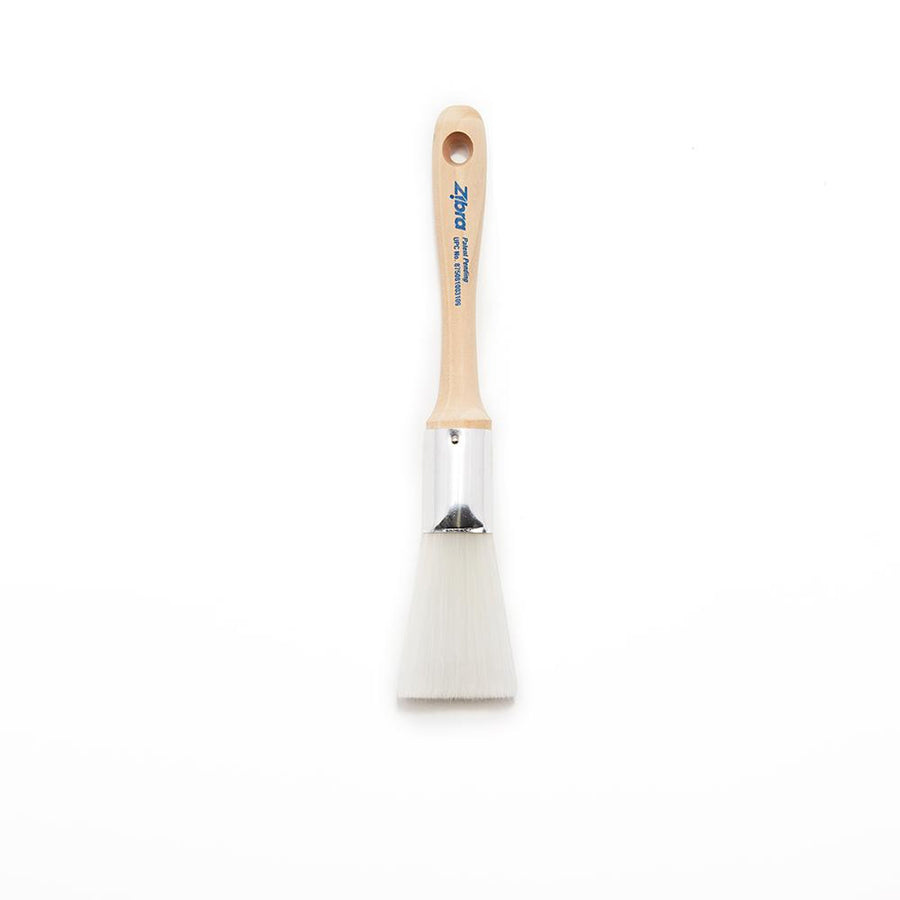
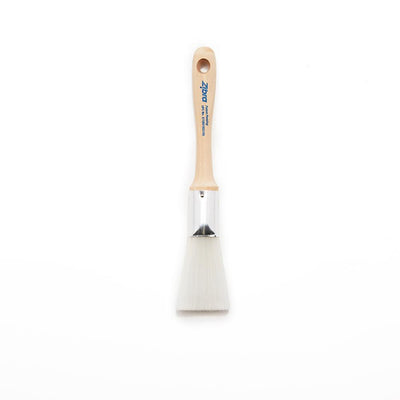
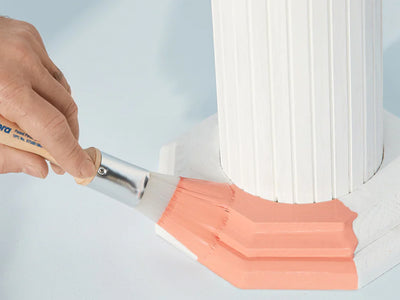
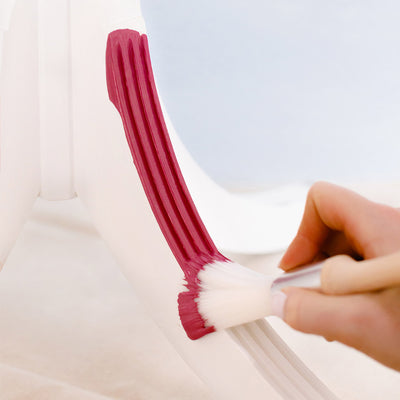
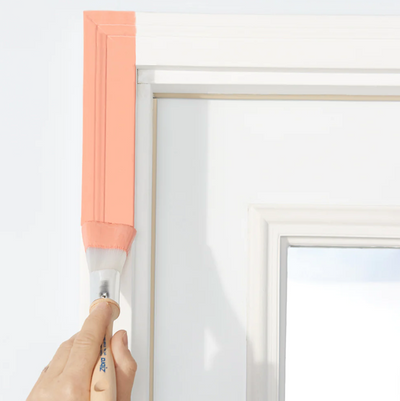
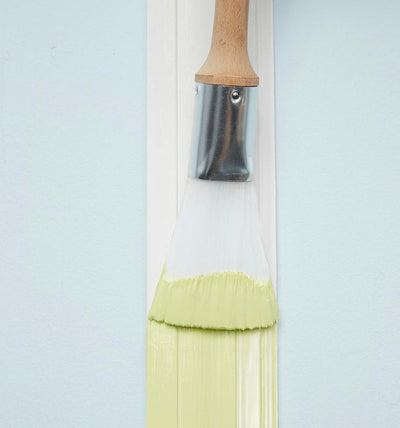
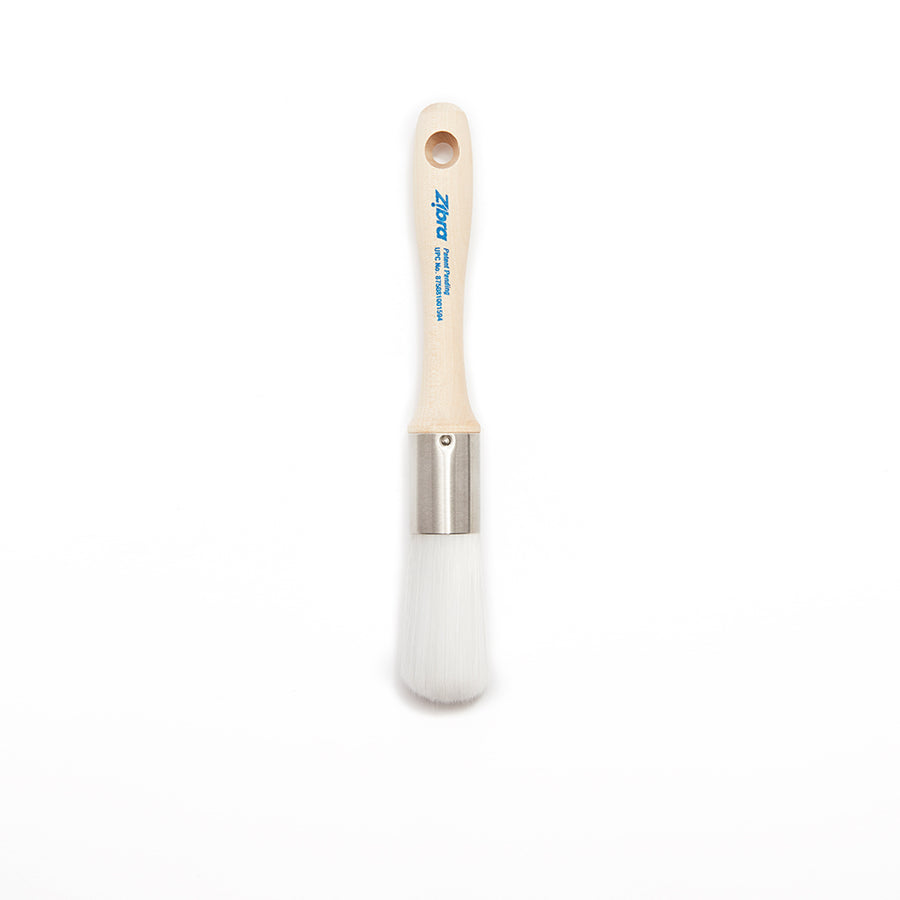
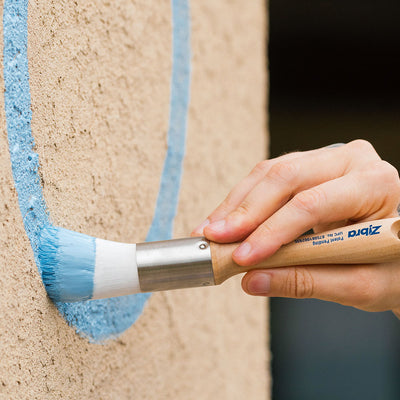
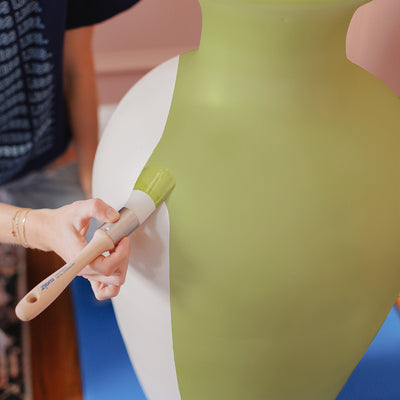
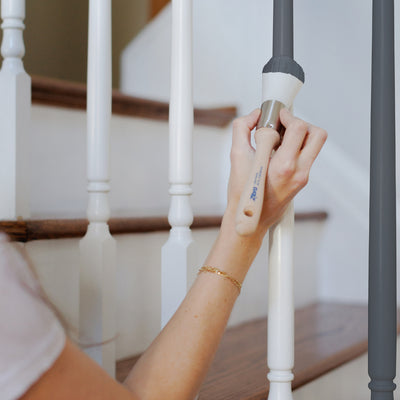
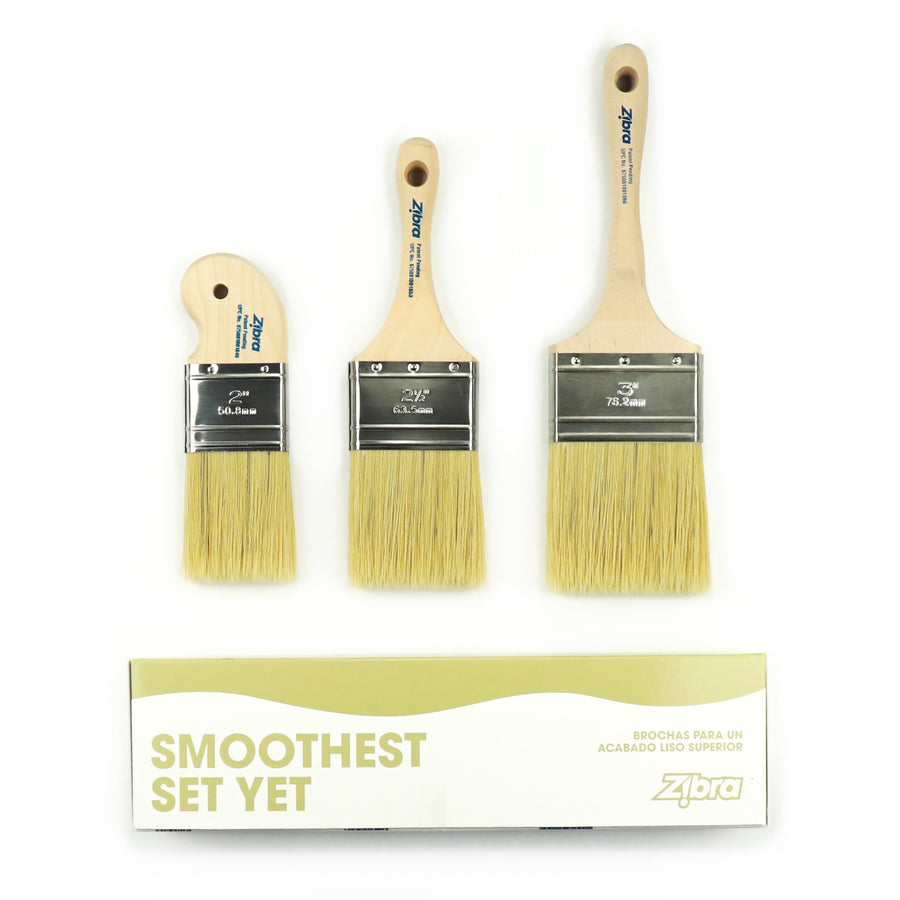
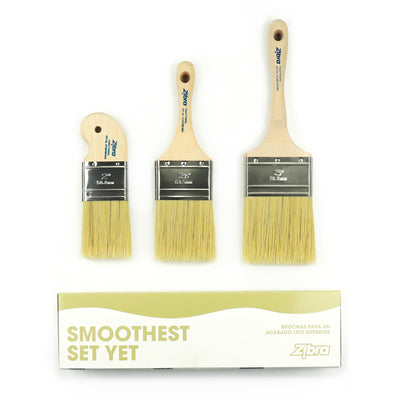
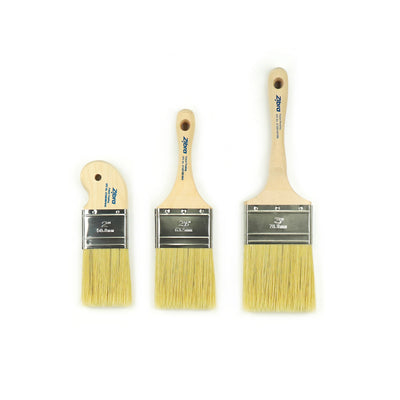
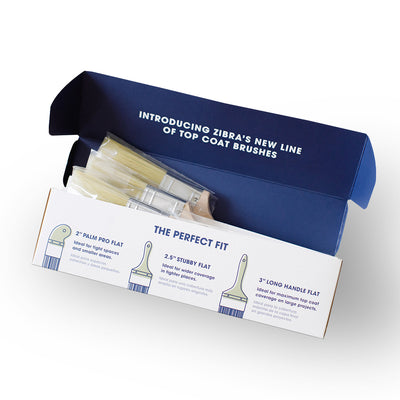
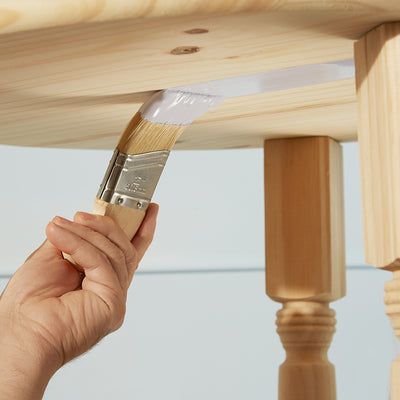
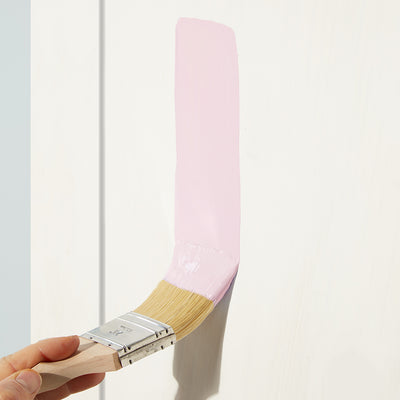
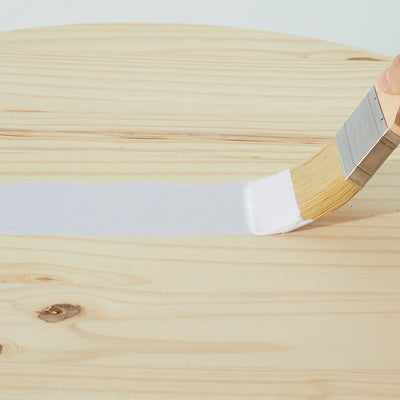
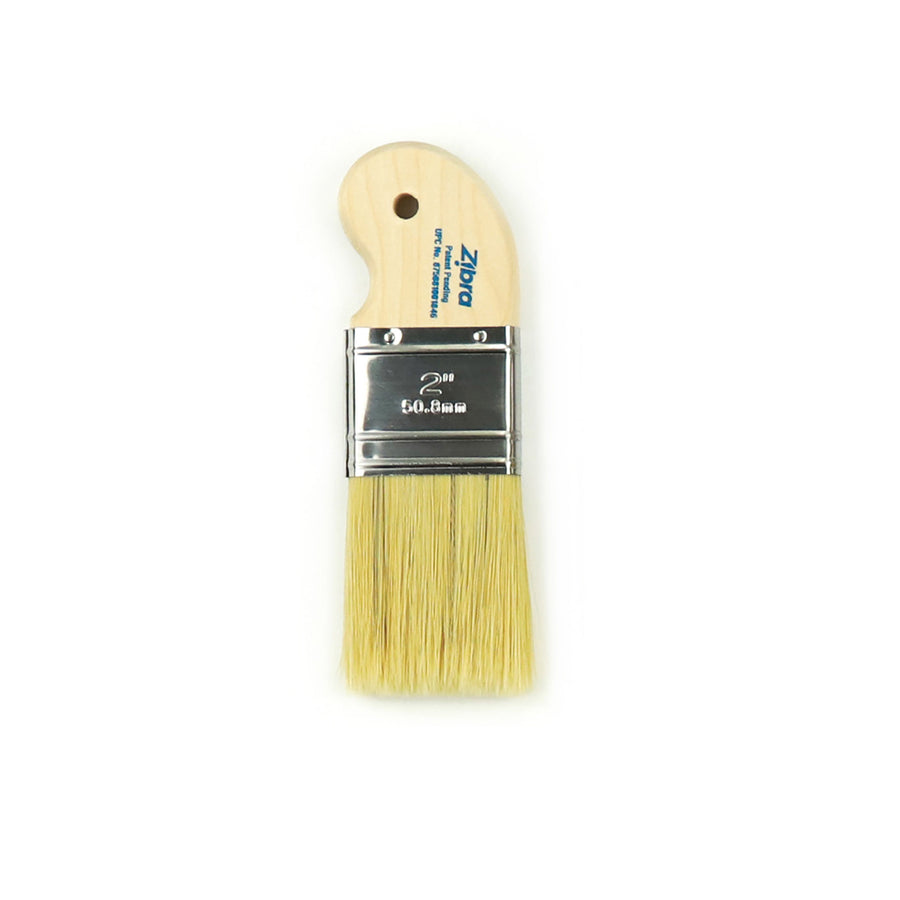
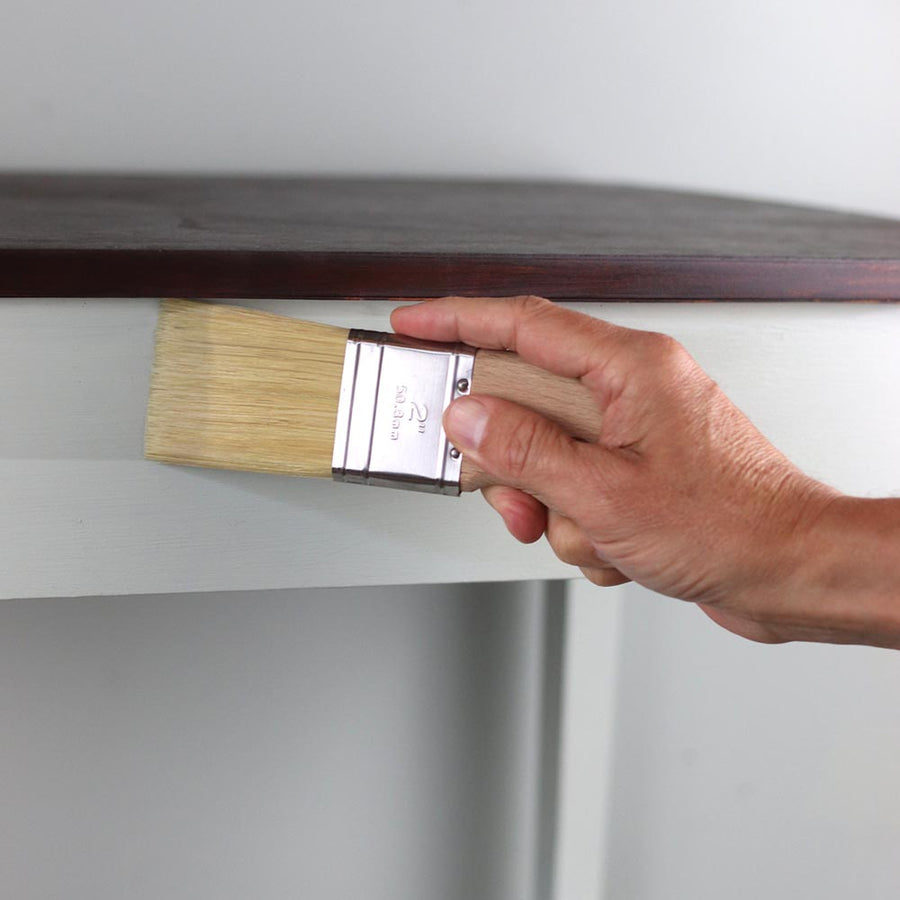
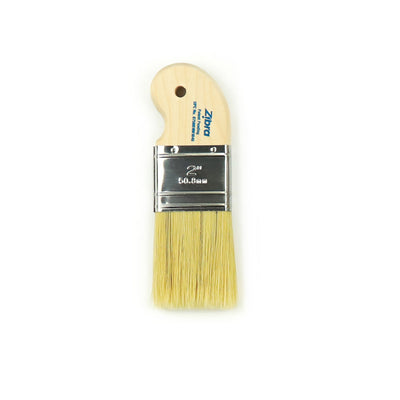
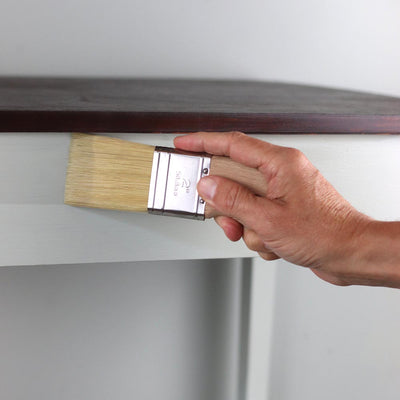
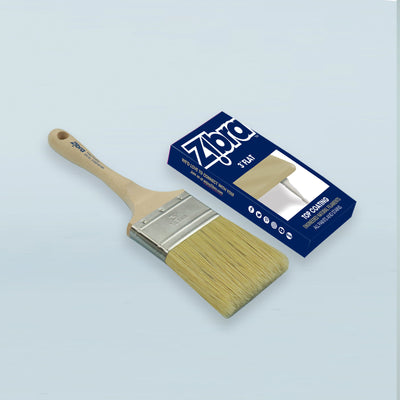
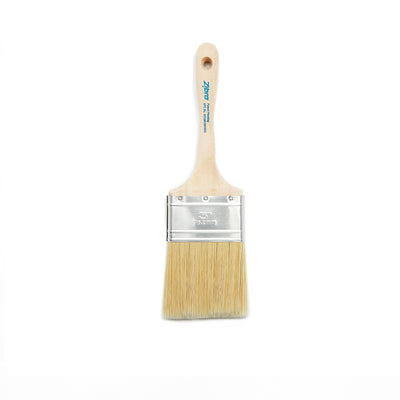
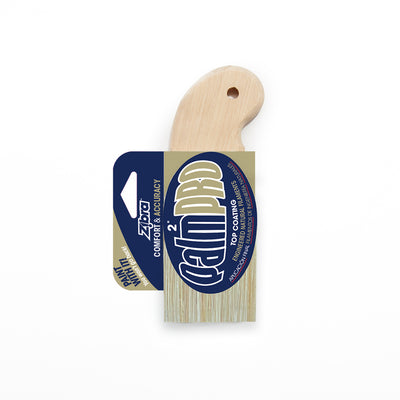
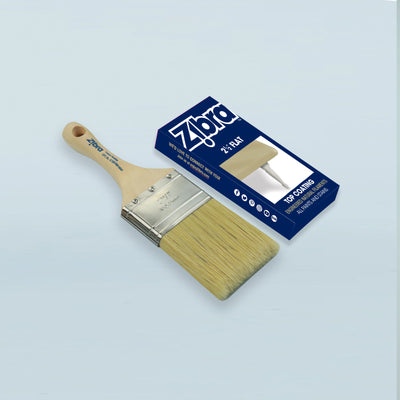
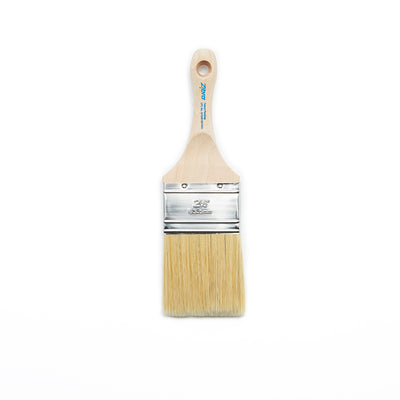
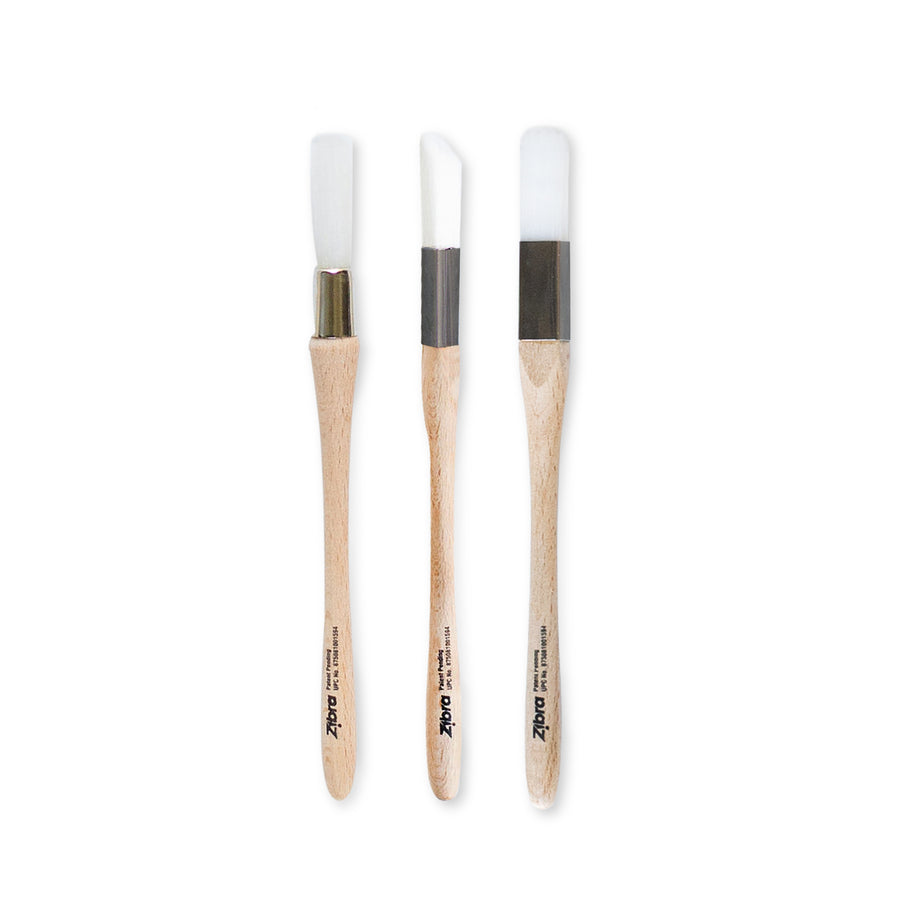
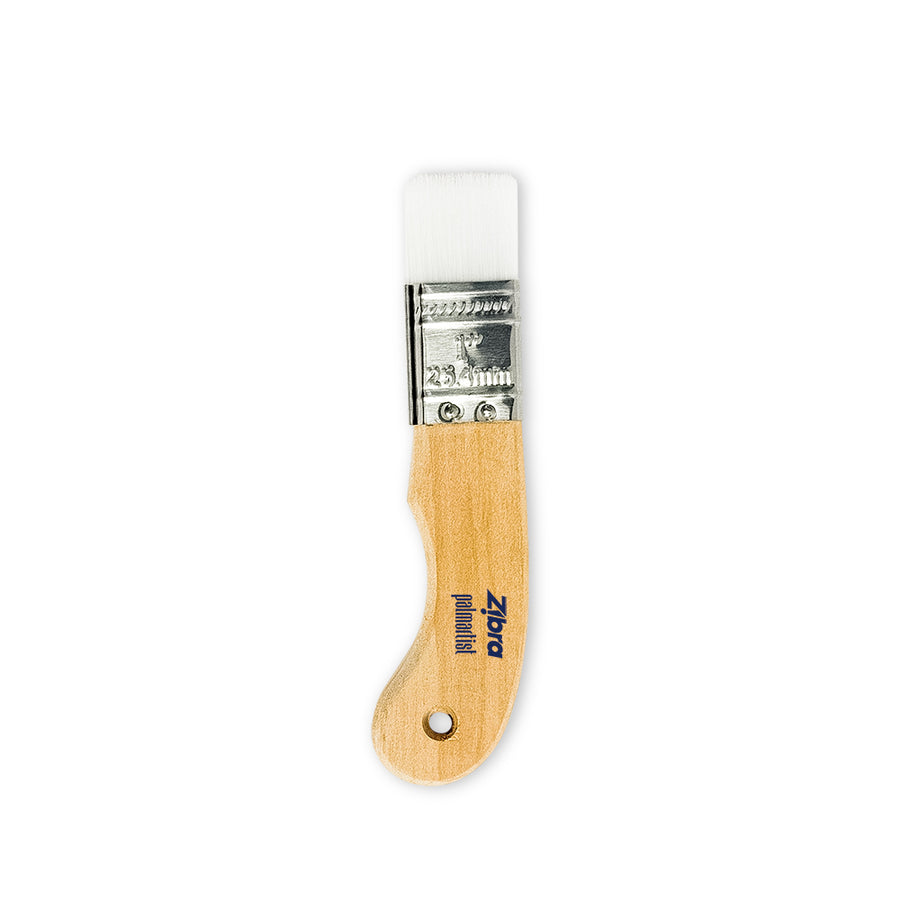
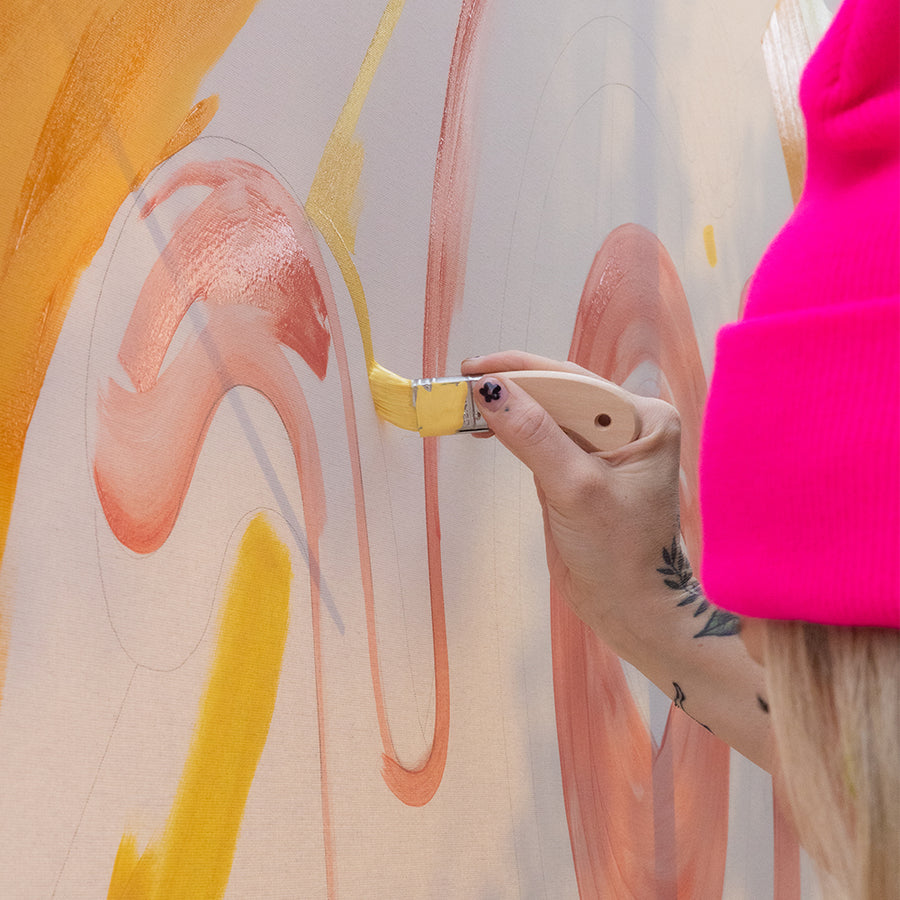
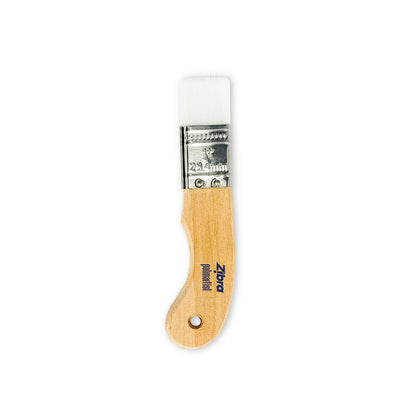
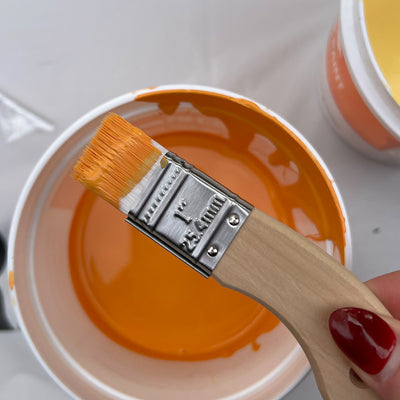
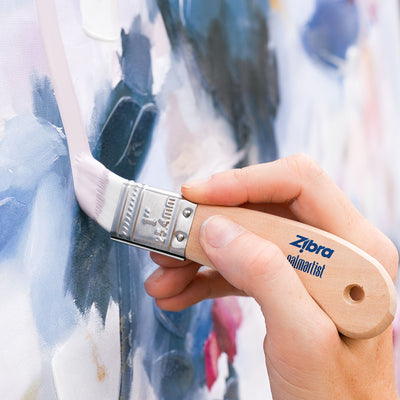
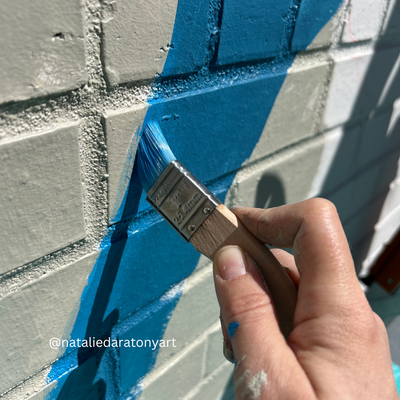
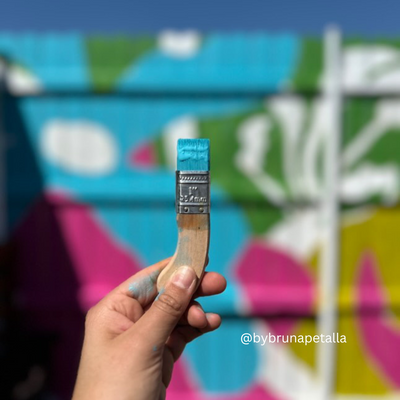
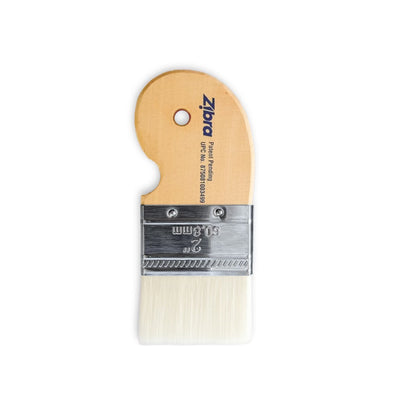
Investing in high-quality paints and brushes is crucial when painting on brick. Zibra paintbrushes are particularly well-suited for this type of work. With 25% more filaments in each brush head, Zibra brushes load a lot of paint, allowing for maximum pickup and release of paint. This feature is especially beneficial when working on a rough surface like brick, as it ensures even coverage and reduces the number of strokes needed.
4. Apply Multiple Coats
Brick surfaces often require multiple coats of paint to achieve a vibrant, even finish. Start with a base coat and allow it to dry completely before applying additional layers. Lightly sanding between coats can help smooth out any rough patches and ensure better adhesion for the subsequent layers.
5. Focus on Detail Work
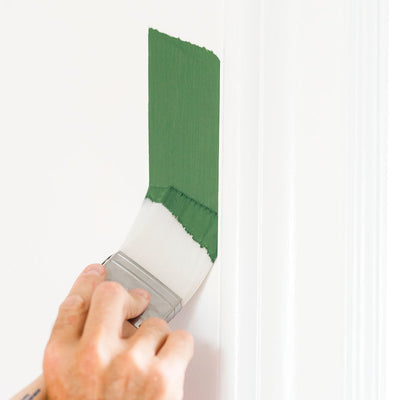
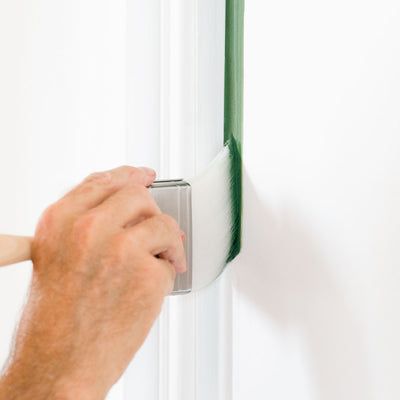
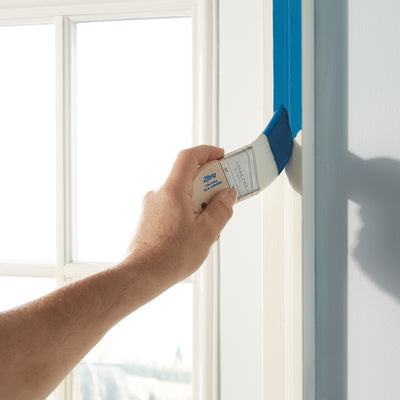
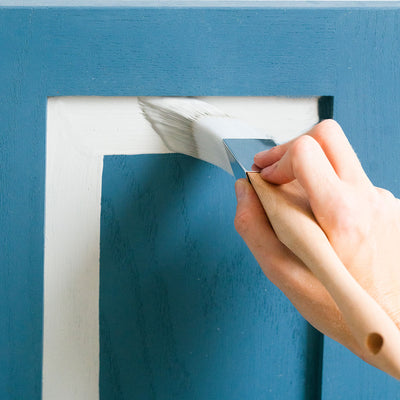
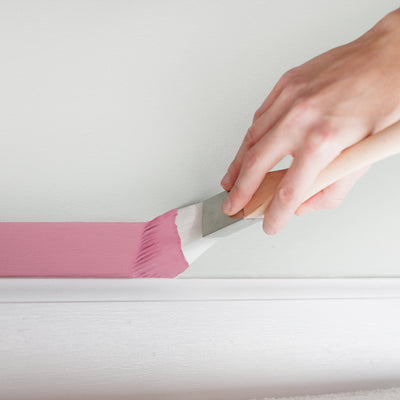
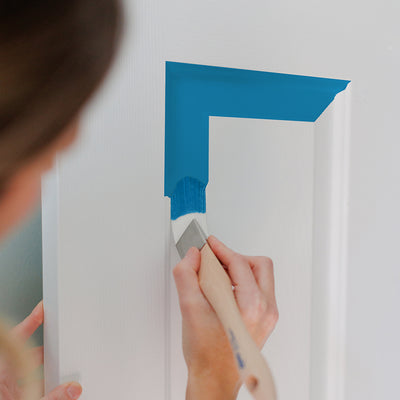
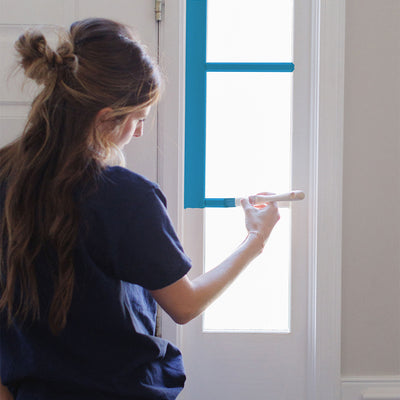
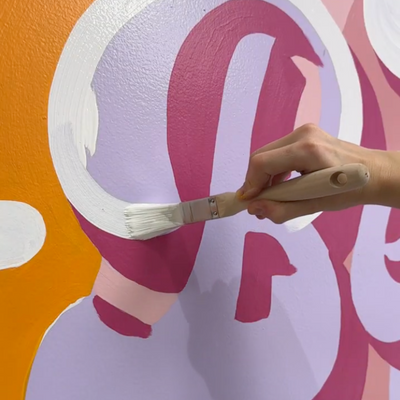
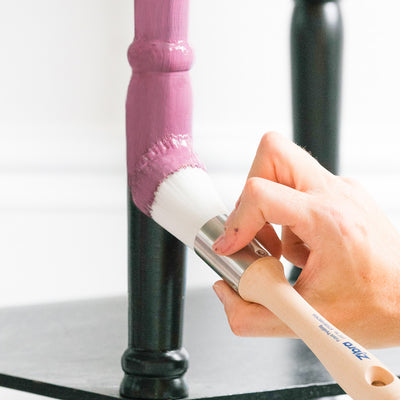
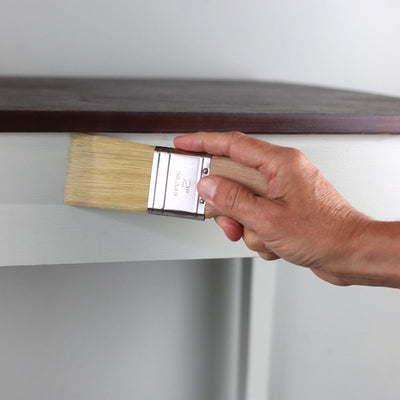
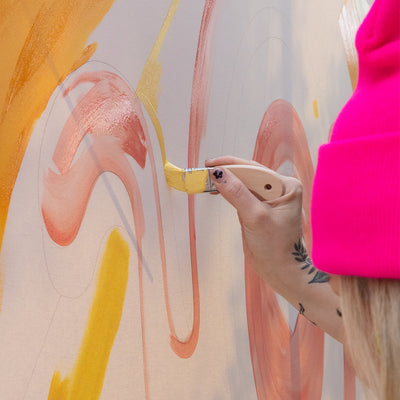
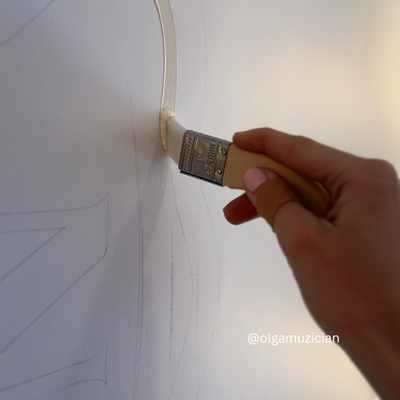
Detail work on brick can be tricky due to the uneven surface. Zibra brushes, with their smooth filament technology, are designed to create crisp, smooth lines every time. Their ability to load and release paint efficiently makes them perfect for intricate designs and detailed sections of your mural.
6. Work with the Texture
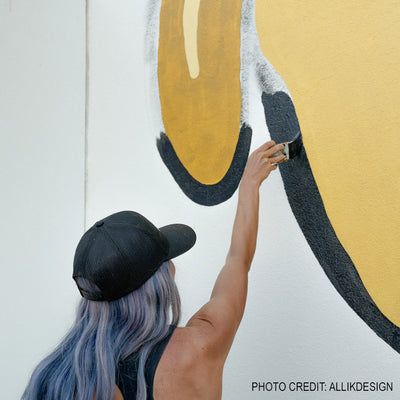
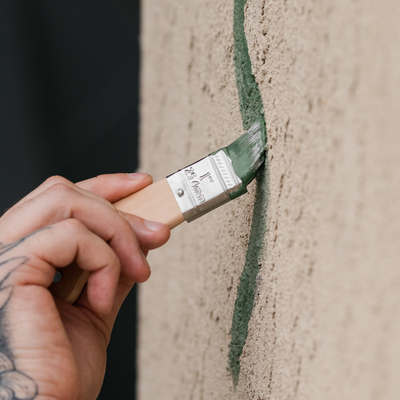
Instead of fighting against the rough texture of the brick, work with it to enhance your mural. The natural variations and imperfections of the brick can add character and depth to your artwork. Use the texture to your advantage by incorporating it into your design.
7. Protect Your Mural
Once your mural is complete, protect it with a clear sealer. This will help preserve the colors and protect your artwork from the elements, especially if the mural is outdoors. Choose a sealer that is suitable for masonry surfaces.
Painting a mural on brick can be tricky, but with the right preparation, tools, and techniques, you can create stunning, long-lasting artwork.
Don’t Forget to Clean Your Brushes!
When your project is complete and you’re ready to thoroughly clean your brushes, use soap, water, and the Zibra Paintbrush Cleaning Tool to remove any paint residue. Proper maintenance ensures your brushes remain in top condition for future projects.
And don’t forget to share your murals with us on social media, using @zibrapainting and inspire others on their painting journey! Want more tips and tricks? Sign up for our mailing list. Happy painting!