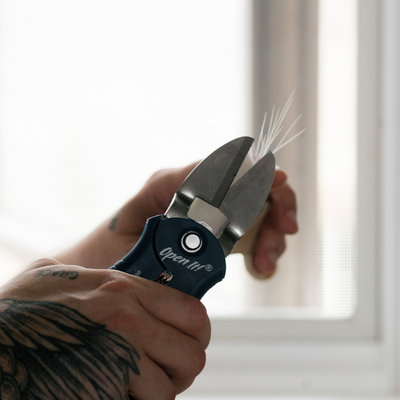
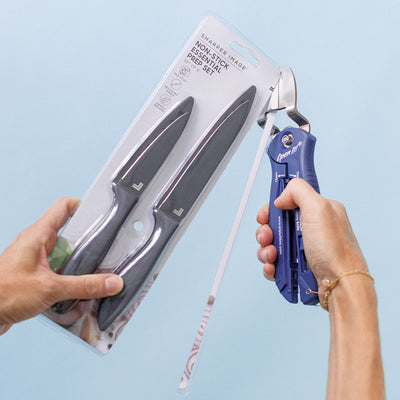
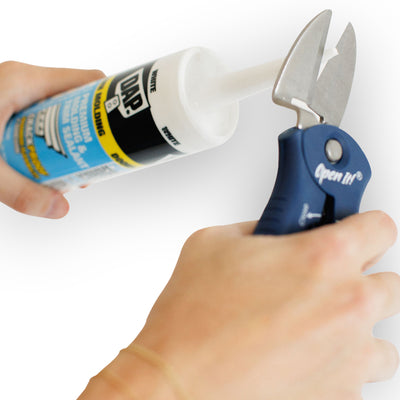
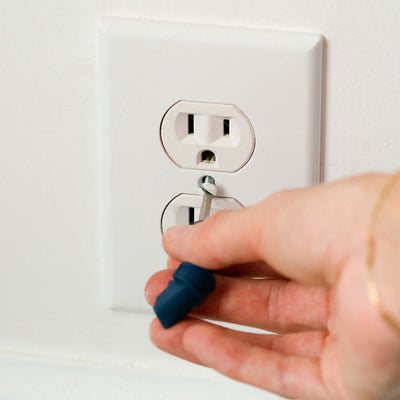
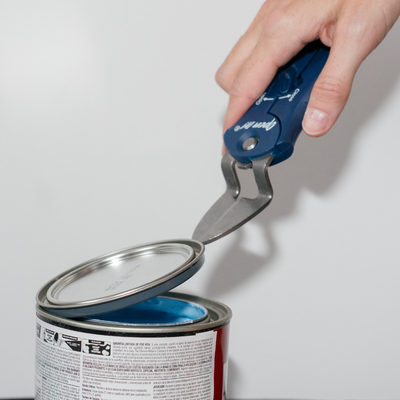
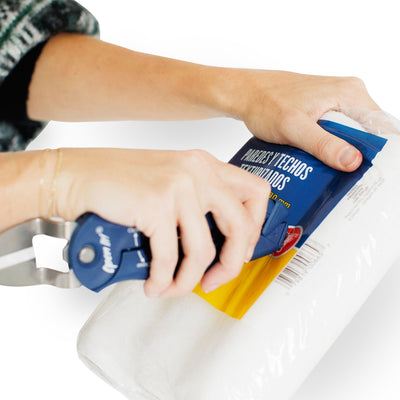
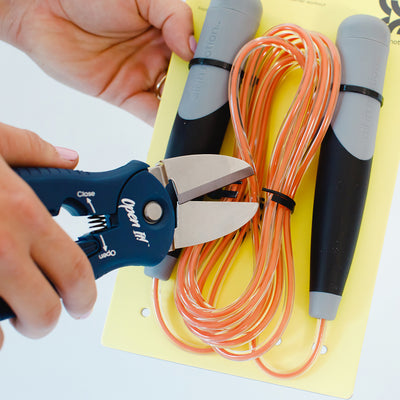
Open It! - 4 in 1 Box Cutter
Open It! - 4 in 1 Box Cutter
Earn 18 points on this purchase! Learn more
Check out our shop to see what’s available






Earn 18 points on this purchase! Learn more
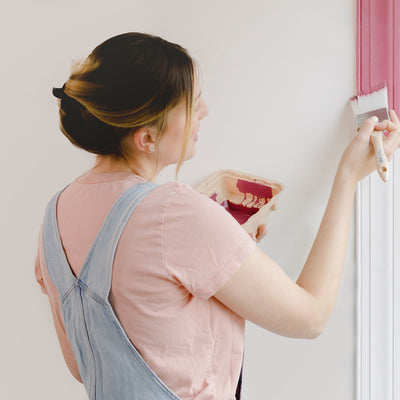
You’ve just landed on a color for your room and you’re eager to get started. We get it. A fresh, new space is just moments away! But if you want the paint to adhere properly to the wall, look great, and last a long time, you’ll want to take some initial steps to prepare your walls before you begin applying that new color.


Wall Repairs
Before anything, it is essential that you remove all loose paint from your walls. Invest in a heavy-duty 3-inch flat paint scraper to get all of that old, cracked and loose paint off. One way to ensure that your new paint doesn’t adhere to your walls is to paint over old, loose paint.
You’ll also want to patch any holes or cracks that you see, as they will certainly affect how smooth the project ends up looking. Also, be sure to sand down any spackle once it’s dry.
Wash Your Walls
Yes, your walls do get dirty! Using some mild soap in warm water to gently clean your walls using a circular motion in order to remove any dirt, cobwebs, and dust that has accumulated. You can then rinse the soap off using a damp sponge. Be sure to thoroughly dry your walls before proceeding to the next step.
Tape
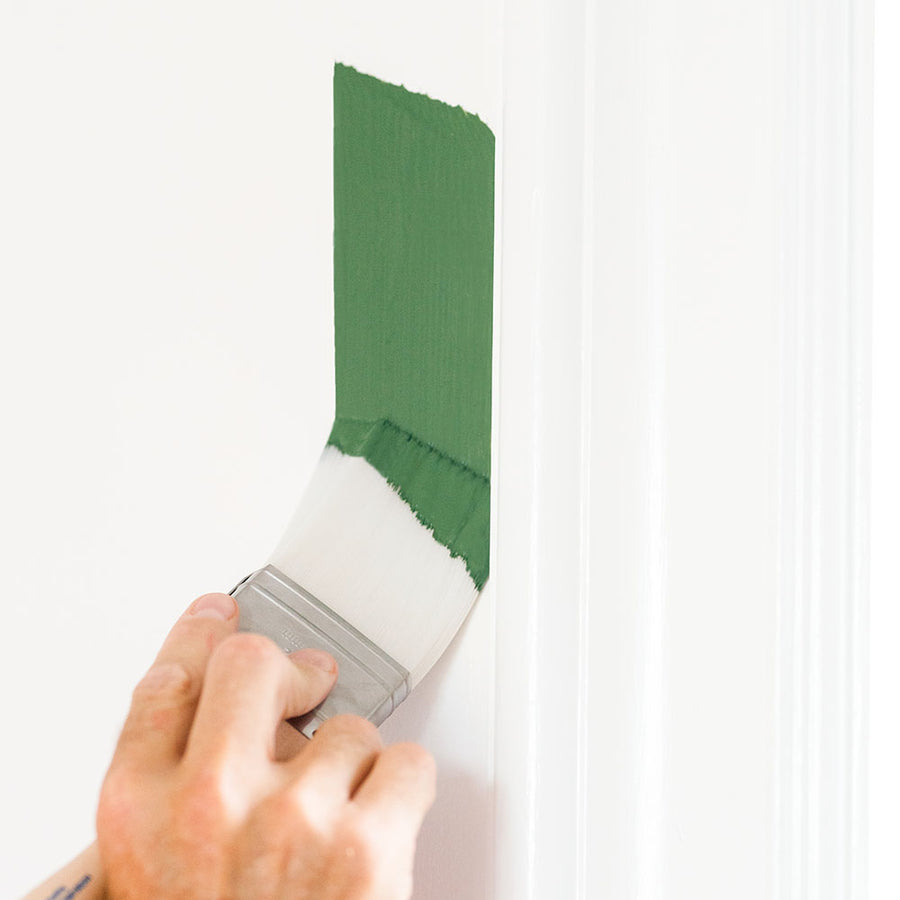
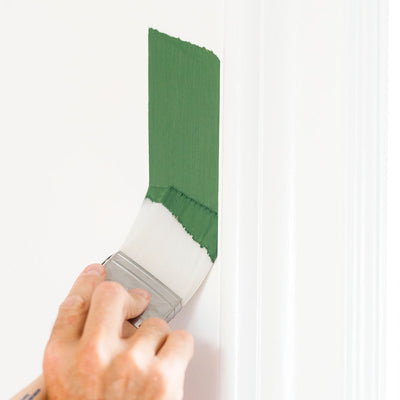
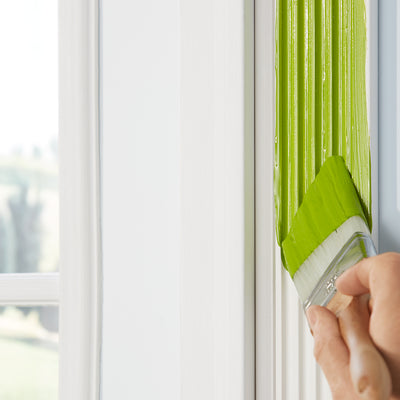
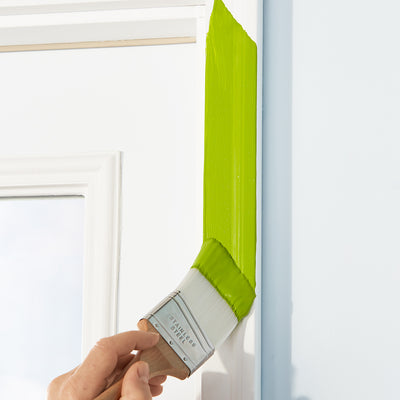
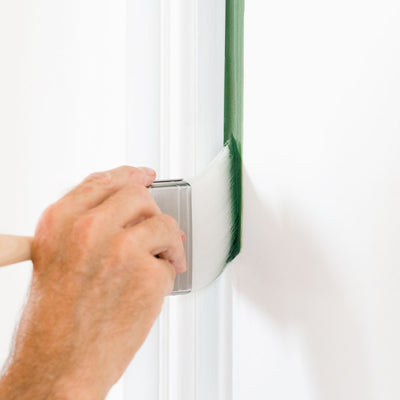
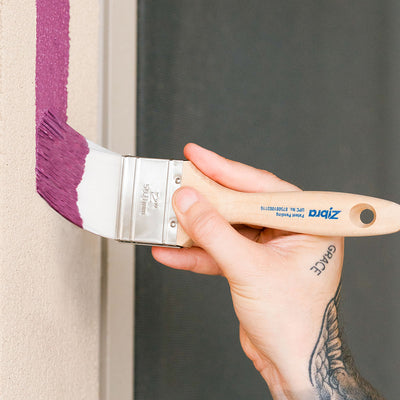
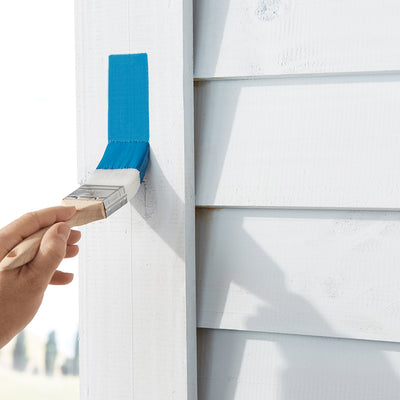
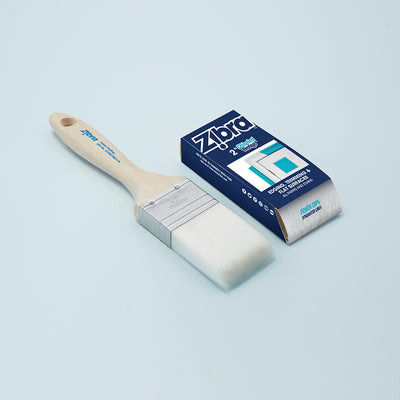
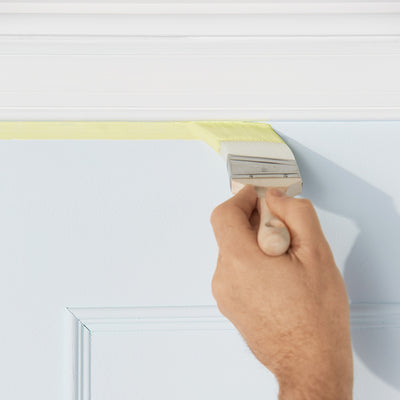
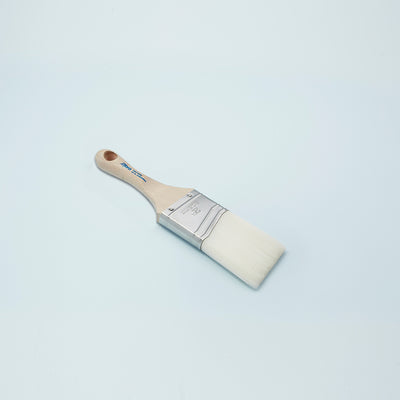
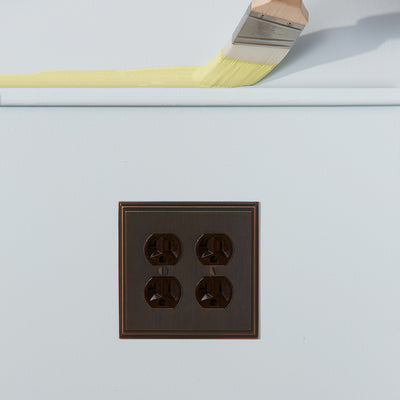
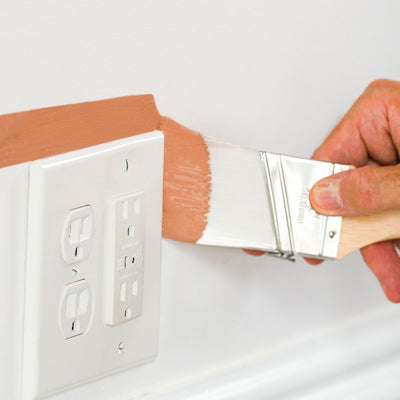
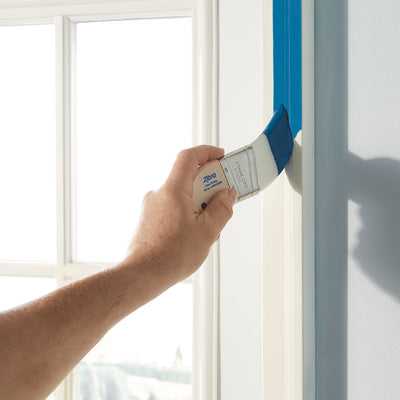
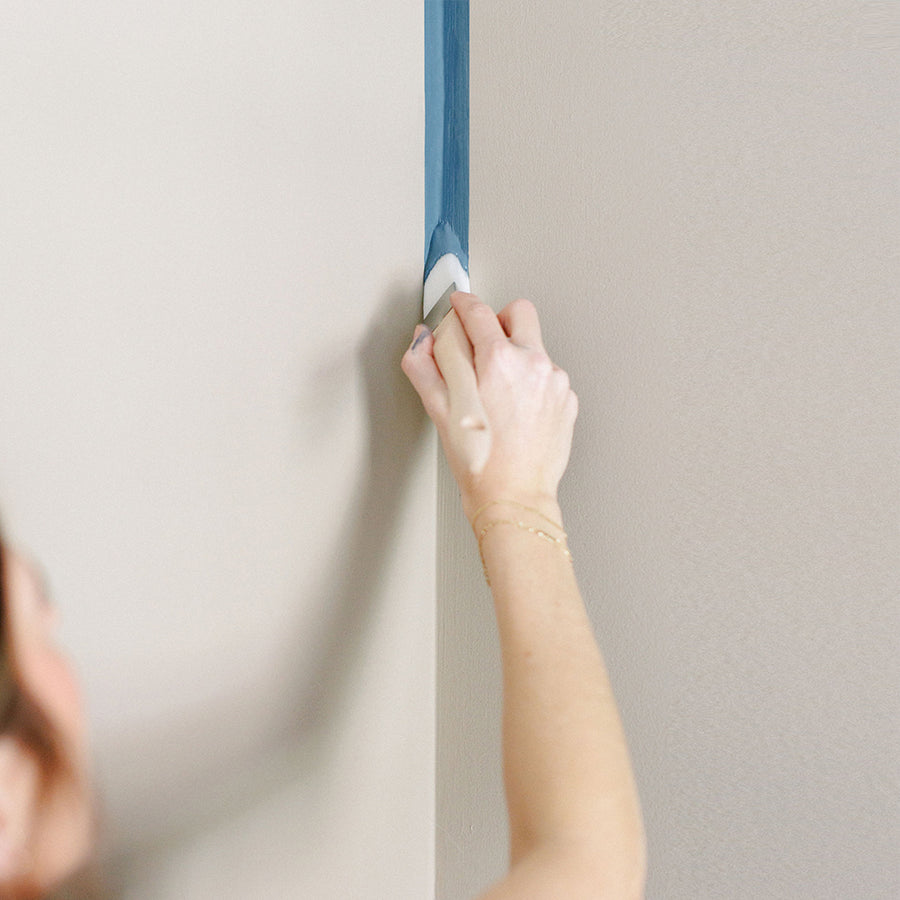
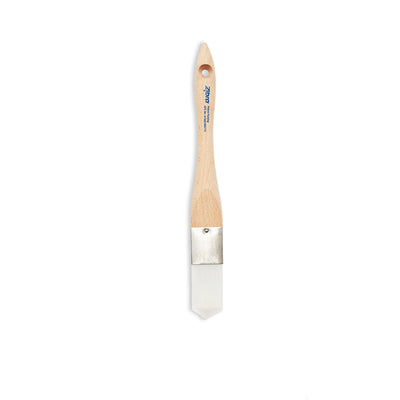
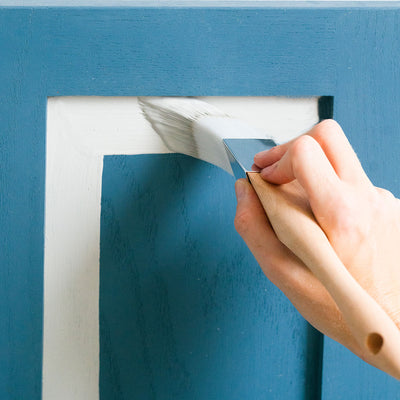
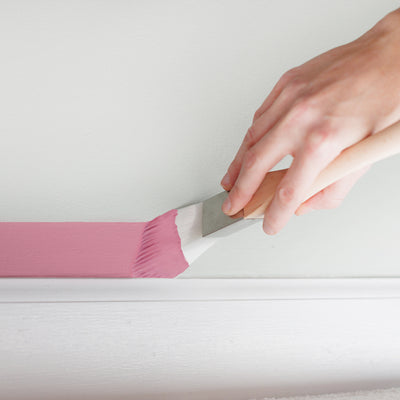
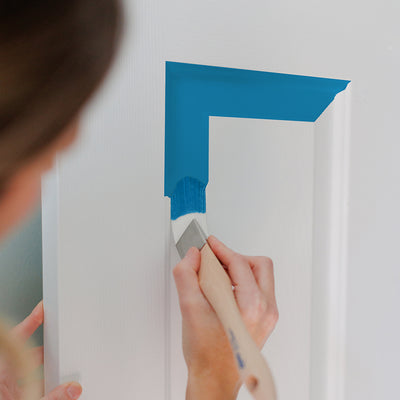
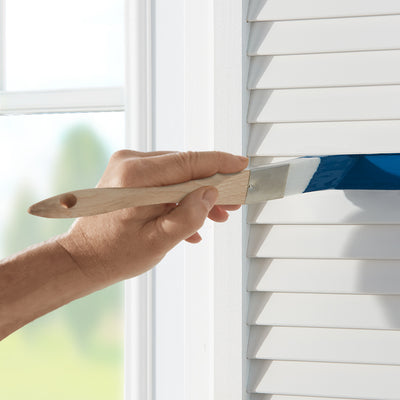
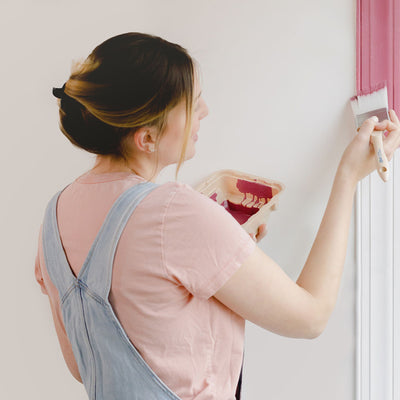
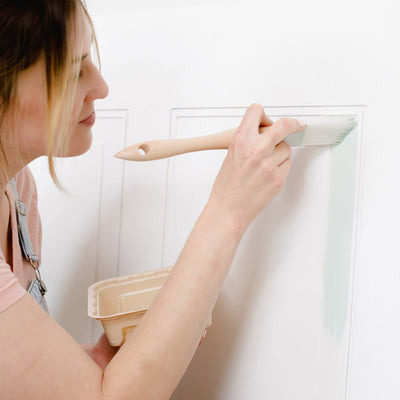
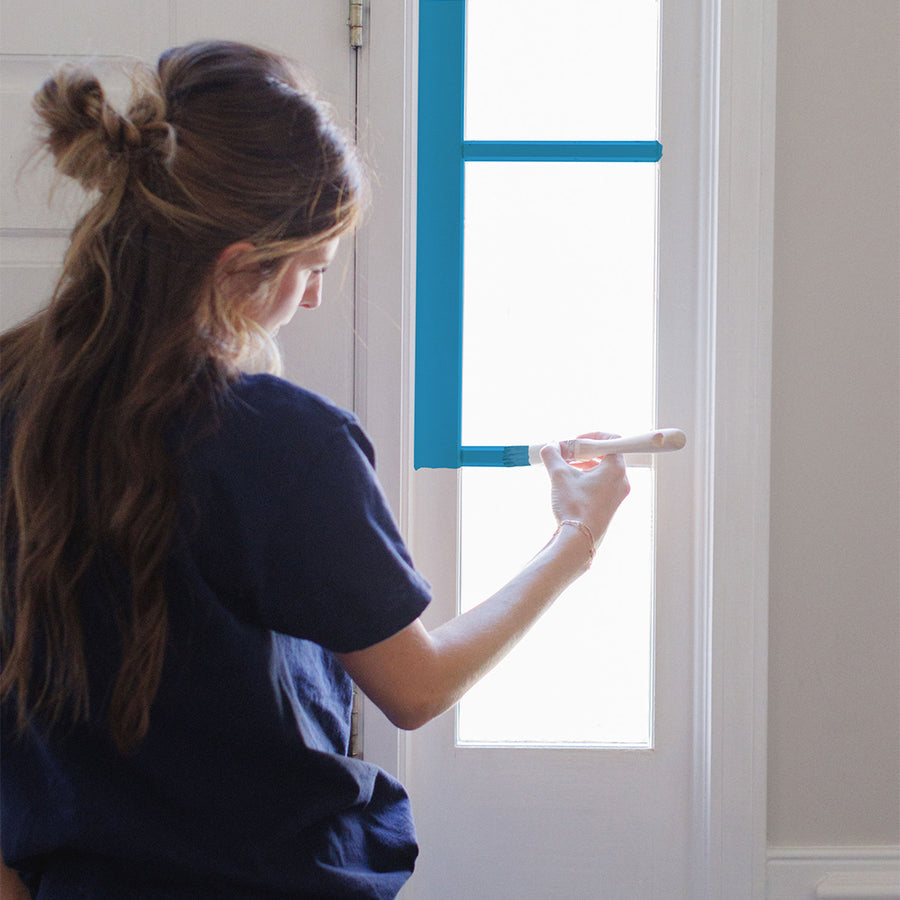
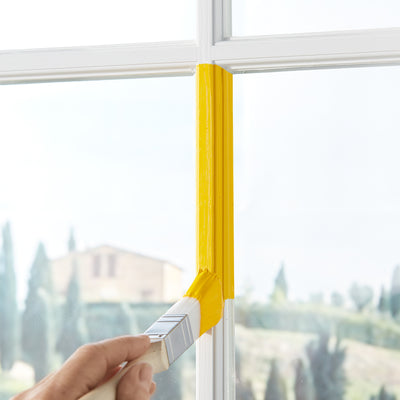
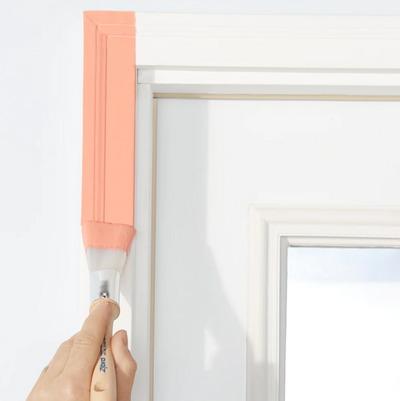
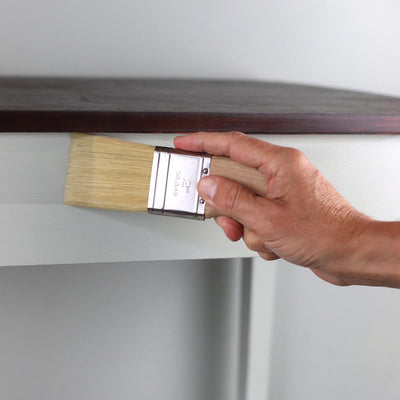
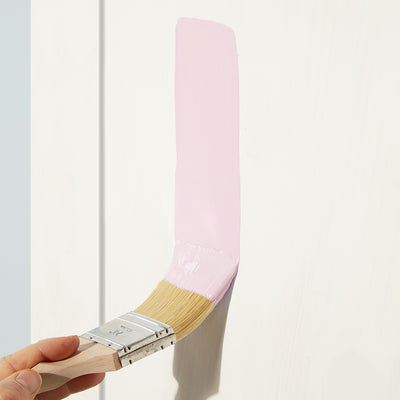
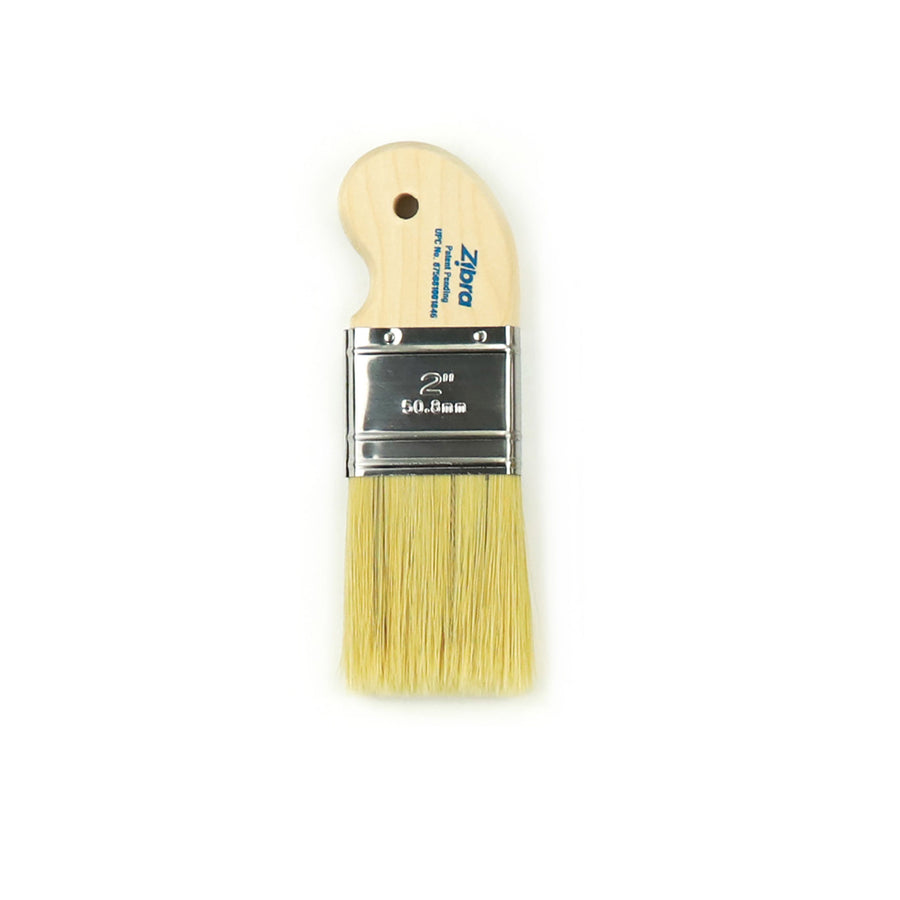
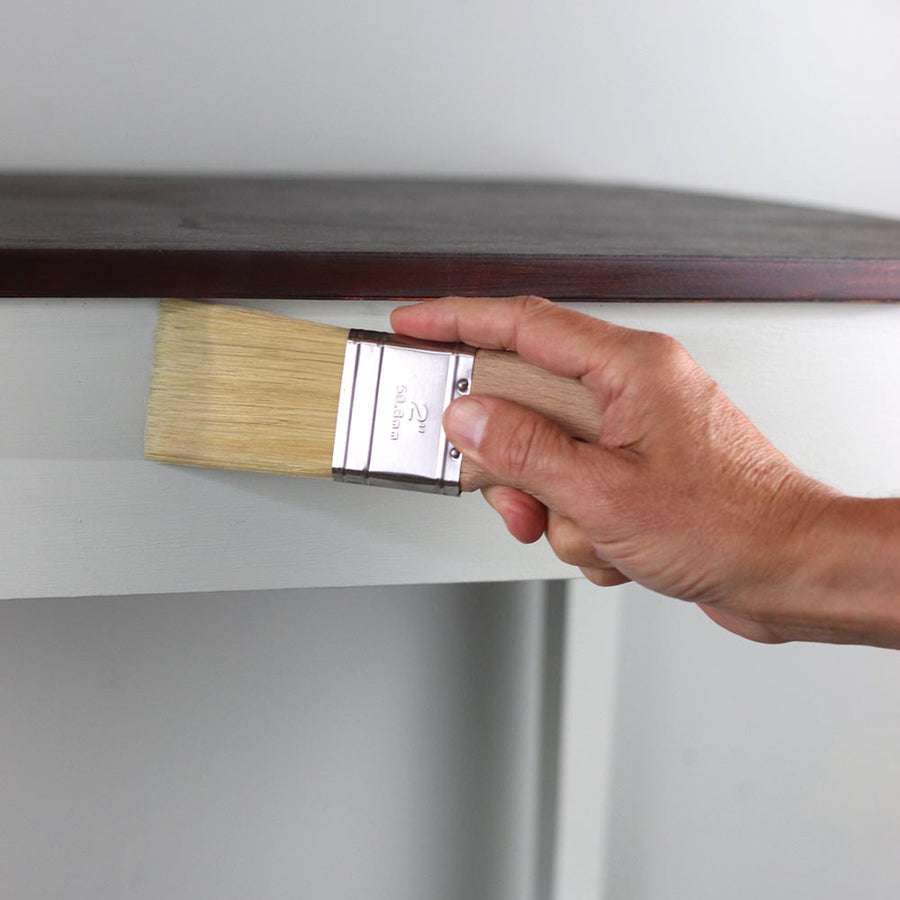
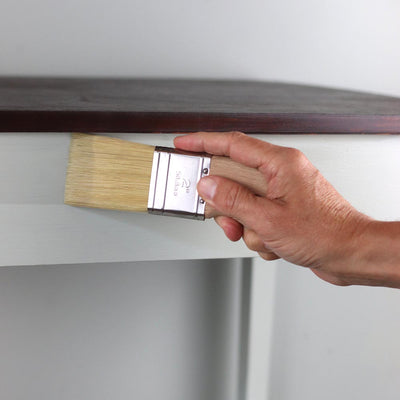
If you’re using the Zibra Cut In Paintbrush, you can likely skip this step, since this particular brush is designed to cut in next to trim, molding, doors, and windows. If you plan to use a different type of brush, you’ll want to use long pieces of painters tape to protect any edges you don’t want painted. Make sure the tape sticks firmly to the surfaces so that you get an even line.

Protect Your Floors

Prime Time
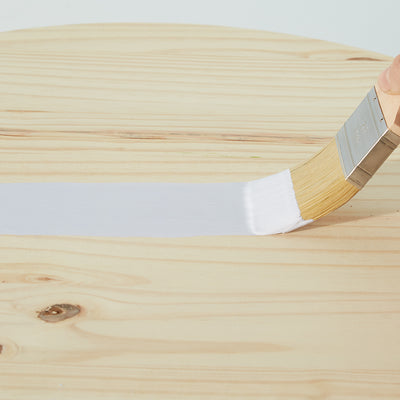
Did you know that primers help protect your top coat, as well as help you achieve the true color of the paint you’re using? And it obviously helps to cover up imperfections and your old paint color as well. If you’re painting your walls in a darker color, opt for a tinted primer. Using a Precision Paintbrush, paint a narrow strip of primer next to the trim and molding in your room before switching to a roller for the rest of the surface.
Caulk
If you notice gaps next to your molding, you might want to fill them with acrylic caulk. Have a damp cloth on hand to clean up any mess. Verify how long the caulk needs to dry before beginning painting with your new color!
Paint!
Once your caulk has dried, you are now ready to paint with that fabulous color you selected.
Clean Your Brushes
Last but not least, when you’re done with your project, be sure to properly clean your paint brushes so that they last!
And don’t forget to tag Zibra when you post about your newly-painted project on social media, using @zibrapainting, and join our mailing list to learn more tips and tricks.
 How-to Series
 How-to Series
This month, we put a spotlight on Kyle Mosher, a Charlotte, NC-based artist who expertly bridges fine art traditions with contemporary culture.
 How-to Series
 How-to Series
@charliefrenchfineart is taking over our blog and weighing in on his favorite brushes. Can you guess which ones are his favs?
 How-to Series
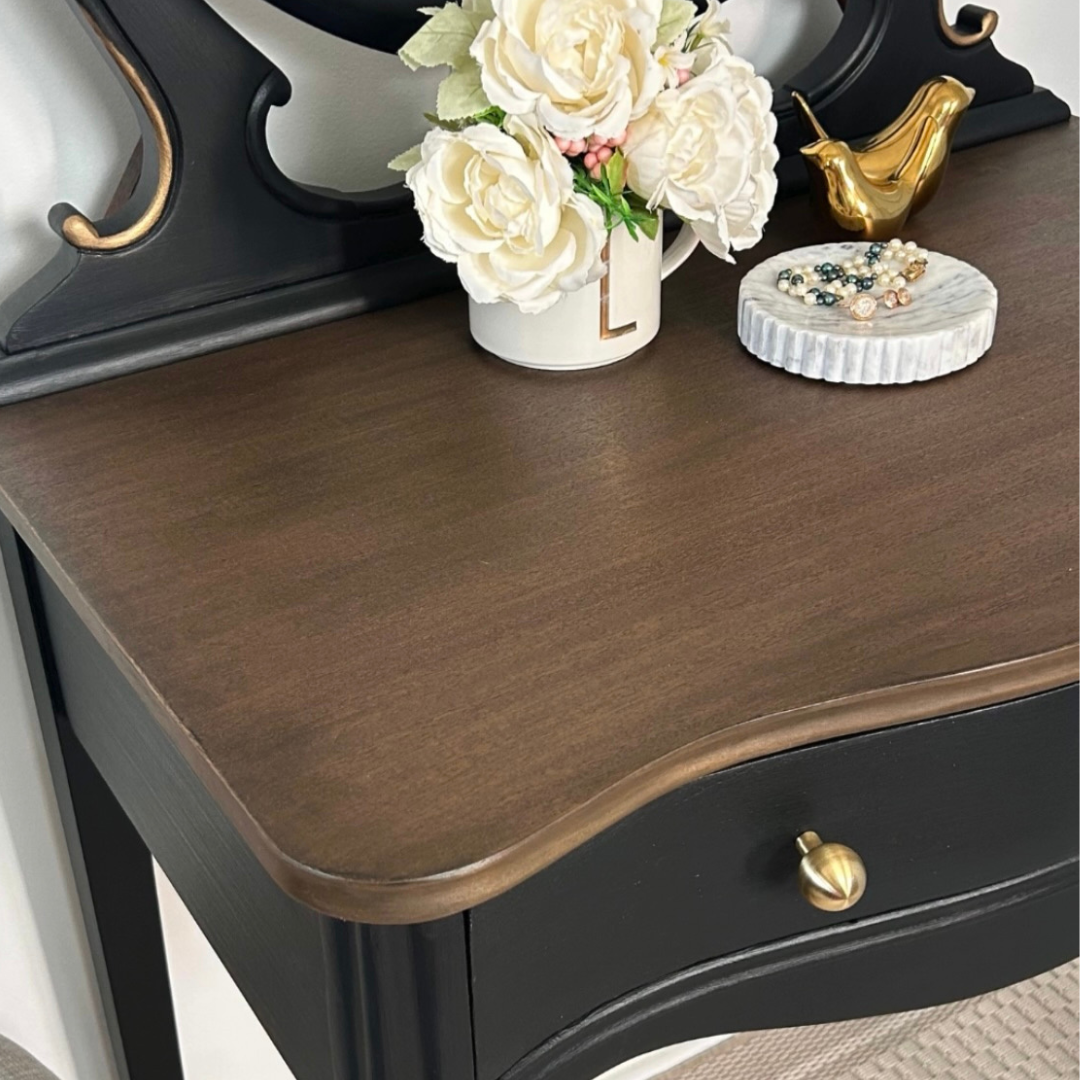
Furniture refinisher, Lisa Pelow is taking over our blog and giving us her favorite go-to paint brushes for painting furniture. Enjoy!
"its like taking your first bite of a meal and it tastes better than expected"
"hands down the best brushes!!"
"its honestly unreal how much better your brushes are"
"love my zibra brushes!!! these babies glide like no other"
Welcome to our quiz!
Let us find the perfect product for you
Great! Let us help you narrow it down.What kind of things will you be painting?
Based on your answers, we recommend:
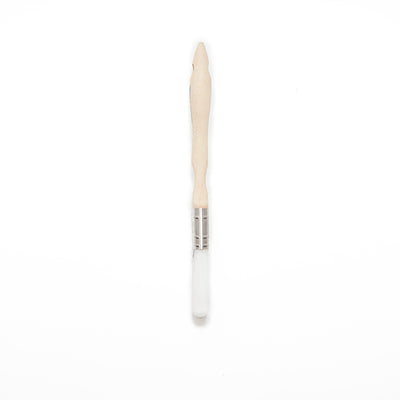
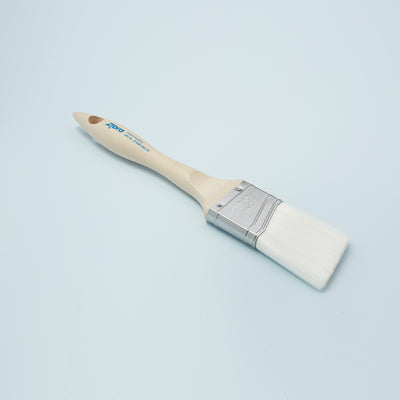
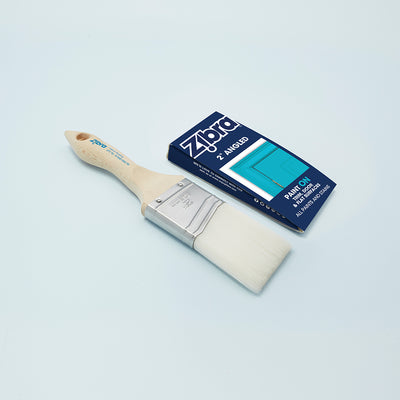
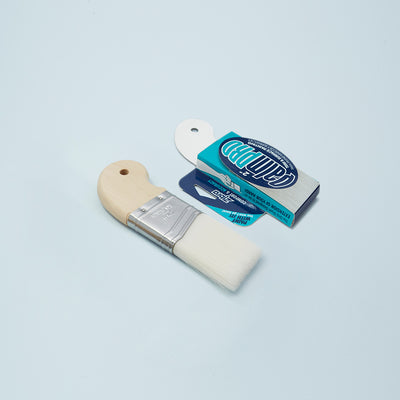
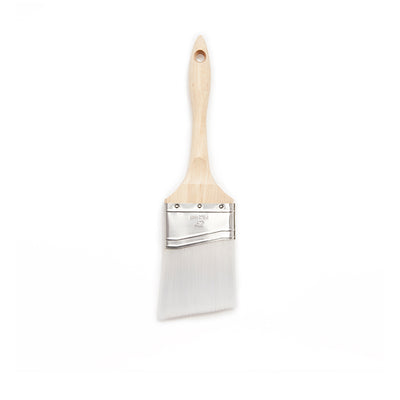
Earn 11 points on this purchase! Learn more
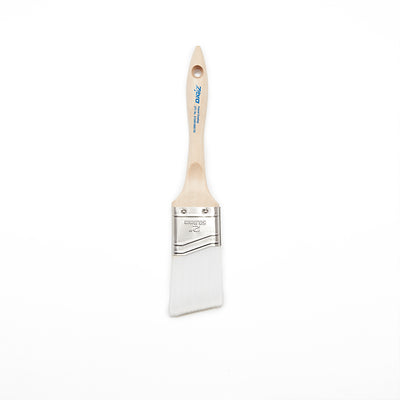
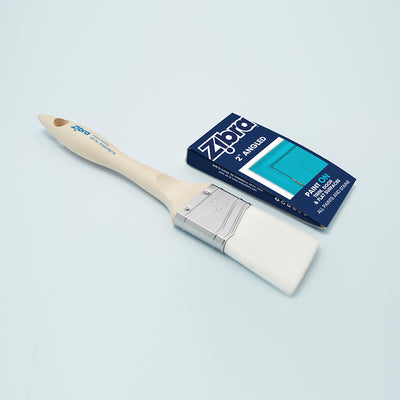
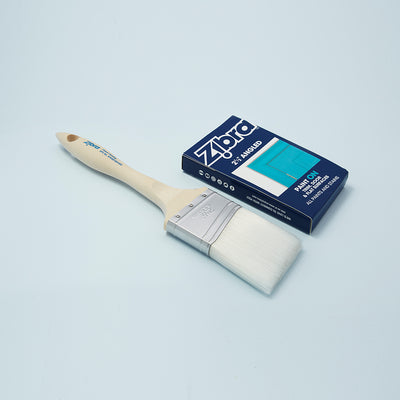
Painting ON trim around doors, windows, baseboards & ceilings
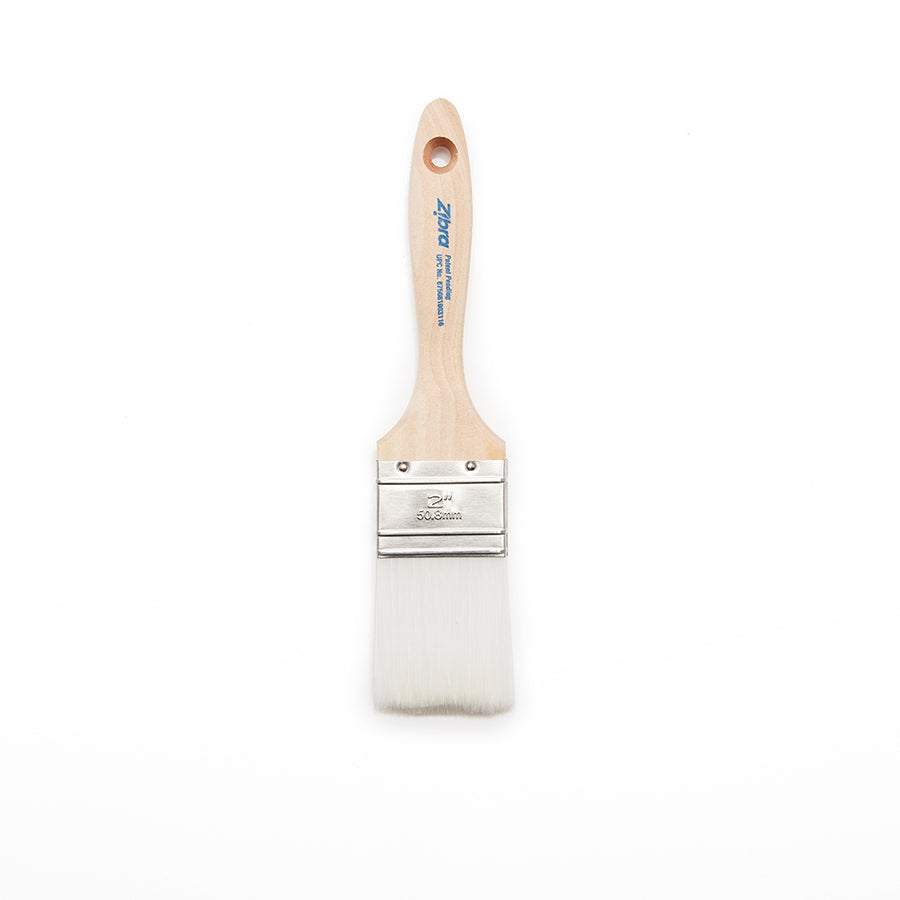
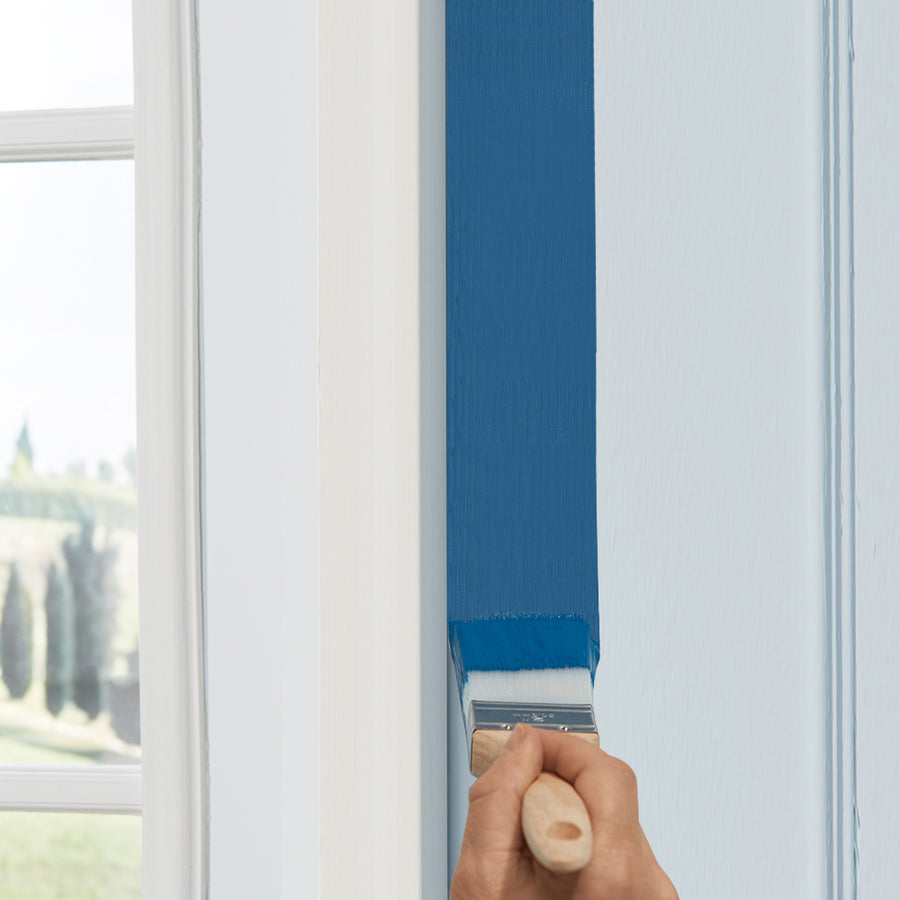
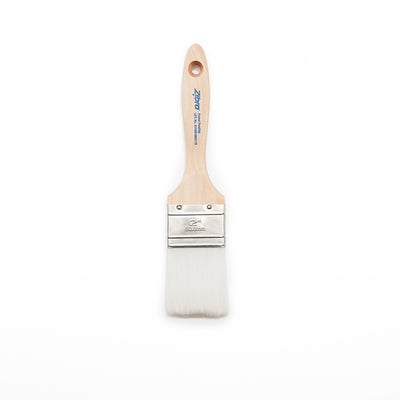
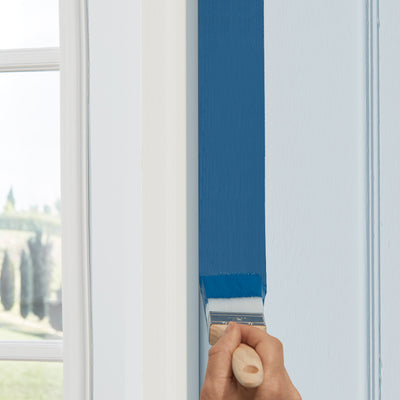
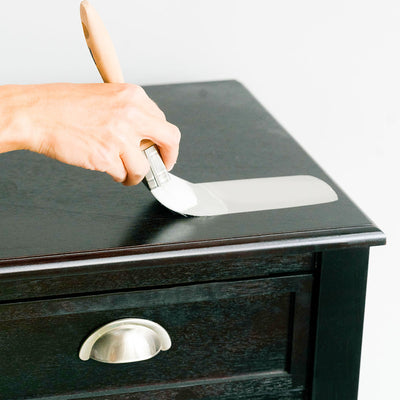
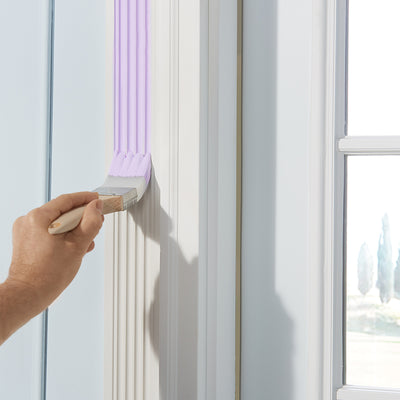
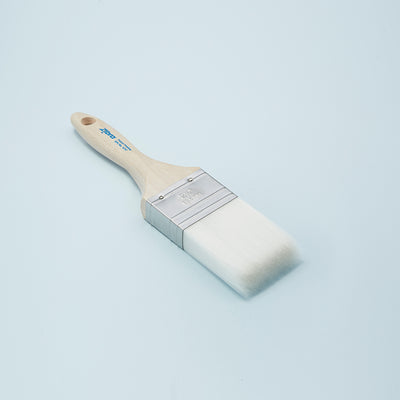
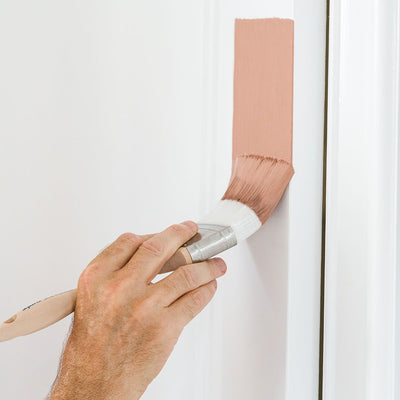
Earn 13 points on this purchase! Learn more
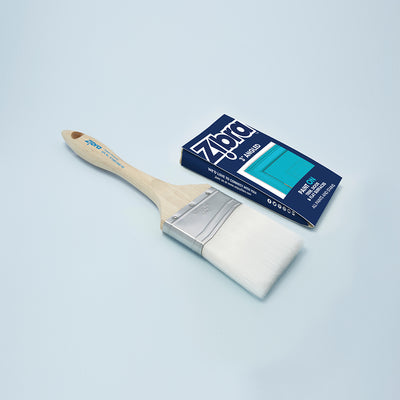
Combination flat and angled head guarantees maximum paint load for long runs
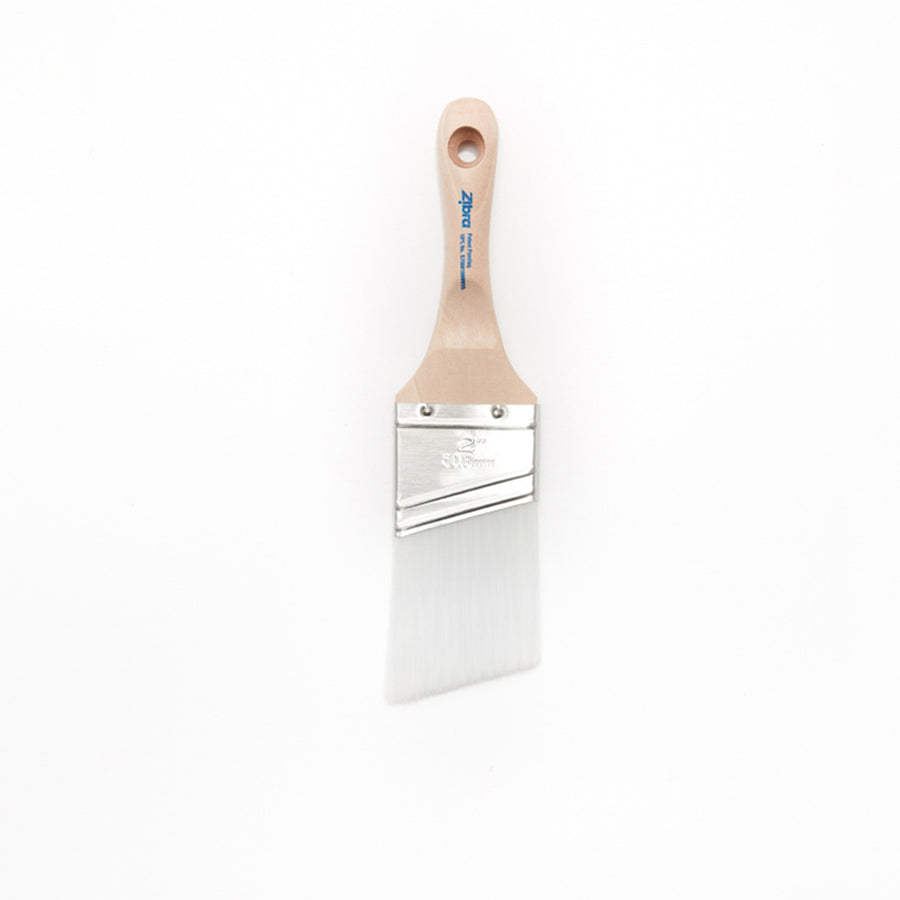
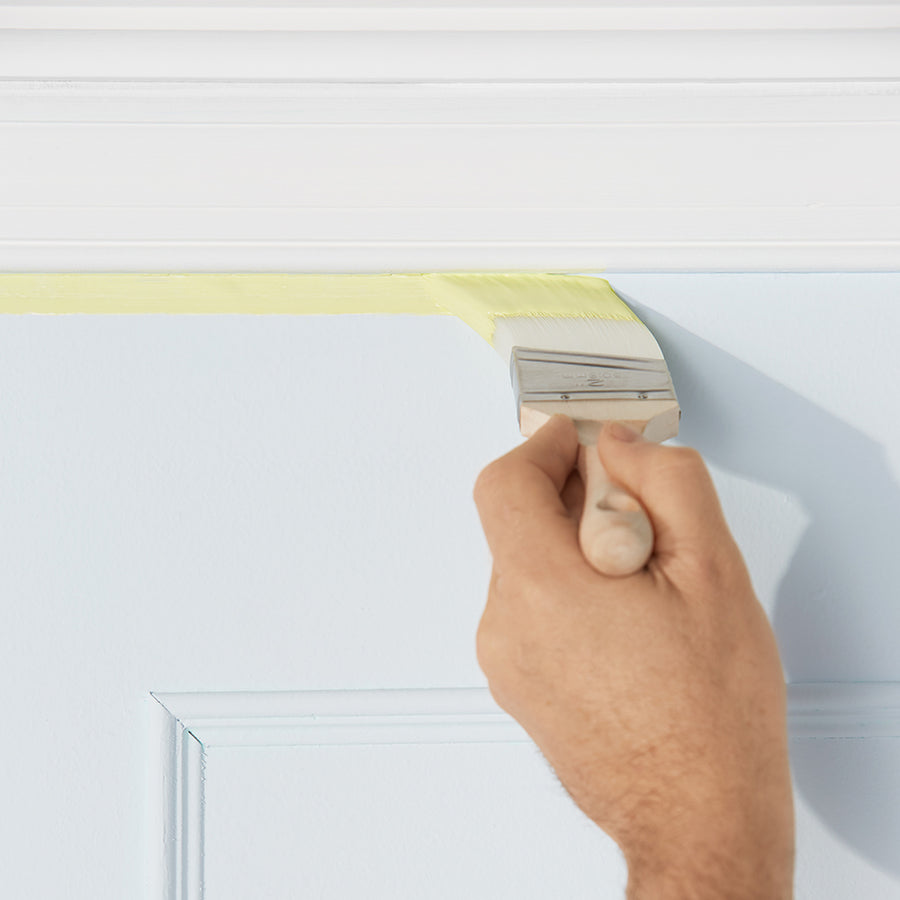
Earn 11 points on this purchase! Learn more
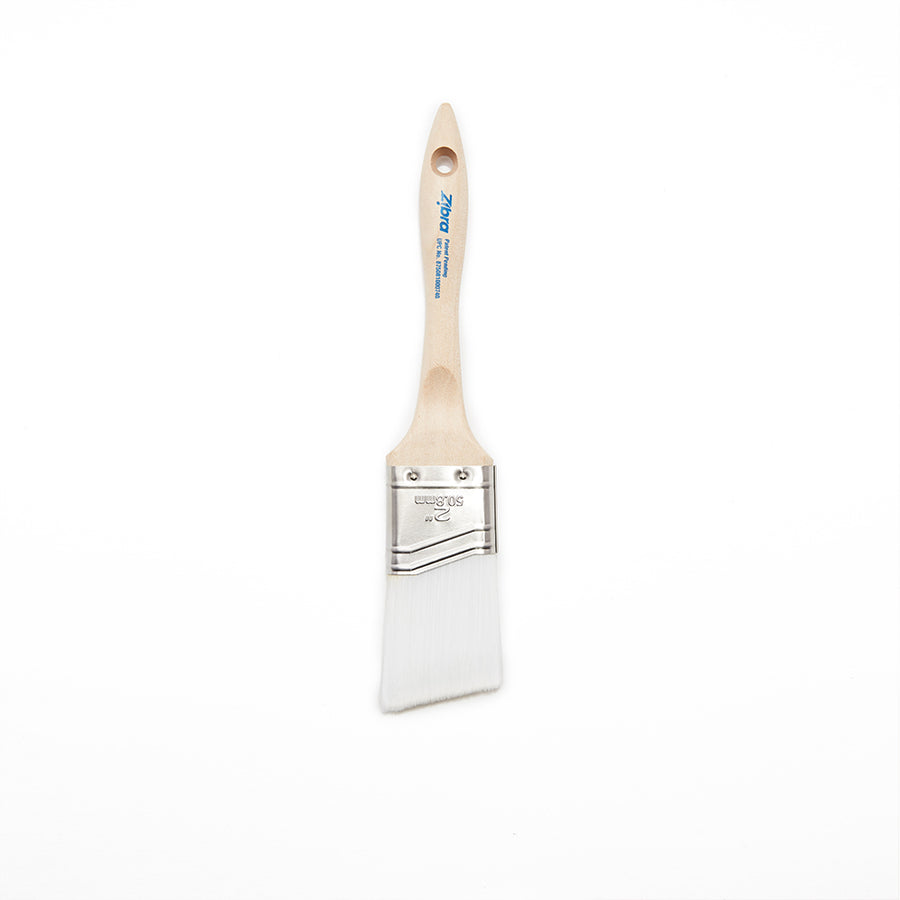
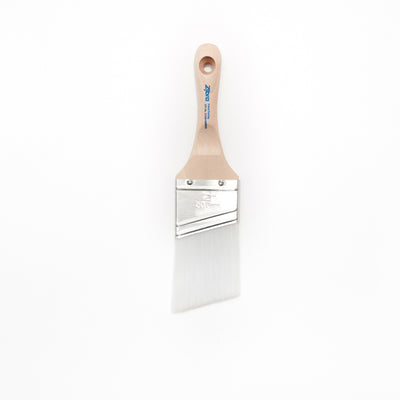
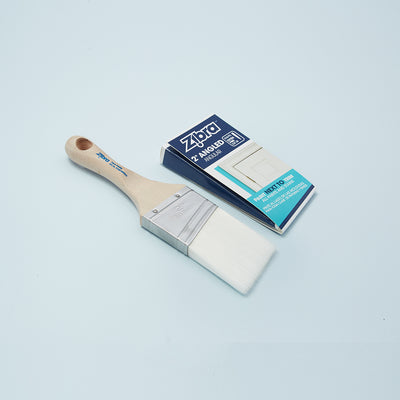
Ideal for painting NEXT to trim where exact lines and precision control is needed
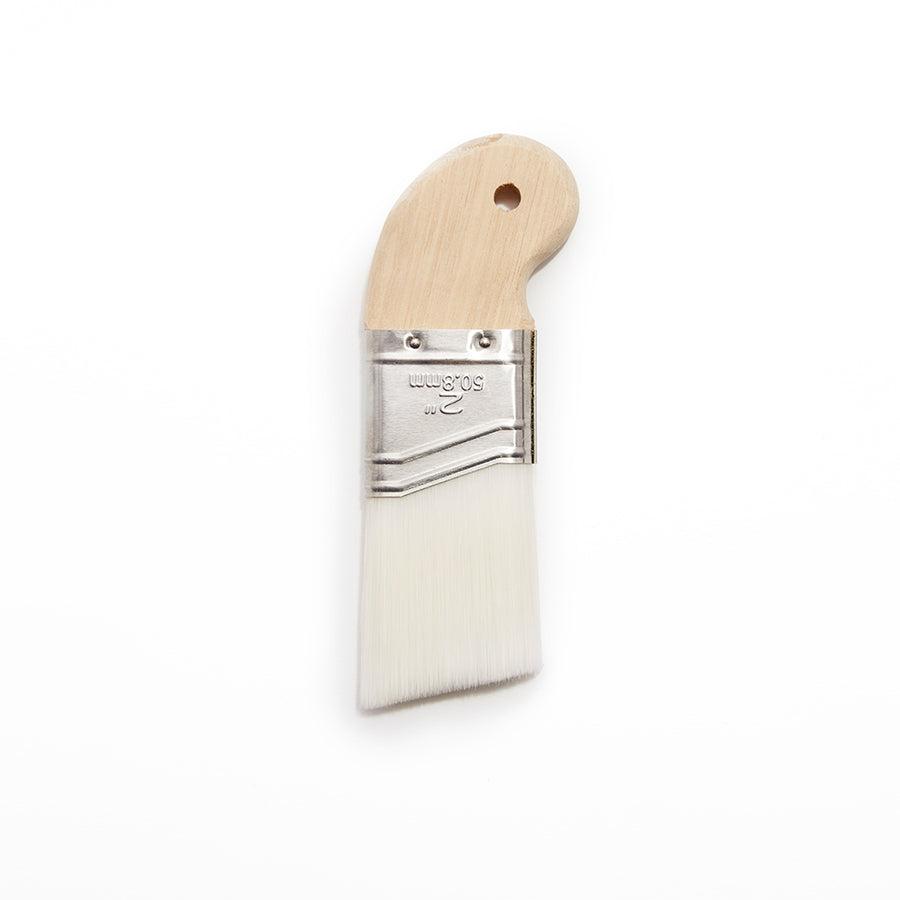
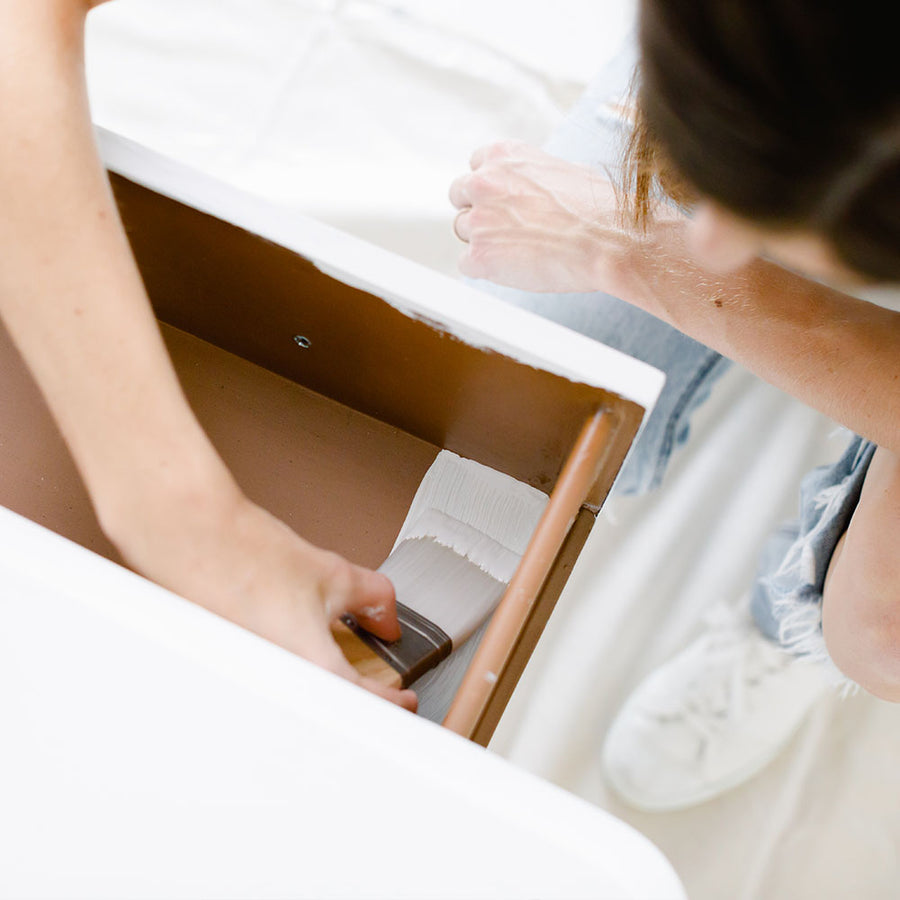

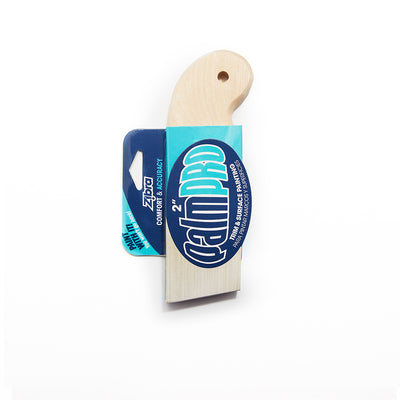
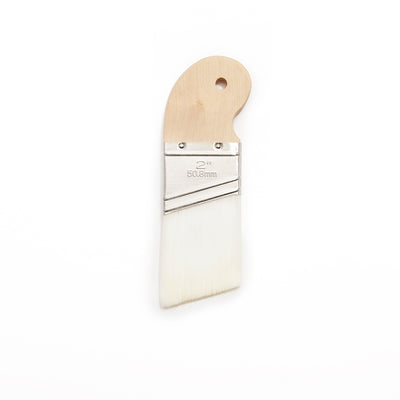
Earn 11 points on this purchase! Learn more
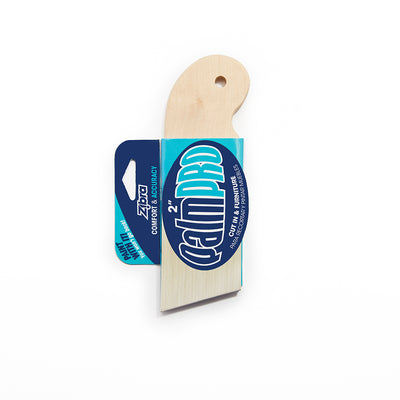
Fits comfortably in the palm of your hand, more comfort and more control especially for tight spaces


Earn 11 points on this purchase! Learn more
Painting ON trim around doors, windows, baseboards & ceilings


Earn 13 points on this purchase! Learn more
Combination flat and angled head guarantees maximum paint load for long runs
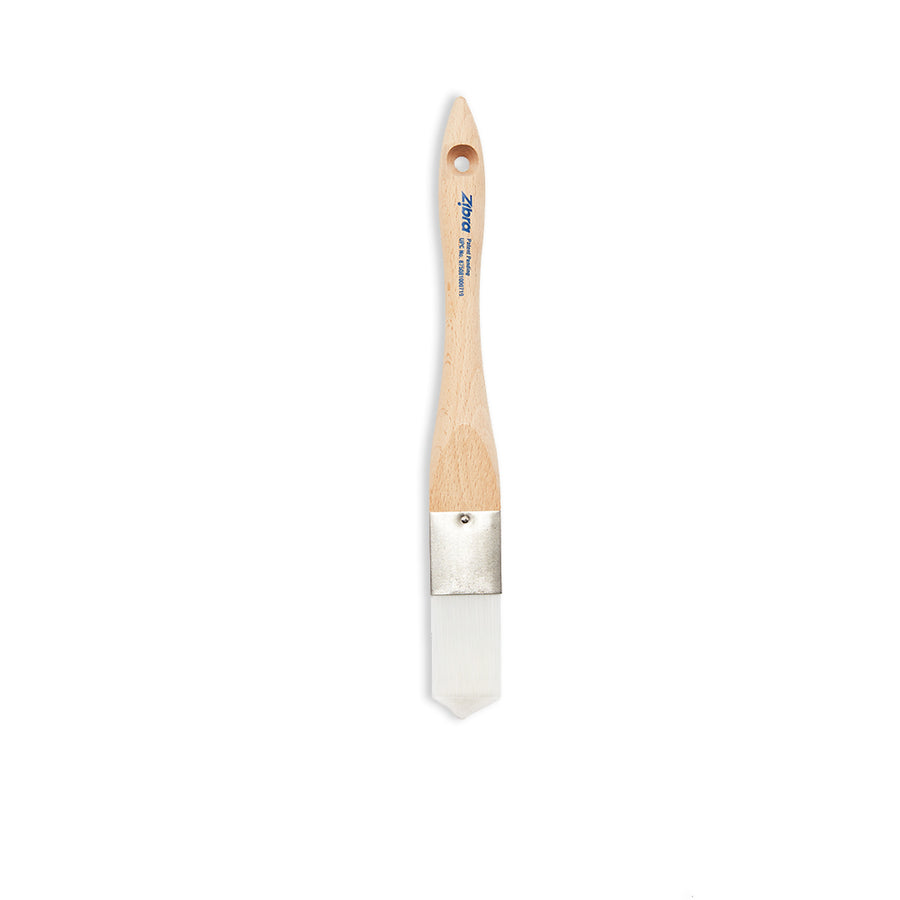
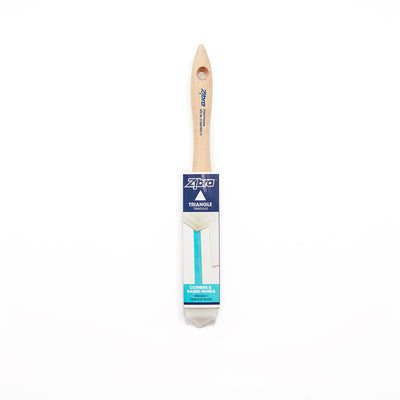
Earn 11 points on this purchase! Learn more
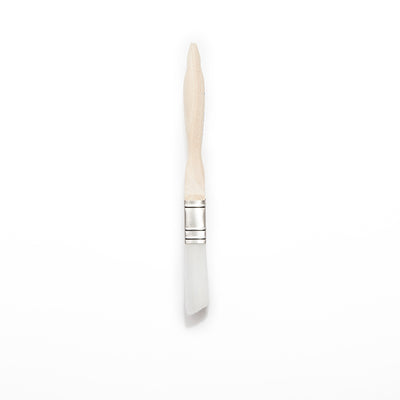
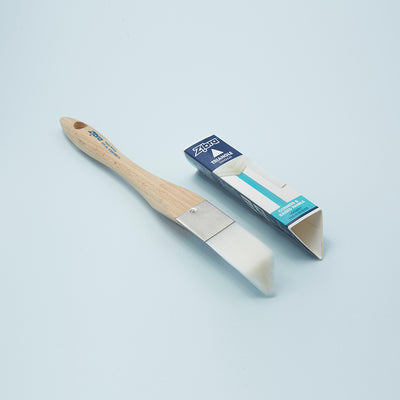
Paints corners with precision & accuracy, great for cutting in next to trim

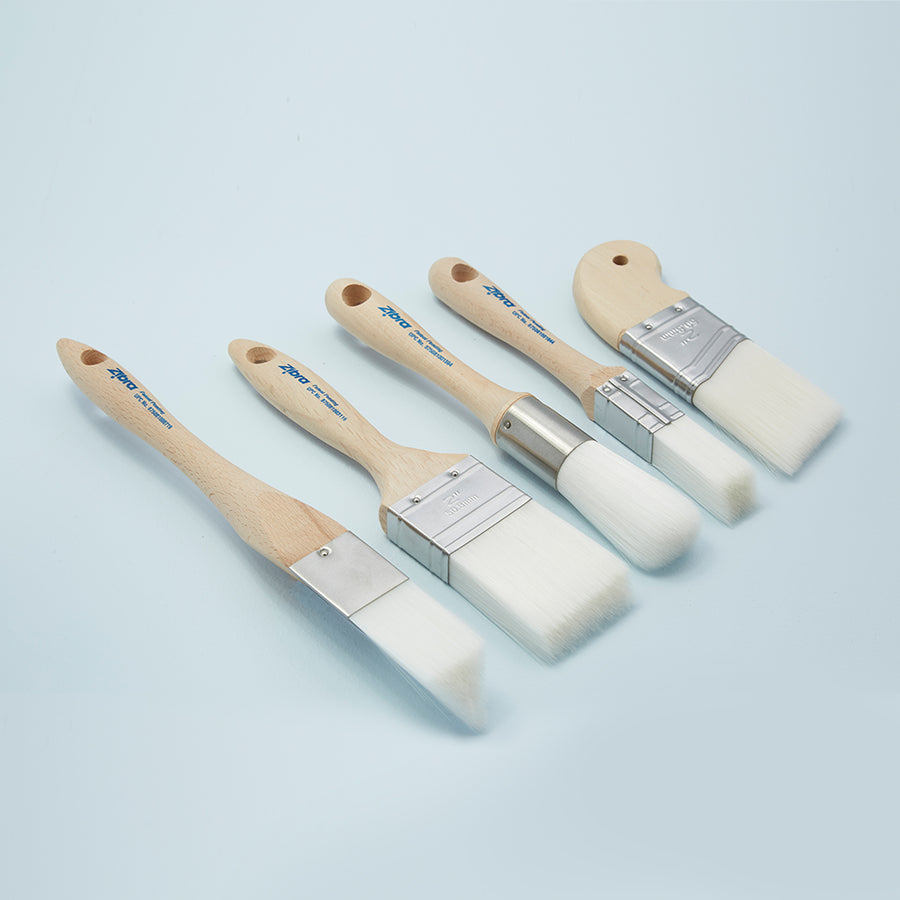

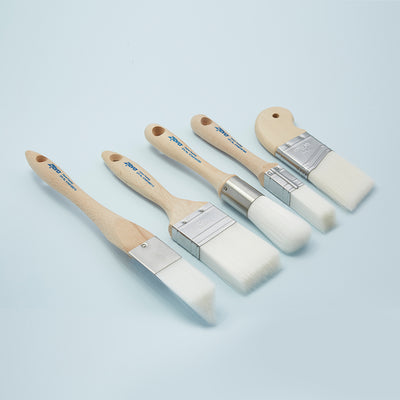
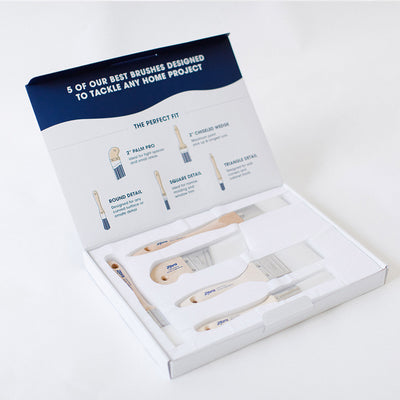

Earn 53 points on this purchase! Learn more
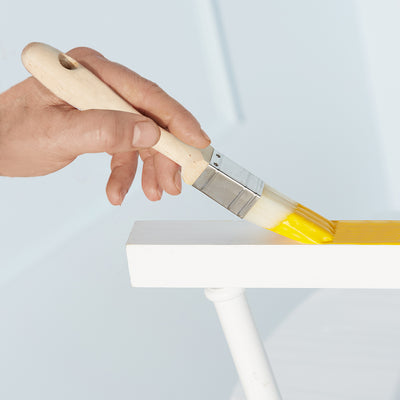
Great for any project in your home: trim, furniture and detail work

Earn 10 points on this purchase! Learn more
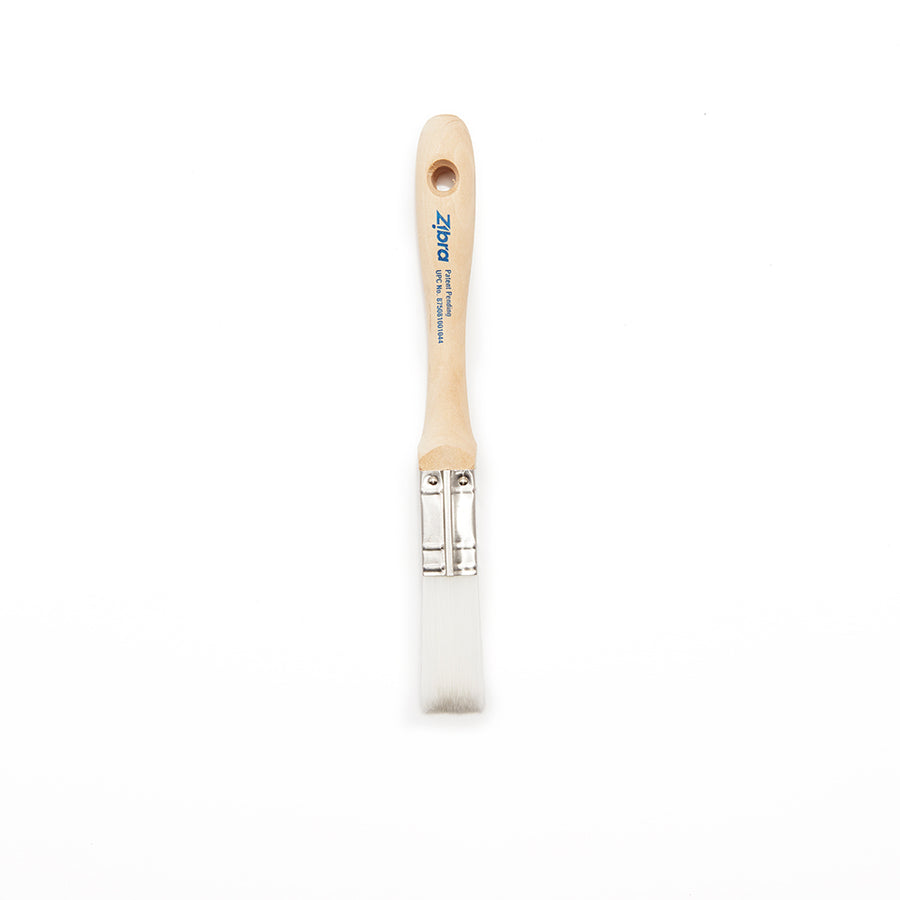
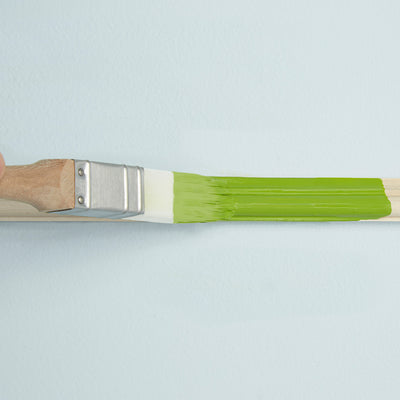
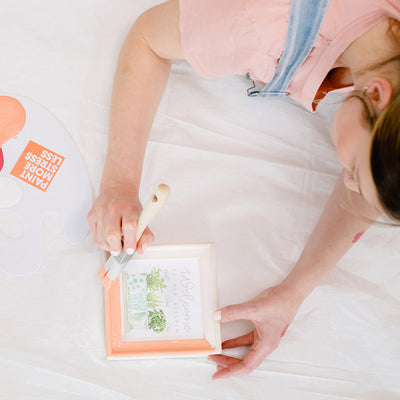
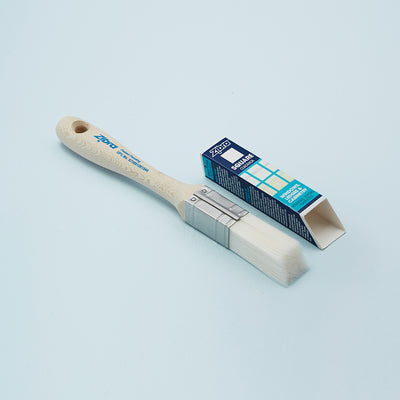
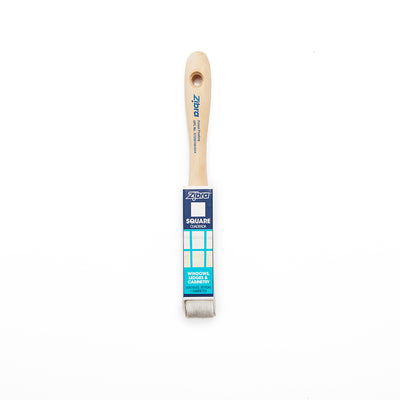
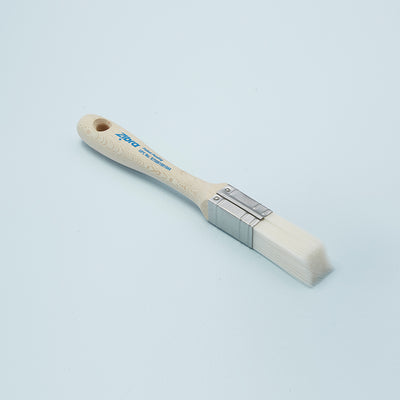
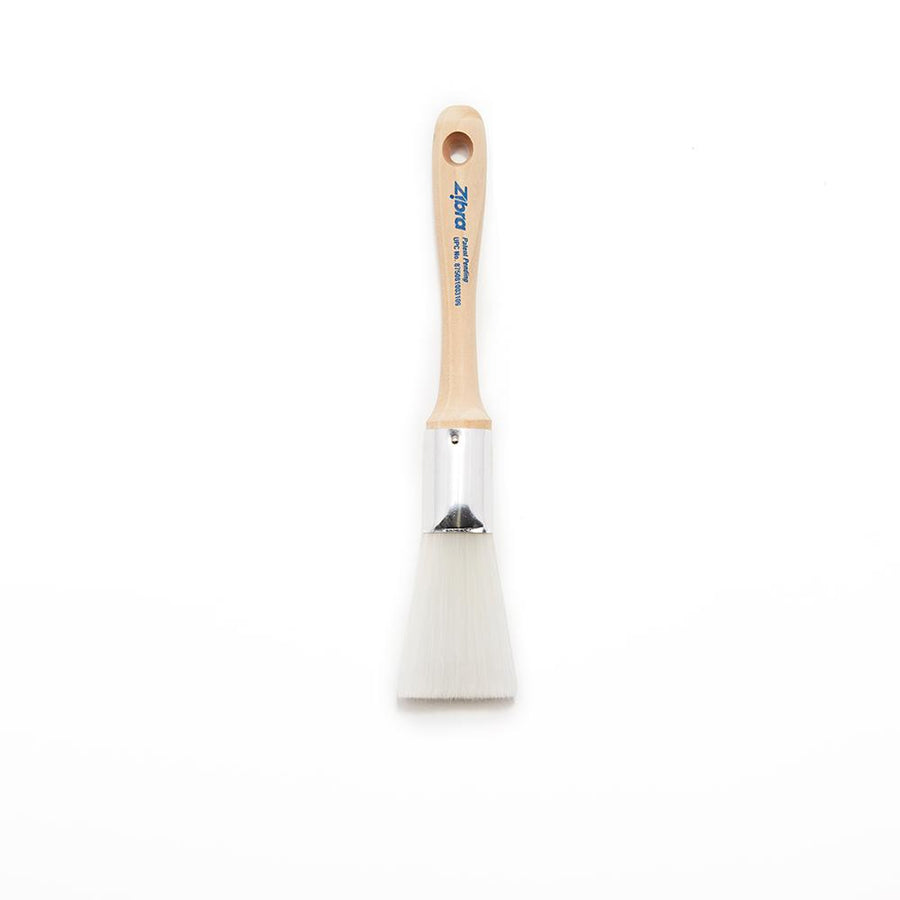
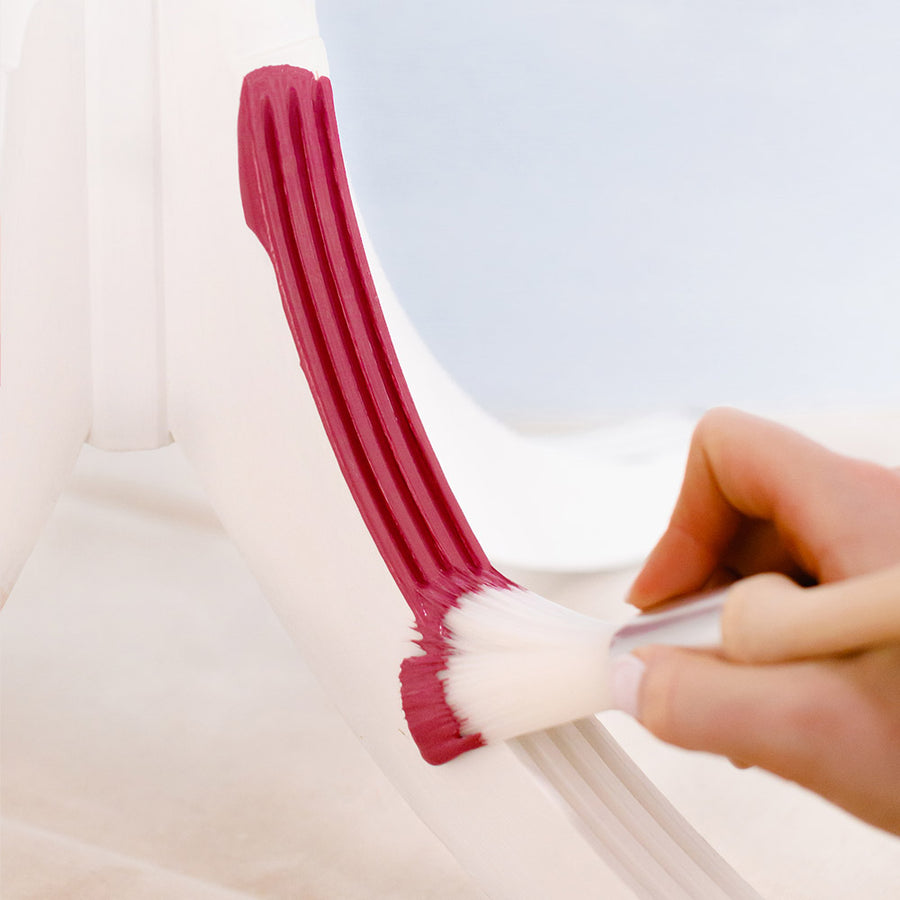
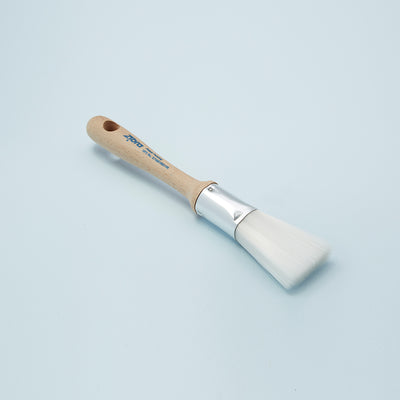
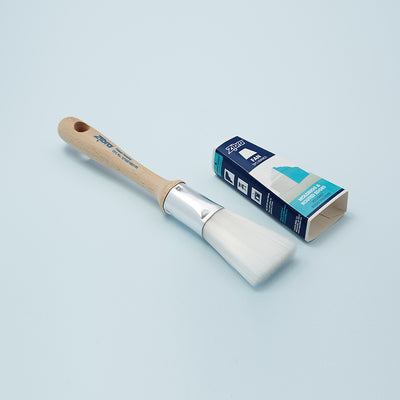
Narrow width with large filament pack out providing smooth finish and fewer dips
Earn 10 points on this purchase! Learn more
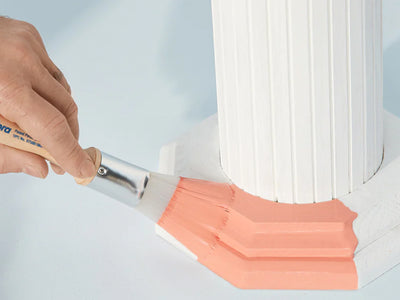
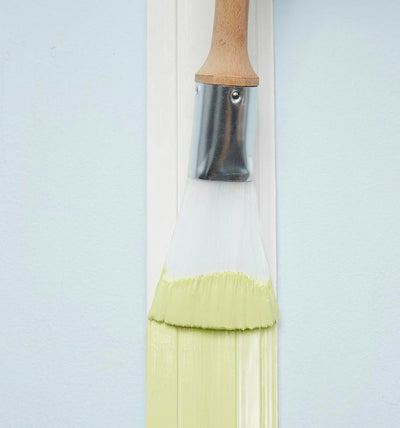
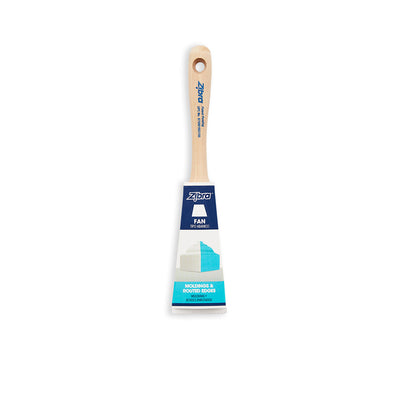
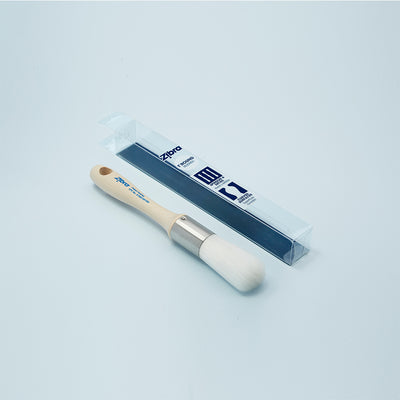
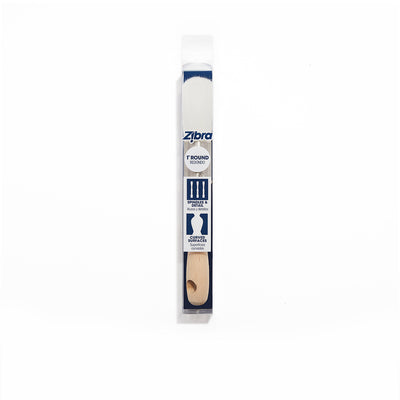
Designed to hug unique shapes & crevices in a multitude of different molding styles
Earn 11 points on this purchase! Learn more
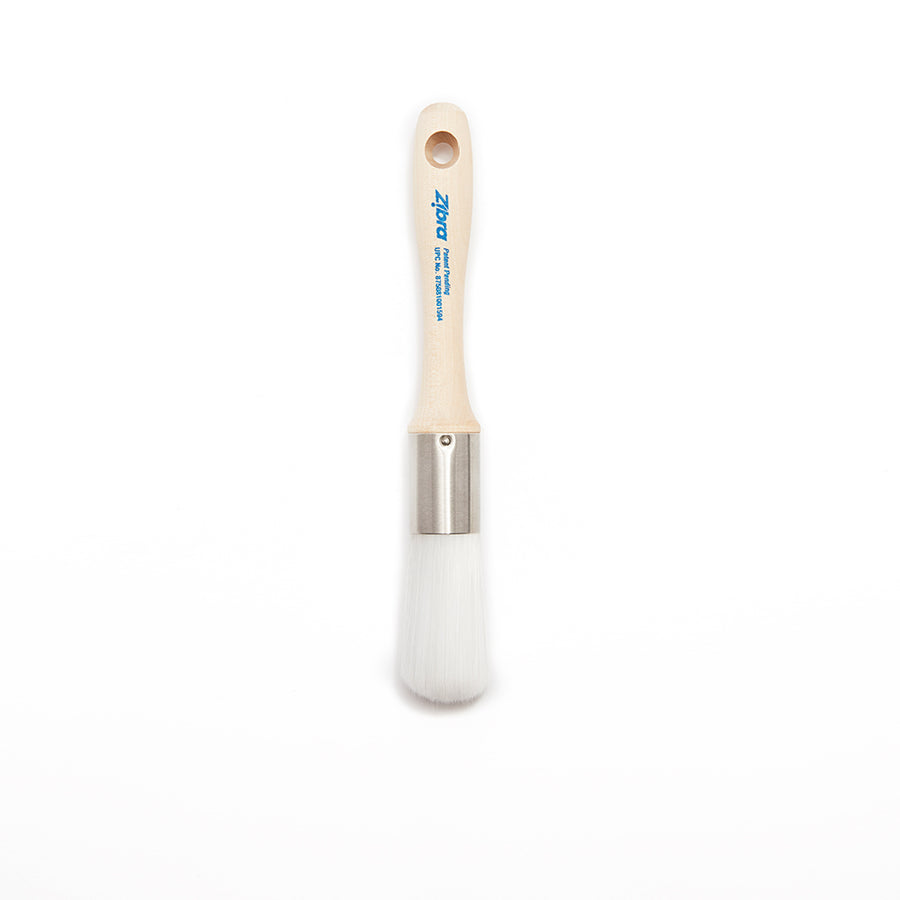
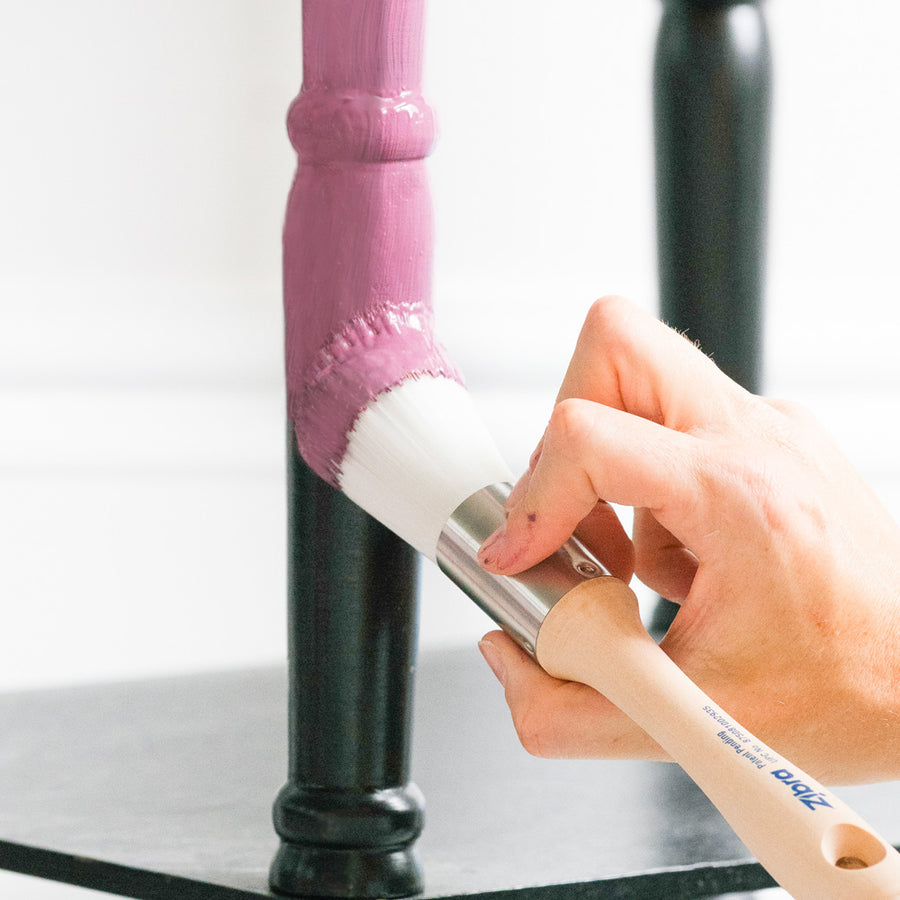
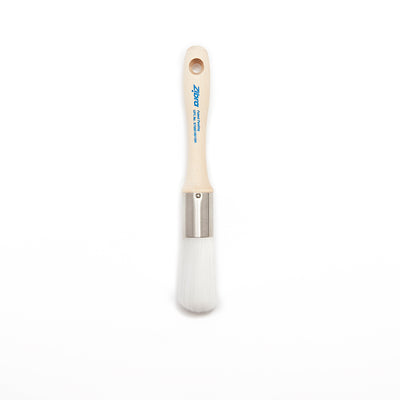
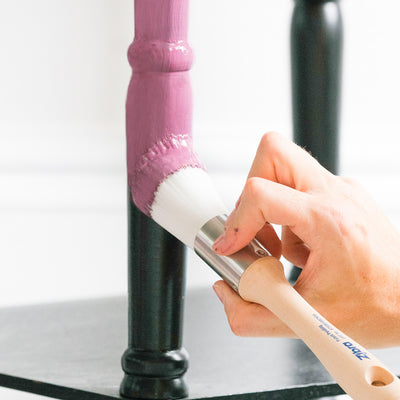
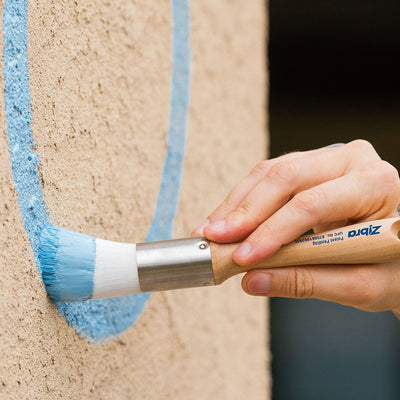
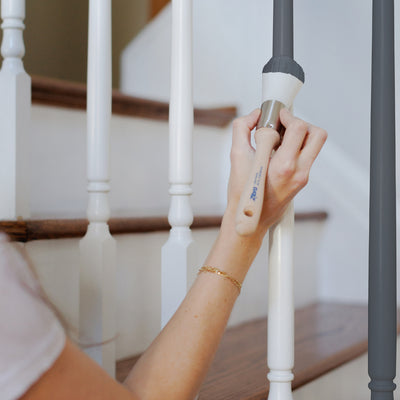
Large pack out for anything round or cylindrical and any ornate details


Earn 10 points on this purchase! Learn more
Designed to hug unique shapes & crevices in a multitude of different molding styles


Earn 11 points on this purchase! Learn more
Large pack out for anything round or cylindrical and any ornate details


Earn 10 points on this purchase! Learn more
Designed to hug unique shapes & crevices in a multitude of different molding styles


Earn 11 points on this purchase! Learn more
Fits comfortably in the palm of your hand, more comfort and more control especially for tight spaces


Earn 11 points on this purchase! Learn more
Ideal for painting NEXT to trim where exact lines and precision control is needed


Earn 13 points on this purchase! Learn more
Combination flat and angled head guarantees maximum paint load for long runs


Earn 11 points on this purchase! Learn more
Painting ON trim around doors, windows, baseboards & ceilings


Earn 11 points on this purchase! Learn more
Painting ON trim around doors, windows, baseboards & ceilings


Earn 11 points on this purchase! Learn more
Fits comfortably in the palm of your hand, more comfort and more control especially for tight spaces


Earn 13 points on this purchase! Learn more
Combination flat and angled head guarantees maximum paint load for long runs


Earn 11 points on this purchase! Learn more
Fits comfortably in the palm of your hand, more comfort and more control especially for tight spaces


Earn 11 points on this purchase! Learn more
Large pack out for anything round or cylindrical and any ornate details


Earn 11 points on this purchase! Learn more
Painting ON trim around doors, windows, baseboards & ceilings


Earn 11 points on this purchase! Learn more
Paints corners with precision & accuracy, great for cutting in next to trim


Earn 10 points on this purchase! Learn more
Designed to hug unique shapes & crevices in a multitude of different molding styles


Earn 13 points on this purchase! Learn more
Combination flat and angled head guarantees maximum paint load for long runs
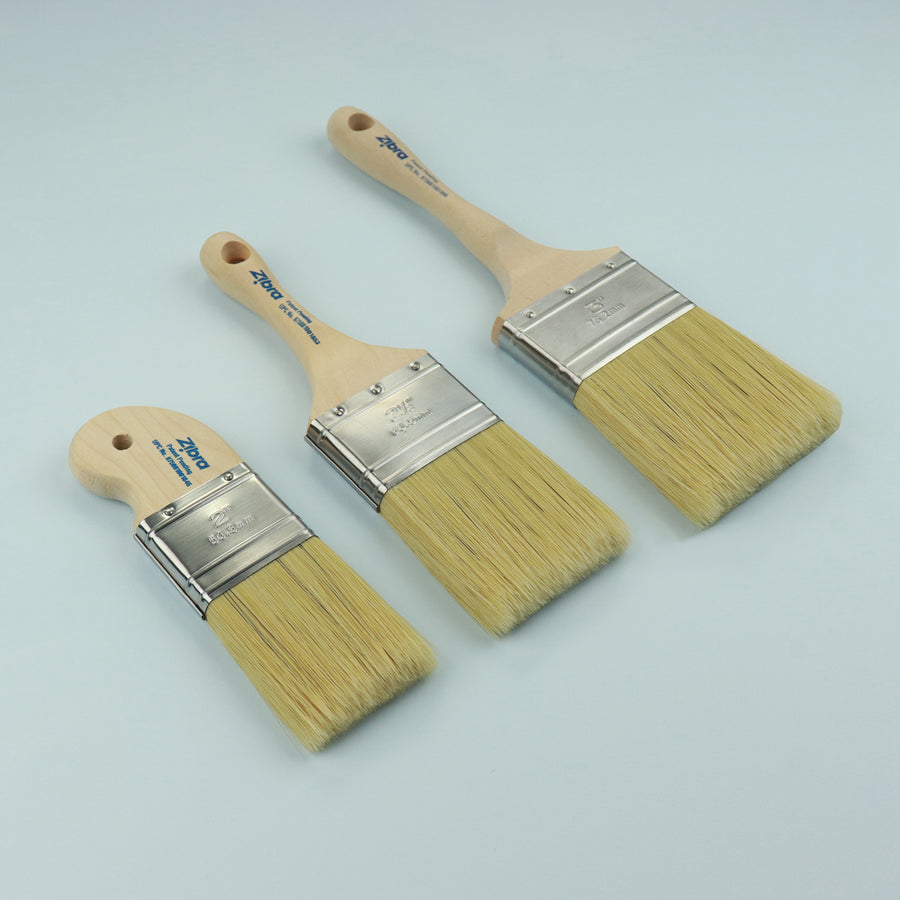
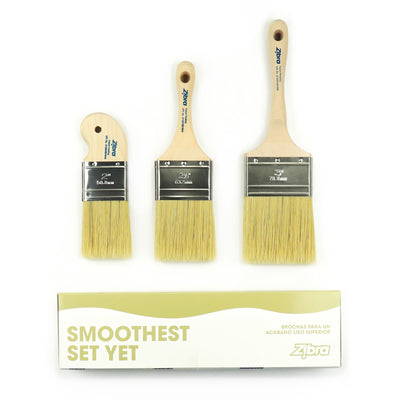
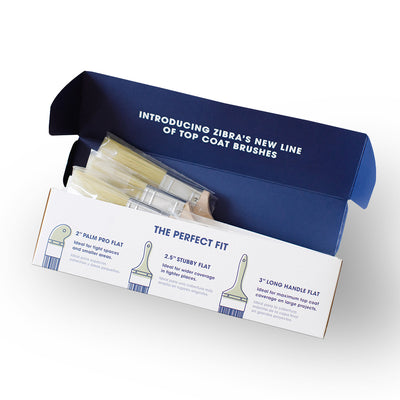
Earn 43 points on this purchase! Learn more
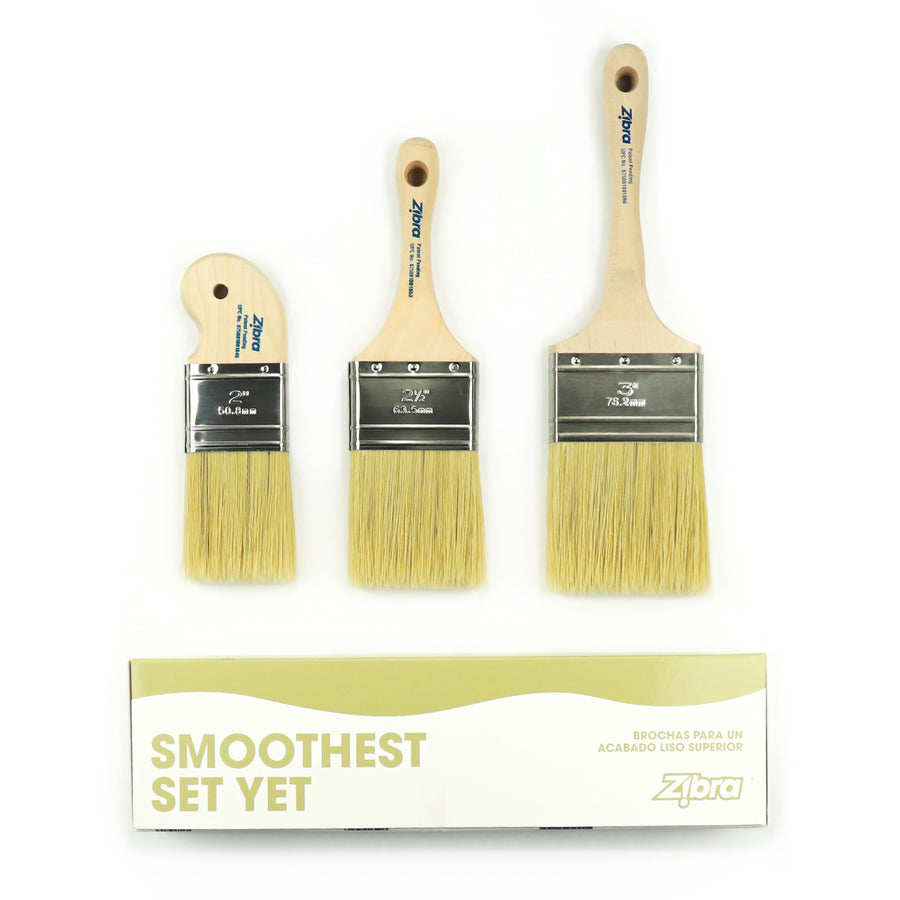
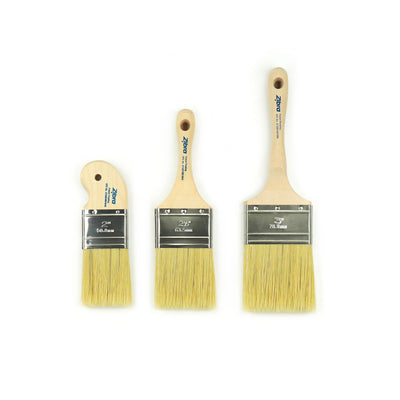
Each brush is engineered and crafted with filaments replicating natural bristles
Earn 13 points on this purchase! Learn more
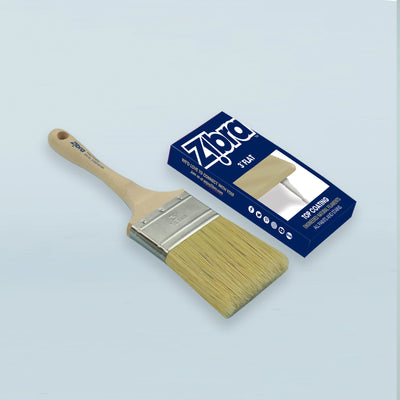
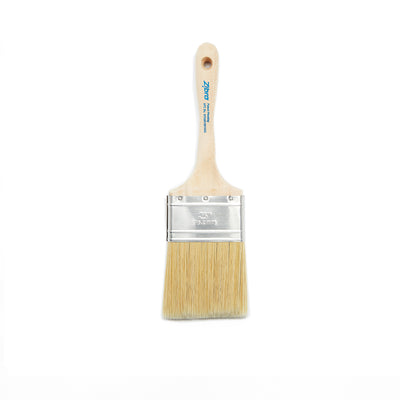
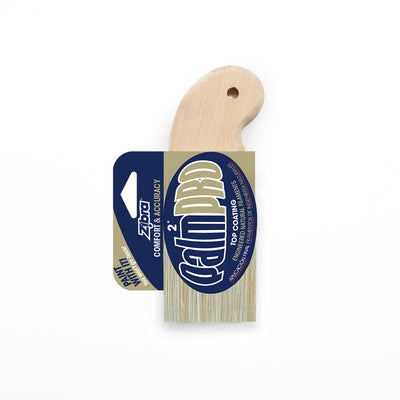
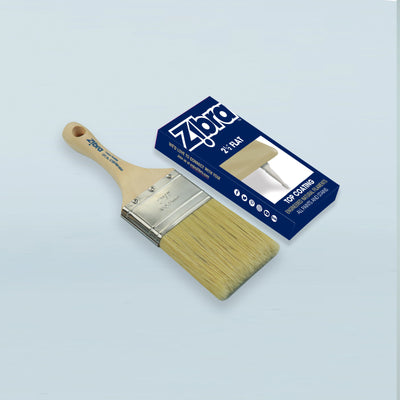
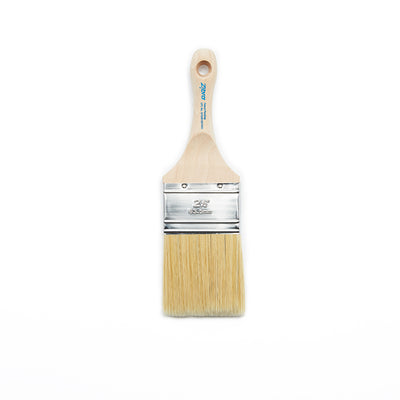
Our Top Coat brushes are engineered and crafted with filaments replicating natural bristles


Earn 11 points on this purchase! Learn more
Large pack out for anything round or cylindrical and any ornate details


Earn 10 points on this purchase! Learn more
Designed to hug unique shapes & crevices in a multitude of different molding styles


Earn 11 points on this purchase! Learn more
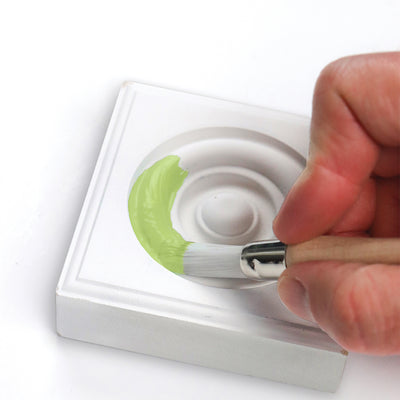
Large pack out for anything round or cylindrical and any ornate details


Earn 13 points on this purchase! Learn more
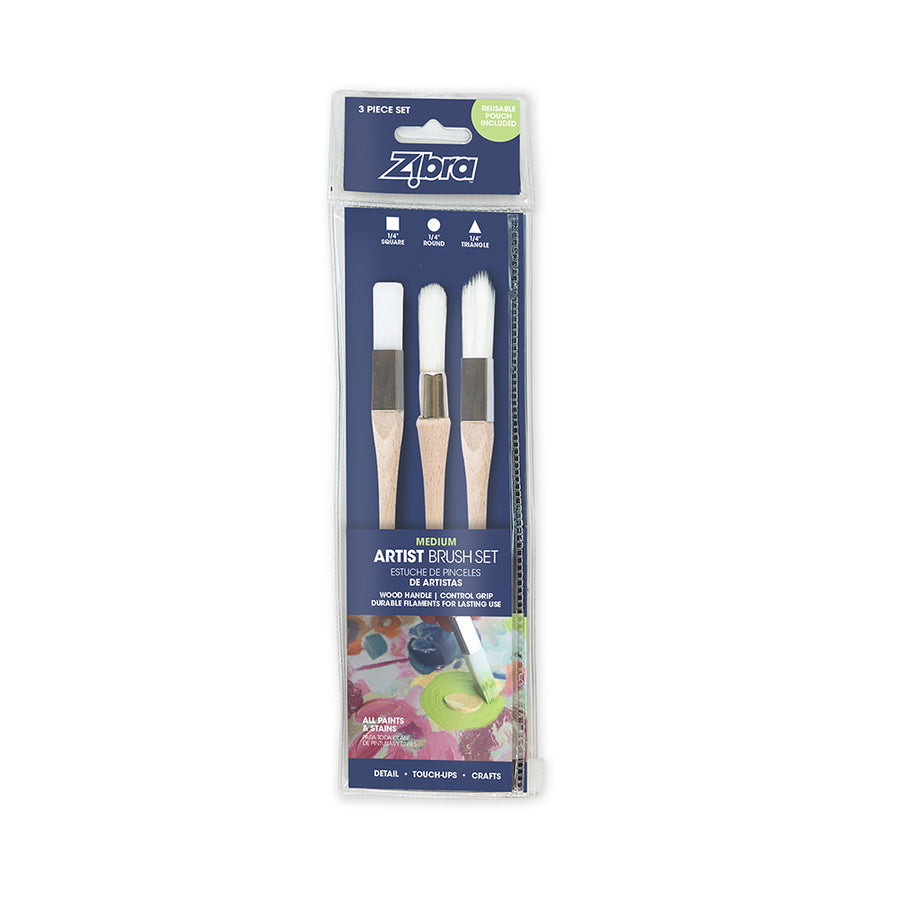
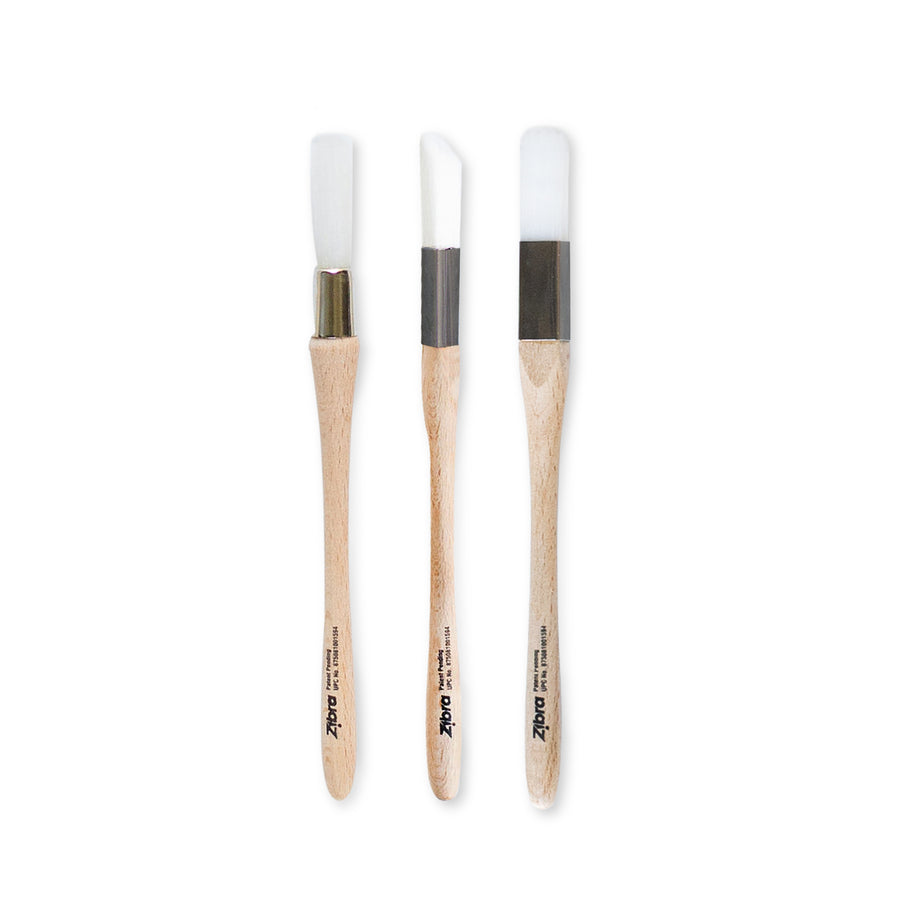
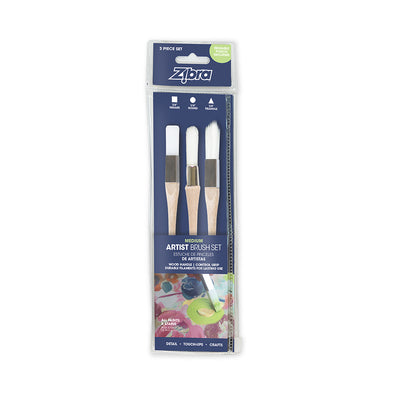
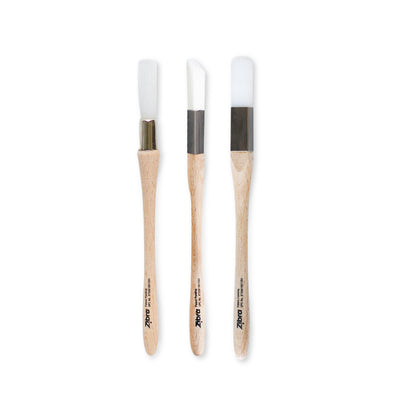
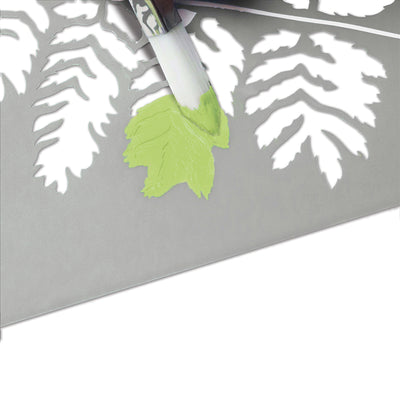
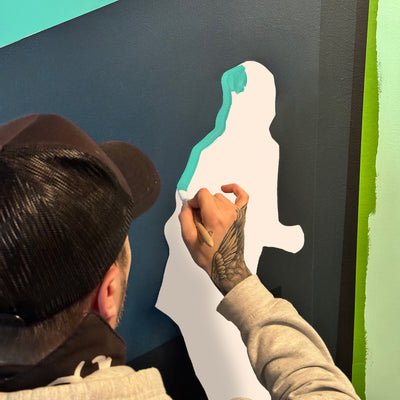
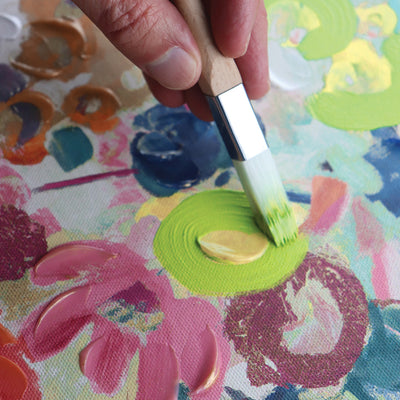
3 piece artist paintbrush set ideal for murals, canvas painting and crafts


Earn 10 points on this purchase! Learn more
Designed to hug unique shapes & crevices in a multitude of different molding styles


Earn 13 points on this purchase! Learn more
3 piece artist paintbrush set ideal for murals, canvas painting and crafts


Earn 13 points on this purchase! Learn more
Combination flat and angled head guarantees maximum paint load for long runs


Earn 13 points on this purchase! Learn more
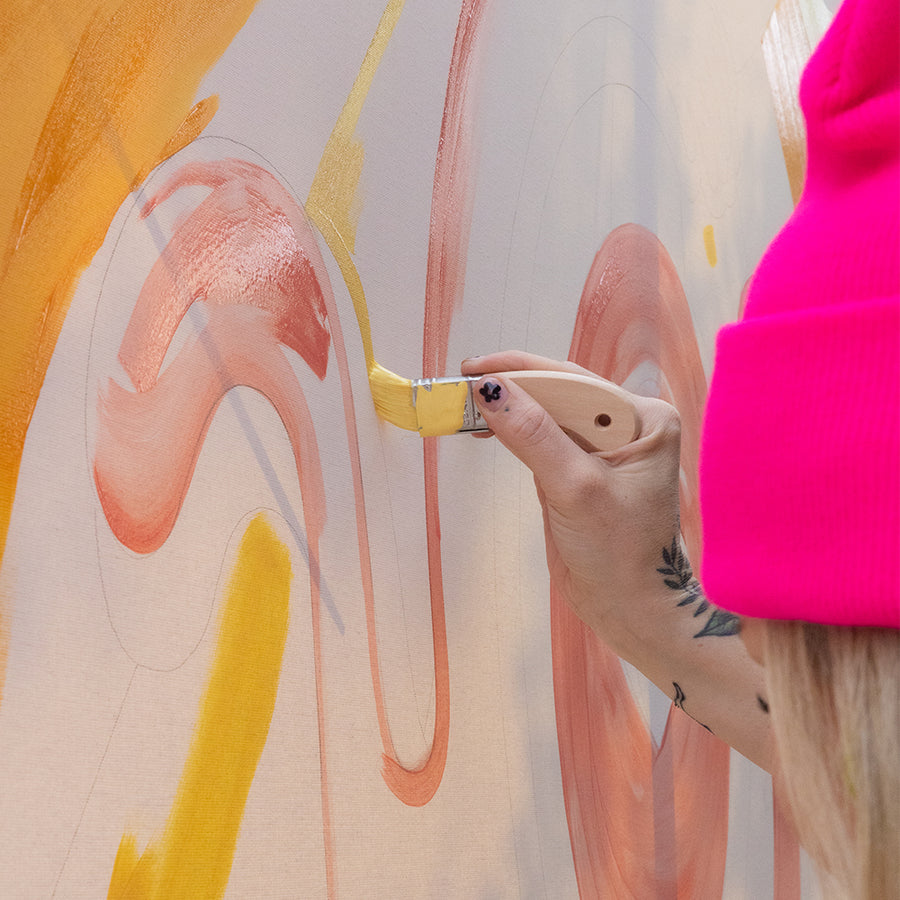
3 piece artist paintbrush set ideal for murals, canvas painting and crafts



Earn 10 points on this purchase! Learn more
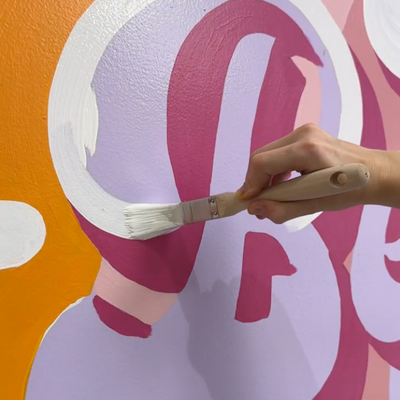
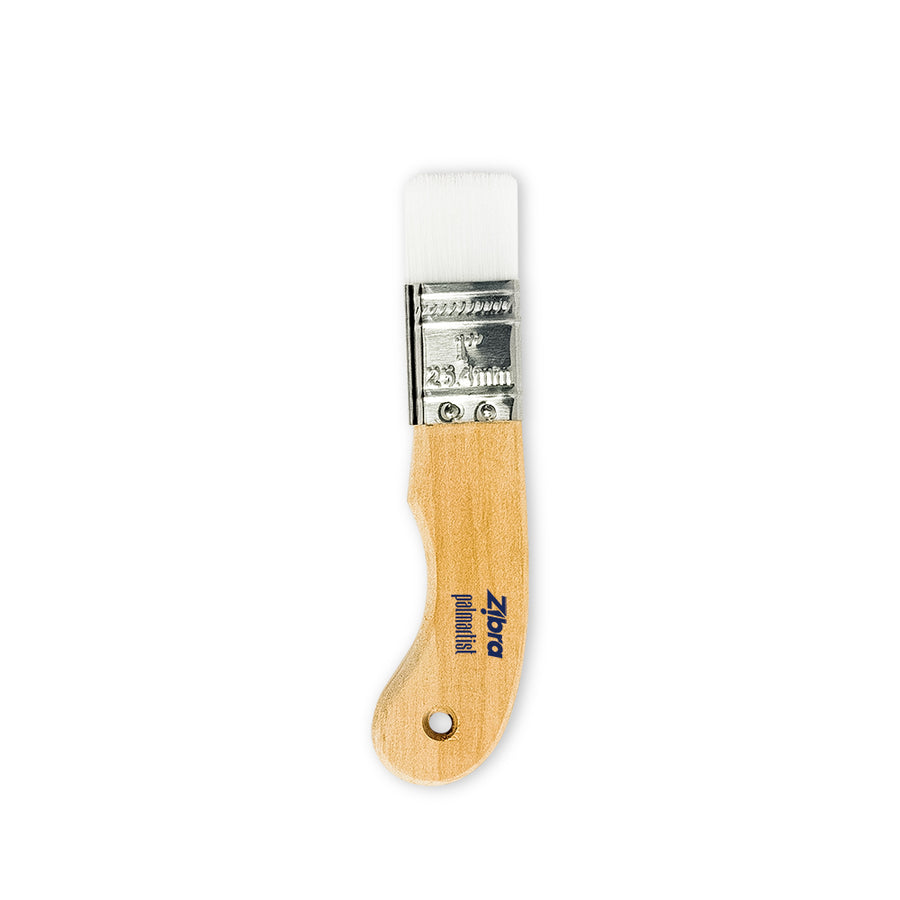
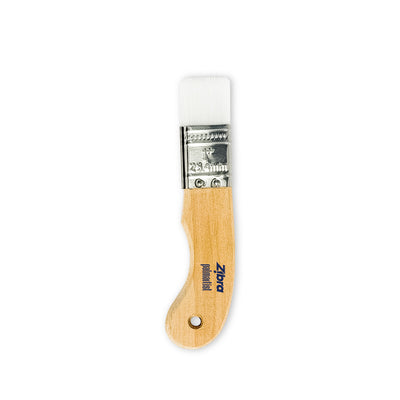
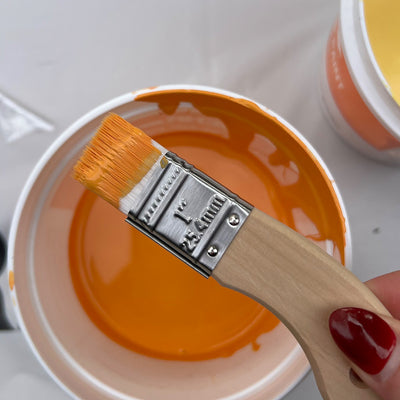
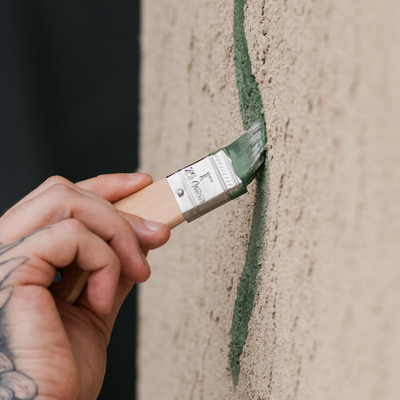
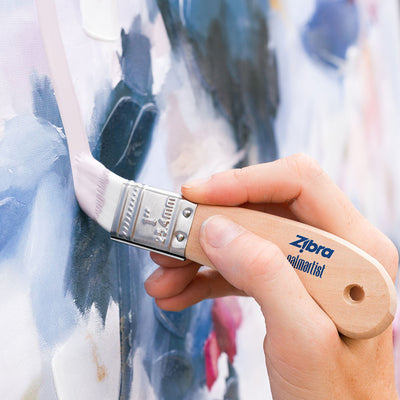
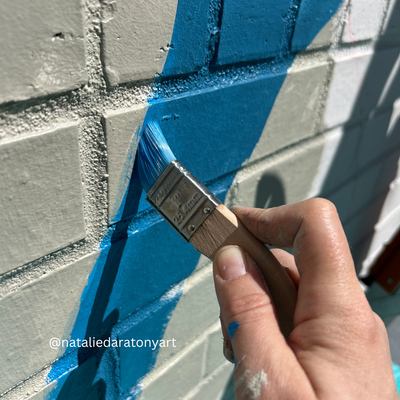
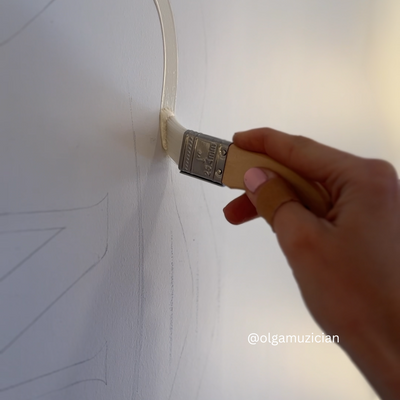
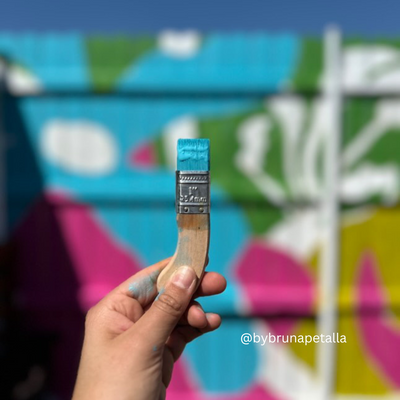
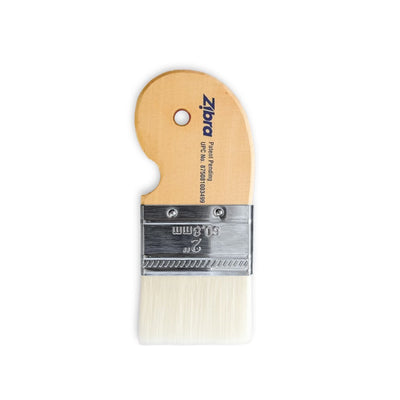
Introducing the latest addition to our Palm Pro family – the Palm Artist Paint brush


Earn 13 points on this purchase! Learn more
3 piece artist paintbrush set ideal for murals, canvas painting and crafts
Get exclusive offers and tips
